Steaming clothes can be a practical, swift substitute for using a traditional iron. But it’s not all roses and sunshine.
Using a fabric steamer can be tricky if you’re not clued up on steaming essentials. You must know what fabrics can and can’t be exposed to steam, so you don’t ruin your favorite outfits.
Our step-by-step guide will equip you with all the facts on how to steam clothes.
Key Takeaways
- Not all fabrics can be steamed; avoid plastic-based synthetics, leather, suede, and stained items.
- Suitable fabrics for steaming include cotton, wool, silk, polyester, and fabric mixes like chiffon.
- To steam clothes, use a steamer, a clothes hanger, and hanger clips (optional); hang the garment, prepare the steamer, and steam each section of the clothing.
- Let the fabric dry and cool for at least 15 minutes before wearing or storing the garment.
Can You Steam Any Fabric?
Not every type of fabric can withstand steam. Water transforms from a liquid into a vapor (steam) at 212 degrees Fahrenheit.
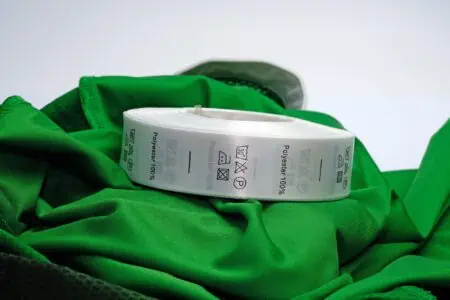
Certain materials can be damaged by heat, moisture, or both. These include:
- Plastic-based synthetics: If your garment feels slick and waterproof, it’s likely made from a synthetic fabric (e.g., raincoats). Note that faux leather is typically made of polyvinyl chloride (PVC), a type of plastic. PVC can melt at temperatures as low as 167 degrees Fahrenheit.
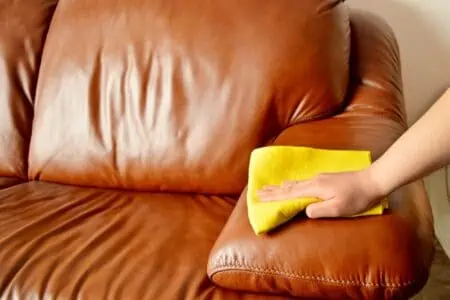
- Leather: Excessive heat can cause your stylish leather jacket to shrink. These items are best left to the experts (e.g., dry cleaners who work with leather).
- Suede: Suede is a type of leather product that’s been processed and feels super-soft. As with leather, they require care and should be professionally dry cleaned.
- Stained items: Don’t reach for your fabric steamer if you stain your clothes. The substance could permanently set in the material.
As a rule, you can proceed full steam ahead with the following fabrics. However, always make sure to check the label of the individual garment first:
- Cottons.
- Wools (including cashmere, although it’s wrinkle-resistant).
- Silks (steaming is recommended for this wrinkle-prone material).
- Polyesters.
- Mixes of the above-mentioned fabrics, such as chiffon.
How to Steam Clothes
Steaming clothes is a straightforward chore to accomplish. Some of you may even find it enjoyable compared to the drudgery of ironing.
- Time: 5-10 minutes
- Difficulty: Easy
What You’ll Need
- Steam cleaner (with garment attachment)
- Clothes hanger
- Hanger clips (optional)
1. Choose the Best Fabric Steamer for Clothes
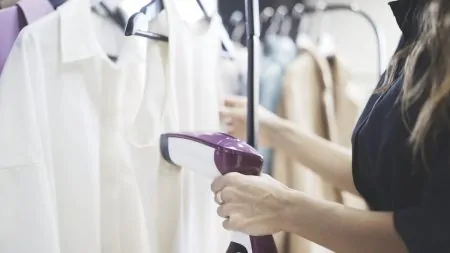
You can buy a portable fabric steamer that’s exclusively for clothing. If you have space, you can get a larger one with a built-in hanger.
Alternatively, you can purchase an all-purpose steam cleaner with an attachment for steaming clothes.
If you already own one of these gadgets, check if the manufacturer sells a compatible accessory. Slim nozzles can draw the steaming process out. You may also end up missing spots as you work. So it’s preferable to use an attachment intended for garments.
2. Clear the Surrounding Area
Ensure that children or pets are out of the room to avoid accidents. Use common sense when you choose a work area. Don’t start steaming next to your expensive make-up collection or in front of peeling wallpaper.
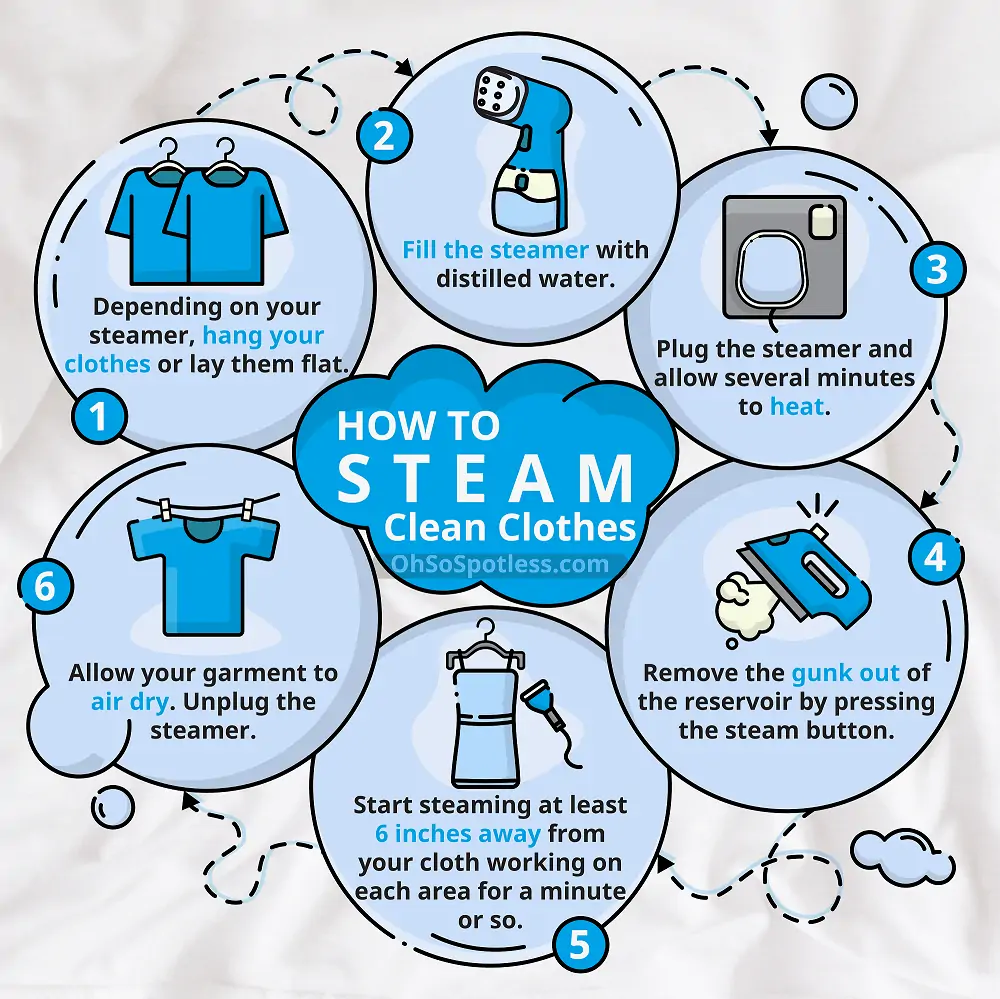
3. Hang Up Your Garment
Place the item you want to steam on a hanger. Don’t use cloth-covered hangers; choose plain hard plastic or metal.
Some clothes require a hanger with clips, such as slacks or skirts. If the clips are plastic, make sure you don’t focus the steam on them for too long.
Always Remove Clothing
4. Prepare Your Clothes Steamer
Fill your steamer’s water tank up to capacity and let it heat up. Attach the accessory for clothes (if you have one).
5. Start Steaming
It’s time to steam your clothes. We’ve provided guidelines for different types of garments.
Warning
Dress Slacks
- Clip up pants: Fold your pants length-wise and clip them to the hanger, bottom-side up.
- Steam top to bottom: Starting at the top (the bottoms of your slacks), steam downwards in slow, smooth motions. You can use your hand to steady the slacks from behind, but be careful not to burn yourself.
- Don’t neglect pockets: Ensure all pockets are neat and unwrinkled.
- Switch sides: Repeat the process on the other side of the pants.

Suit Jacket
- Start at the top: Steam the jacket from top to bottom. Don’t neglect to go under the lapels to straighten them out.
- Steam the back: Turn the suit jacket around or go behind it and do the back. Repeat the same procedure as with the front.
- Steam the arms: One by one, hold the arms of the jacket out by the cuffs and steam them. You can do the arms before or after the body, whichever is convenient for you.

Dress Shirts
- Work your way down: From the shoulders down, run the steamer as close to the shirt as you can. You may want to grab onto the bottom of the shirt and pull it towards you to flatten it out. Wrinkles in dress shirts can be notoriously stubborn, so take your time.
- Do the back: Steam the back as you did with the front, working downwards.
- Steam the arms: Hold each arm out by the cuff and steam it. Move the steamer slowly to get a clean crease.
- Stiff collar and cuffs: Run the fabric steamer over the collar and cuffs of your shirt to straighten them out.
Steaming Dress Shirts

Blouses, Tank Tops, T-Shirts, Jackets, and Sweaters
- Straighten: Pull the bottom of the shirt or sweater out to hold it straight.
- Steam front and back: Run the steamer from top to bottom on both sides.
- Steam sleeves: Hold the cuffs of long-sleeves out and steam them. For shorter sleeves, you shouldn’t need to handle them out to steam them.

Dresses and Skirts
- Steam down: Working from the top of the garment, move the steamer downwards in smooth motions.
- Work underneath for pleats: Passing over the front of the fabric may not suffice for pleated skirts (on dresses or alone). Hold the skirt or dress up and go underneath it to steam the interior, top to bottom.
6. Let the Fabric Dry and Cool Completely
Don’t jump into your freshly steamed clothing straight away. Give the fabric time to cool (at least 15 minutes) and dry off before you wear it or put it away.
FAQs

What are the Benefits of Steaming Clothes?
The benefits of steam cleaning clothes are you get a deep clean, it works as an alternative to a steam iron, and it removes odor-causing bacteria. It’s also a great alternative to dry-clean only clothes.

Is It Better to Iron or Steam Clothes?
It is better to iron clothes than steam clean them because the iron is designed to work on most fabrics and rarely causes creases. A steam cleaner could apply too much moisture, which causes clothes to wrinkle. It is also harder to control where the steam goes.

Can You Steam Jeans?
You can steam jeans instead of using an iron. Another method is to hang them in the bathroom and allow the gentle shower steam to smooth the wrinkles. It’s also great to treat spot creases with moisture and a hairdryer to dry the denim.

Do You Put the Steamer Directly on Clothes?
You can put the steam cleaner directly on clothes if your model has that facility. Some steam cleaners have no access for the steam if laid directly onto the fabric, so it is better to hold the steamer just above the garment.

How Do You Steam Fabric Without a Steamer?
There are several methods of steam cleaning fabric without a steamer. You can pour boiling water into a metal pot, spray water onto the clothes and use the heat to remove wrinkles. Another method is to hang your clothes in the bathroom when you shower.