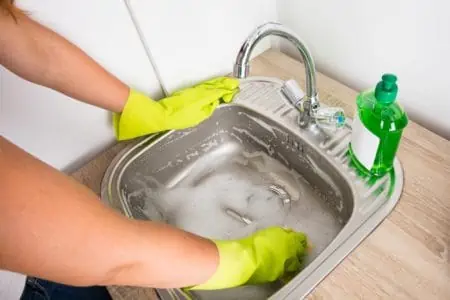
A stainless steel sink is a beautiful and durable addition to any kitchen. However, if you’re not careful you will discover that your lovely sink has developed water spots, rust stains, and scratches. Here’s the best way to clean a stainless steel sink so you can maintain its luster for years to come.
Key Takeaways
- Clean stainless steel sinks daily and deep clean once a week to maintain their shine.
- Use baking soda and vinegar for a gentle yet effective cleaning solution.
- Dry the sink immediately after use to avoid hard water stains and use vinegar to remove existing ones.
- Avoid using abrasive materials, bleach, or allowing items to sit on the sink surface to prevent damage.
- How Often Should You Clean a Stainless Steel Sink?
- How to Clean a Stainless Steel Sink
- How to Clean Hard Water Stains On a Stainless Steel Sink
- What to Avoid When Cleaning Stainless Steel
- Best Products to Clean a Stainless Steel Sink
- How to Polish a Stainless Steel Sink to a Mirror Finish
- How to Keep a Stainless Steel Sink Clean
- FAQs
- Cleaning Stainless Steel Sinks
How Often Should You Clean a Stainless Steel Sink?
Stainless steel sinks should be wiped down daily to remove all the food, crumbs, and debris. The food and debris will allow bacteria to breed and attract flies. You also need to make sure that your kitchen sponges, rags, and rubber mats are removed from the sink so they don’t cause discoloration.
A stainless steel sink also needs to be deep cleaned once a week to help it maintain its luster.
How to Clean a Stainless Steel Sink
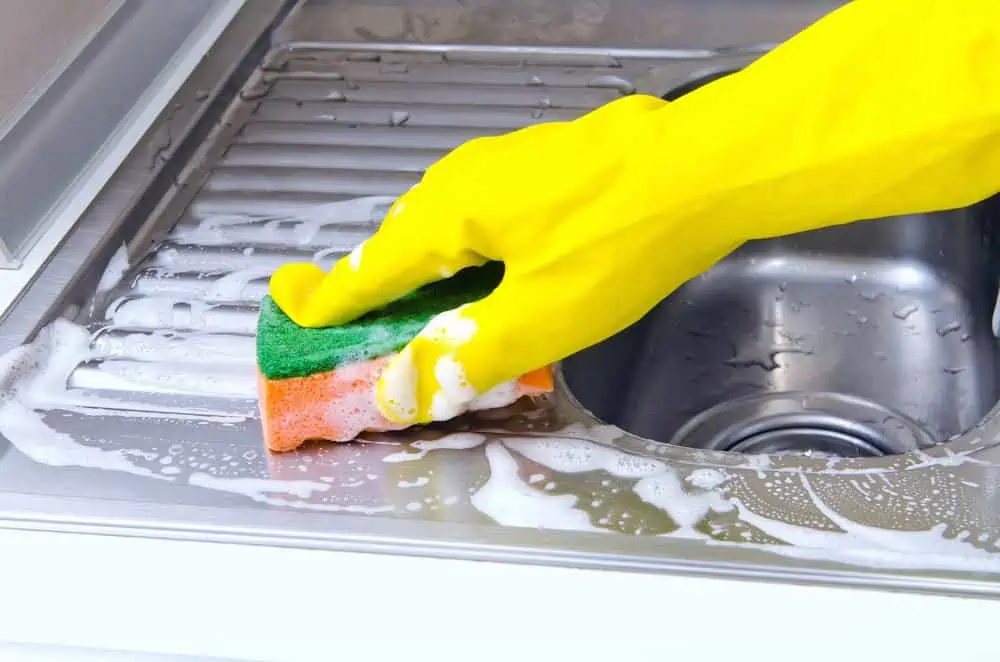
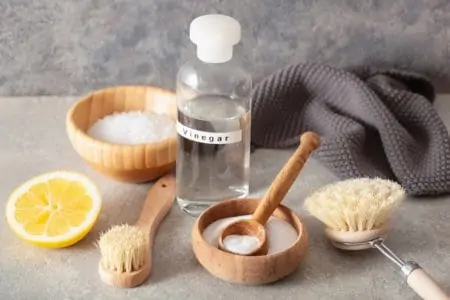
Cleaning a stainless steel sink without scratching your sink is easy if you use vinegar and baking soda.
- Time: 15-20 minutes
- Difficulty: Beginner
What You’ll Need
- 2 kitchen towels
- Nylon brush with soft to medium bristles
- Old toothbrush
- Spray bottle
- Bowl
- Baking soda
- Distilled white vinegar
- Corn starch
1. Remove All Food Particles
Remove all the food and kitchen items from your sink. Then take a kitchen towel and scrape all the food bits out of the top of the drain pipe. Then wipe the sink with your towel to remove all of the excess scraps lingering on the surface.
Rinse the sink with water to remove the last of the food particles in the sink.
2. Sprinkle Baking Soda
Sprinkle baking soda all over the sink as evenly as possible. Baking soda is gentle enough not to scratch the stainless steel sink but strong enough to remove any grease and light hard water deposits. The baking soda will also remove any odd odors lingering in your sink.
Use a nylon brush to scrub your sink with baking soda in the direction of the grain. Use a toothbrush to scrub the baking soda into tighter spaces and around the fixtures.
3. Spray Vinegar On the Sink
Put undiluted vinegar into a spray bottle and spray your sink with vinegar. Wait 5 minutes to give the vinegar time to work. Vinegar will disinfect your sink while helping to dissolve the calcium deposits that cause water spots.
Quick Tip
Substitute lemon juice for the vinegar if you don’t like the smell of vinegar.
4. Rinse and Dry the Sink
Rinse off the vinegar and baking soda. Immediately dry your sink with a clean and dry kitchen towel to avoid new water spots from developing.
5. Remove Stains (Optional)
If you have some stubborn stains that have not been removed, mix 1 cup of white vinegar with 1⁄4 cup of cream of tartar in a bowl until you have a paste. It’s best to only use this paste if needed.
Put the paste on the stain and rub it into the stain with a cloth. Wait 5 minutes before rinsing the sink with warm water. Wipe your sink dry.
6. Buff Sink
Pour some olive oil onto a clean kitchen towel. Buff the oil into your sink to make it shine.
How to Clean Hard Water Stains On a Stainless Steel Sink
Hard water leaves ugly spots on your stainless steel sink. The best way to avoid the stains is to dry your sink immediately after using it. However, sometimes you need to restore your sink and remove the hard water stains.
Vinegar is an excellent and cheap product for removing hard water stains. The acidity of the vinegar will break up the limescale deposits.
- Time: 15 minutes
- Difficulty: Beginner
What You’ll Need
- 2 Microfiber cloths
- Distilled white vinegar
- Bowl (optional)
1. Clean the Sink
Make sure your stainless steel sink is clean before you begin.
2. Wipe the Sink with Vinegar
Pour some vinegar onto a microfiber cloth. Or you can pour the vinegar into a bowl and dip your cloth into the bowl. Make sure the cloth is saturated.
Wipe the hard water stain with your damp cloth. Scrub the stain using small circular motions and saturate your cloth as needed. Keep rubbing until the stain has been removed then move to the next stain.
Continue until all of the stains have been removed.
3. Rinse the Sink
Rinse the cloth under running water to remove the vinegar. Next, use the damp cloth to rinse the entire sink. Make sure that all of the vinegar has been removed from the surface of the sink.
4. Dry the Sink
Use a clean and dry microfiber cloth to dry your stainless steel sink.
What to Avoid When Cleaning Stainless Steel
When washing a stainless steel sink, you will need to take precautions not to damage your sink accidentally.
- Don’t allow soaps, cleaners, sponges, towels, dish mats, or rags to dry on the surface of your sink. In addition to harboring bacteria, they may dull the surface of your sink because they trap water underneath them. This may cause your sink to become discolored and stained.
- Rinse your sink regularly to keep any chlorides in the cleansers you use from dulling the shine of your sink.
- Don’t use steel wool pads. It leaves iron particles behind that may cause your sink to rust and corrode.
- Avoid leaving steel and cast iron cookware in your sink for long periods. The iron combined with the moisture can cause the surface of your sink to rust or stain.
- Never use bleach on your stainless steel sink. The chlorine and stainless steel may react and cause staining.
Best Products to Clean a Stainless Steel Sink
Some of the best commercial products you can use to clean your stainless steel sink are:
- Bar Keeper’s Friend
- Weiman Stainless Steel Sink and Pots & Pans Cleaner and Polish
- Therapy Stainless Steel Cleaner Kit
- Hope’s Perfect Sink Cleaner and Polish.
How to Polish a Stainless Steel Sink to a Mirror Finish
If you’d like to polish the metal of your stainless steel sink to a mirror finish, don’t purchase an expensive polishing kit. Try flour instead.
- Time: 5-10 minutes
- Difficulty: Beginner
What You’ll Need
- Soft cloth
- Flour
1. Clean and Dry Sink
Clean and dry your stainless steel sink. It should be completely dry before you begin to polish it.
2. Sprinkle Flour
Sprinkle a generous amount of flour all over the surface of your sink. You want a thick layer covering the entire surface.
3. Buff Sink
Use a soft cloth to buff the flour into your sink until it shines.
How to Keep a Stainless Steel Sink Clean
The best way to maintain your stainless steel sink is to make sure that it stays clean. Here are some easy tips:
- Give your sink a quick rinse each time you use it.
- Spray your sink with your favorite kitchen cleaner and wipe it daily.
- If you live in an area with hard water, check for hard water stains every day. Remove the stains immediately with vinegar.
FAQs

How Do You Deep Clean a Stainless Steel Sink?
Deep clean your stainless steel sink by rinsing the sink with water. Then sprinkle baking soda all over the sink. Use a soft cloth to scrub the baking soda into the sink making sure that you scrub in the direction of the grain.
Spray undiluted white vinegar onto your sink and wait a few minutes. Rinse and dry your sink before buffing it with olive oil.

Can You Use a Magic Eraser on Stainless Steel?
Magic Eraser is an abrasive sponge, so it’s best not to use it to clean your stainless steel sink. Small scratches may be left afterward.

Can You Use Windex on Stainless Steel?
Yes, Windex can be used on stainless steel. Spray the glass cleaner onto a microfiber cloth and use the cloth to buff your stainless steel to a shine.

How Do You Get Rid of Scratches on Stainless Steel?
You can remove scratches on stainless steel with Barkeeper’s Friend or another stainless steel cleaner and polish.

Can You Ruin Stainless Steel?
You can ruin stainless steel by using the wrong cleaning detergents. Bleach is so abrasive it can even make stainless steel go rusty.

Do Paper Towels Scratch Stainless Steel?
Paper towels do scratch stainless steel appliances. Try using a microfiber cloth instead if you want to avoid tarnishing your stainless steel surfaces.
Cleaning Stainless Steel Sinks
Cleaning your sink is easier than you think. Our methods above are quick and easy to follow so that you can have a spotless sink.