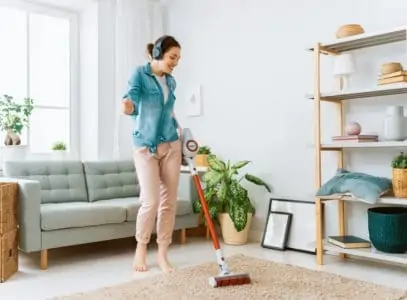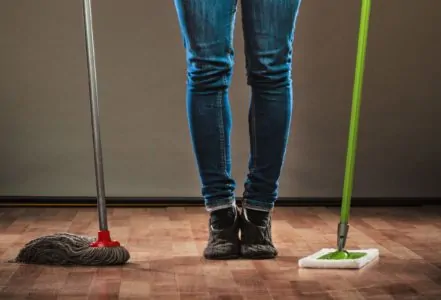
Like everything else in the home, a steam mop has to be cleaned regularly. We recommend cleaning it after every use. This will keep your floors immaculate and extend the life of your steam mop.
Don’t worry, cleaning your steam mop isn’t going to take all day. There are only a few simple steps to follow.
Regular maintenance is required to keep your steam mop up and running. Whether you own a Shark or another brand of steam mop, cleaning them is the same. Let’s look at the best methods.
Key Takeaways
- Unplug the steam mop and empty the water tank after each use to prevent damage and mold growth.
- Clean the water tank with a cloth and a 2:1 ratio of water and vinegar to remove limescale.
- Wash or replace mop pads after every use to avoid bacteria buildup.
- Periodically clean the nozzles, especially if using hard water, to prevent blockages and maintain steam flow.
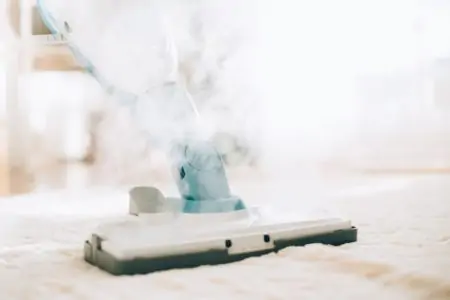
How to Clean a Steam Mop
We’ve condensed all the information you need to know about how to clean a steam mop. There are six easy steps — you can use this as your cleaning guide.
- Time: 25 minutes
- Difficulty: Easy
1. Unplug Your Steam Mop
Before you clean your steam mop, unplug it from the power outlet. The last thing we want is an accident. This is especially necessary if you’ve got a model that automatically releases steam when it’s plugged in.
Don’t forget that steam is water that’s heated up to 300 degrees Fahrenheit so that it may scald your skin (1).
If you’ve been scrubbing with your steam mop, give it about 15 minutes to cool down fully.
2. Empty the Water Tank
If you’ve not used up all the water in the tank, it may be tempting to leave it in there. You’ll be using your steam mop soon anyway, right?
Wrong. This is not a good idea. Water that is left sitting may damage your machine. It could lead to corrosion and shorten the mop’s lifespan.
There is also a risk of mold developing inside the water tank. Mold can grow in warm and damp areas, creating spores that can spread (2). There may even be a bad smell after a while.
So, the best thing to do is empty the water tank every time you use your steam mop. Yes, even if there’s only a little left inside.
3. Clean the Water Tank
Some steam mops allow you to detach the water tank, making this step a lot easier. Take a cloth and clean around the inside of the tank. The mop may gather some dirt and grime from there.
Depending on what water you use for cleaning, there might be some scaling on your steam mop (3). This can look like a white haze on the plastic. An excellent way to get rid of limescale is to use vinegar.
Vinegar has natural antimicrobial properties, so you can avoid buying cleaning solutions (4). Be sure to dilute with plenty of water since vinegar contains acid. A 2:1 ratio of water and vinegar is suitable.
Dry the water tank with a cloth before attaching it to the machine. You don’t need to fill it up with water — simply do this when you next use your steam mop.
Take Note
Steam has the natural ability to kill a range of pathogens. These include E. coli, VRE, MRSA, Salmonella, Staphylococcus, Clostridium difficile, and Aspergillus niger (5).
You can ensure your floor is safe for young children this way. Using cleaning solutions in the water tank may also damage your steam mop.
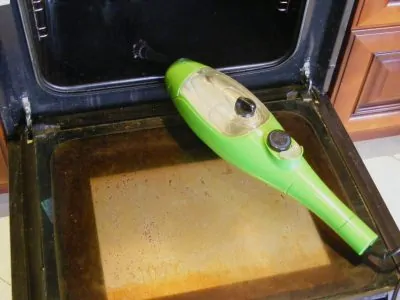
4. Clean the Nozzles
You may have to clean the nozzles on your steam mop periodically. This is particularly true if you’ve used hard water in your water tank. There are limestone and minerals present in hard water from the faucet, and over time, these can block the nozzles.
A good way to avoid mineral residue is to use distilled or demineralized water in the tank. Steam will be able to flow freely from your steam mop. It may extend the life of your machine.
If your steam mop suddenly stops emitting steam, this may be because the nozzles are clogged. But you may not have to rush out and buy another one. All you’ve got to do is un-attach the mop head base and access the nozzles.
You might need a screwdriver to get the base plate off. This is common on Bissell steam mops, as the nozzles are located in the base.
If there is build-up, you may be able to see it around the nozzles. A cotton pad might be enough to unblock them. But if the residue is inside the nozzles, you might need a thin pin to clear them.
Some steam mop brands supply you with a device to help you with this step. For example, Shark steam mops come with a nozzle cleaner. You use this to unblock the nozzle by pushing it forward and backward.
If you don’t get a tool with your steam mop, you can simply use a paperclip. Then you re-attach the mop head, and it’s all clean and ready to use again.
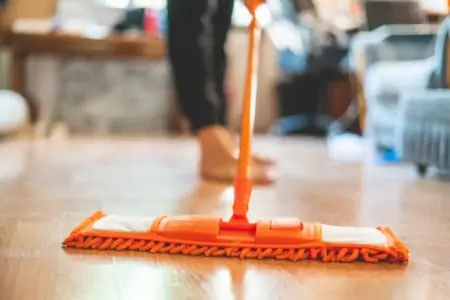
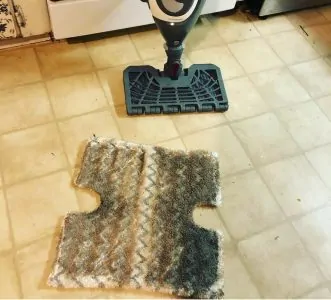
5. Change or Wash the Mop Pads
We recommend washing your mop pad after every use. This can stop contaminants and bacteria from building up. Of course, if you use disposable pads, discard them after each use.
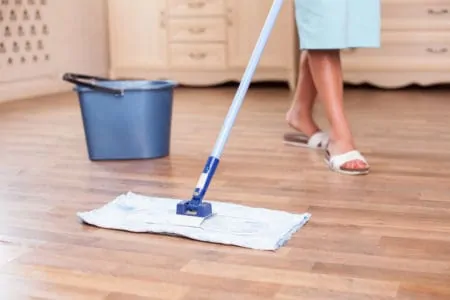
If your mop pads are made from microfiber or cotton, they’re generally reusable. You can wash them by hand or in the washing machine.
To wash by hand, use one teaspoon of a mild liquid detergent or baking soda. Mix it into a bucket of hot water. Soak the mop heads for 30 minutes before rinsing with clean water.
Avoid using bleach or fabric softeners, which can reduce the microfiber’s absorption quality and damage the fabric.
Microorganisms are destroyed with hot water at a temperature of at least 160 degrees Fahrenheit for 25 minutes (6). So, if washing in the machine, choose an appliance with this ability.
You may be able to dry mop pads on a low setting in the tumble dryer. But if you’re unsure, air dry them.
This helps prevent moisture lingering on the material and growing mold in storage. It can also prevent unwanted odors. Leave the mop pad out flat to dry then you can re-attach it to the mop head.
Most manufacturers will provide the proper cleaning requirements with their products, so it’s best to check before your mission.
6. Wipe Over the Steam Mop
The last step is to simply wipe over the exterior of the steam mop. This includes anywhere you can spot moisture, to avoid mold growth. In particular, check the base where the mop pad has been.
You can do this simply with a dry cloth. Give it a once-over, and it’ll be ready to store in your laundry room.
FAQs

How Do You Maintain a Steam Cleaner?
The best way to maintain a steam cleaner is to mix one and a half ounces of baking soda with one quart of water and pour it into the water reservoir. Switch on the steam cleaner and wait while the cleaning solution flushes through the system.

How Often Do You Need to Descale a Steam Mop?
You must descale your steam mop every two to four weeks. If you use the mop more frequently, you may need to descale it weekly.

How Do I Stop My Steam Mop From Smelling?
The best way to stop your steam mop from smelling is to pour white vinegar and water into the reservoir and switch it on. The vinegar solution kills bacteria that create odors and descales the inside your steam mop.

What Cleaner Can You Use In a Steam Mop?
White vinegar, like this Lucy’s Family-Owned Distilled Vinegar, kills bacteria, disinfects, and is 100 percent natural. It descales inside your steam mop and keeps it working as it should for longer.
In Summary
If you want your flooring spic and span, you may want to start with a fresh and clean steam mop. It’s going to save you time if you wash your steam mop after every use.
Always be sure to unplug it before cleaning, and start with the water tank. Emptying it and scrubbing shouldn’t take long if you get into the habit of doing it every time.
You may only have to clean the nozzles periodically, such as when the steam isn’t emitting strongly enough. Remember to throw the mop pad in the trash or the washing machine while you wipe the exterior.