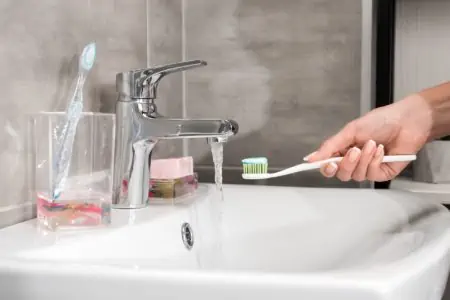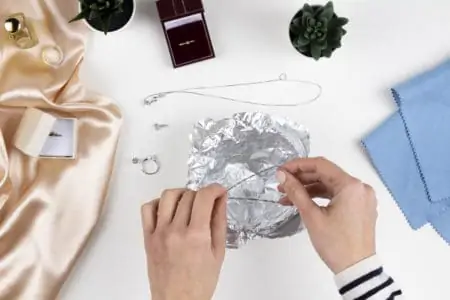
If someone has gifted you (or let’s be real, you treated yourself) some beautiful silver jewelry, it’s important to keep it clean. This prevents dulling, fading, and tarnishing.
We’ll share the best tips on how to clean silver jewelry as well as how to prevent damage. Now, your favorite pieces will continue to sparkle bright, even if they’re decades old!
Key Takeaways
- Clean silver jewelry with methods like baking soda, vinegar, soapy water, or a silver cleaning cloth.
- Prevent tarnishing by avoiding sulfur-rich substances and storing silver properly.
- Real silver can turn black due to hydrogen sulfide exposure, but it can be cleaned and restored.
- Regular cleaning and proper care will help keep silver jewelry looking shiny and new.
Does Real Silver Turn Black?
Yes, real silver can turn black. If yours starts to change color, you’ve not been given a fake piece of jewelry so don’t be mad!
This happens because of the reaction of silver to a gas called hydrogen sulfide, which causes tarnish (1). Tarnishing can also occur if the jewelry comes in contact with things that contain sulfur compounds such as hard boiled eggs, mayonnaise, mustard, and rubber bands.
Tarnish is a visible color change to the jewelry. It can be removed, but that may cause some of the silver to be removed, too.
On the other hand, you may notice your silver looks duller. This is different from tarnishing as it’s not a color replacement, just color loss. Silver dulls with time — it’s totally normal. This is an easier fix than removing tarnishing, so if your silver jewelry is looking a little less sparkly, don’t panic.
How to Clean Silver Jewelry
It’s time to bring your silver jewelry back to its original state. We’ll share a few cleaning methods, so you can wear your favorite pieces again with pride.
Baking Soda Method
For this method, you only need a cup, aluminum foil, baking soda, and boiled water. You can use this method for pure sterling silver jewelry or silver-plated jewelry. You can even use this for other items, such as silver cutlery.
Just note that if it’s silver plated, it won’t be stamped. Therefore, if it’s turned a copper color, the plating has probably worn off and is past the point of fixing with a cleaning method.
- Put a piece of aluminum foil in the bottom of the cup you’re using ensuring it covers the whole bottom area.
- Add a tablespoon of baking soda to the cup.
- Add the jewelry that needs cleaning to the cup.
- Pour the boiled water into the cup, making sure the jewelry is submerged.
- Use a fork or spoon, to stir the jewelry in the solution. The water will smell because of the release of hydrogen sulfide gas (2).
- After about a minute, remove the items. Be careful, they’ll be hot.
- Dry them with a cloth.
Pro Tip
Baking Soda and Vinegar
This is similar to the above method but is a little more intense due to the added white vinegar. This is great for tarnished silver. Do you want to shine up your jewelry for little to no cost? Follow these tips:
- Put a piece of aluminum foil at the bottom of a bowl.
- Add a teaspoon of salt.
- Add a tablespoon of baking soda.
- Pour half a cup of boiling water.
- Add half a cup of distilled white vinegar.
- Now add your jewelry, making sure the jewelry touches the foil.
- Leave for a few minutes.
- Remove the jewelry and dry with a microfiber cloth.
Silver Cleaning Cloth
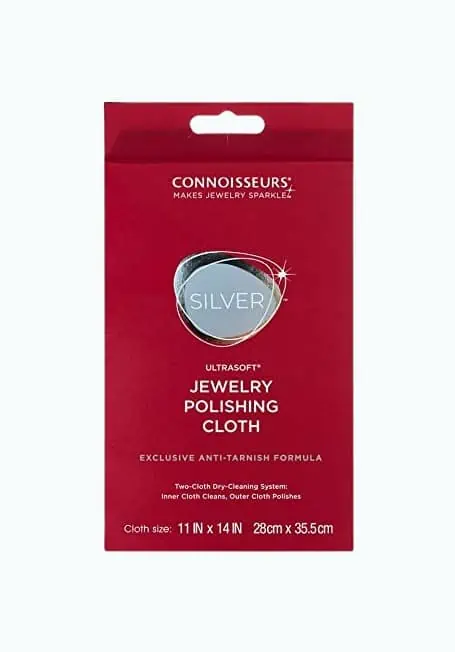
You should invest in a good silver cleaning cloth. This is a great way to maintain the appearance of your silver jewelry so it’s less likely to get tarnished or dulled.
These cloths are made from 100 percent cotton and are infused with an anti-tarnish agent. They shouldn’t be washed, otherwise, this agent will get removed. You can use them for a few months before needing a new one.
To use, simply rub the silver jewelry and it should instantly spruce it up!
Soapy Water
Warm soapy water can work well on tarnished jewelry. To try this method, follow these steps:
- Add dish soap to a bowl of warm water.
- Add your jewelry and wait 30 minutes.
- Transfer the jewelry to another bowl with clean water.
- Use a toothbrush to gently wipe off any remaining tarnish or dirt.
- Rinse under warm water.
- Lay the jewelry on a dry towel until it’s completely dry.
White Vinegar
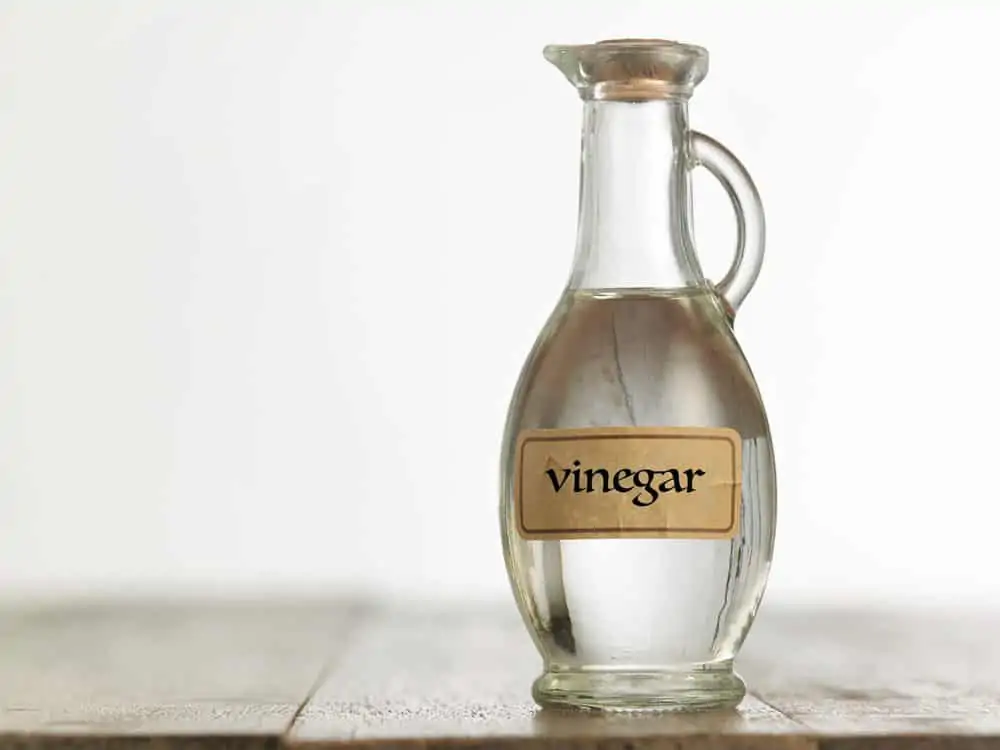
You can use distilled white vinegar and water to remove tarnish on your silver jewelry. It’s also great for cleaning grooves and around stones and gems on your jewelry. If you’re wanting to shine up the jewelry, this will also bring back some sparkle!
- Combine a 1:1 ratio of water and vinegar in a bowl.
- Mix together.
- Dip a toothbrush into the solution and gently brush the jewelry, focusing longer on the tarnished areas.
- Don’t forget the grooves and stones.
- Air dry the jewelry on a towel.
Caution
Baking Soda Paste
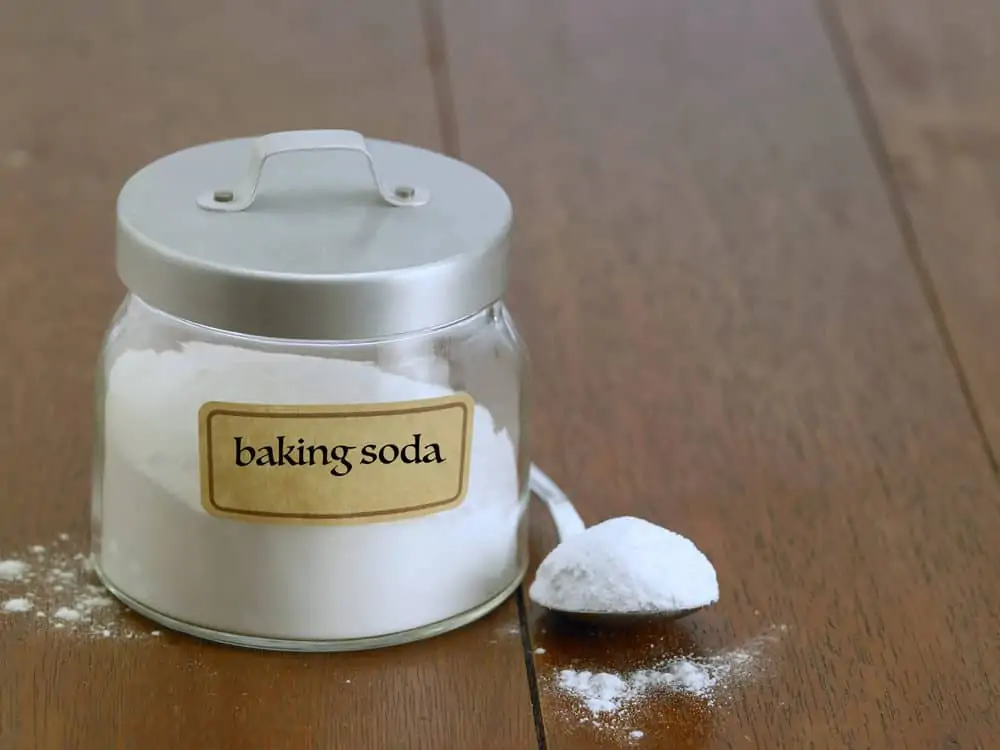
This is a great way to remove tarnish and give your jewelry a general clean. It’s super cost-effective and completely natural. Keep in mind that baking soda can scratch delicate metals since it is abrasive.
- Mix together a 2:1 ratio of baking soda and water in a bowl until you have a paste. You may need to adjust the quantities to make a thick paste.
- Use a toothbrush to evenly distribute the paste over the jewelry.
- After a few minutes, rinse the jewelry.
- Dry with a microfiber cloth.
Alternative Tip
Lemon and Olive Oil
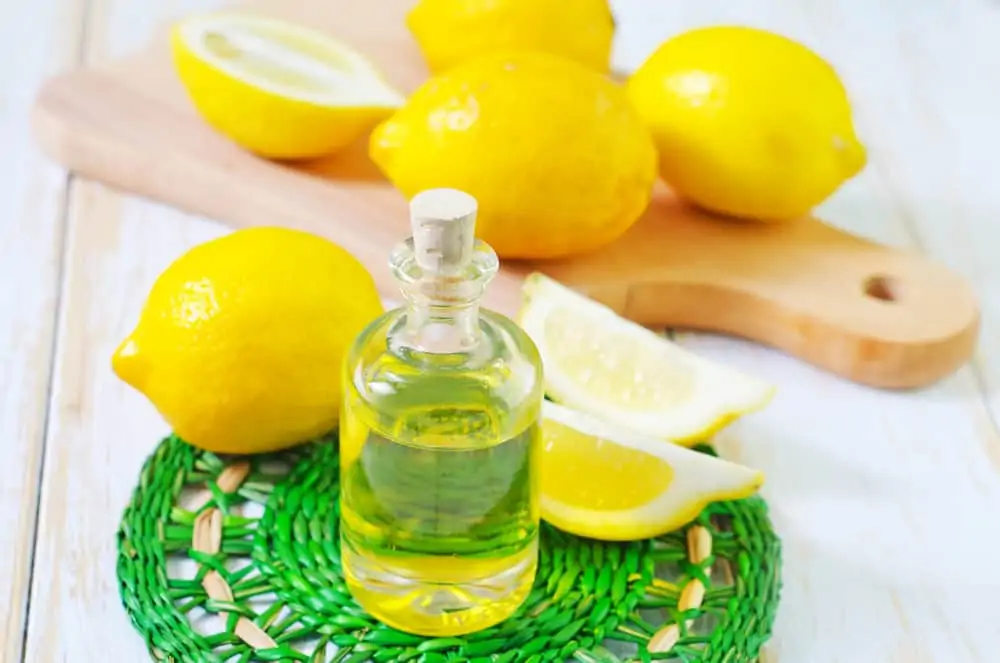
This is a fantastic method if you want to bring back some shine to your silver jewelry.
- Mix half a cup of lemon juice and one teaspoon of olive oil in a cup.
- Dip a microfiber cloth into the solution.
- Apply it to the jewelry. Rub gently to bring back shine.
- Rinse well.
- Air dry on a towel.
Toothpaste
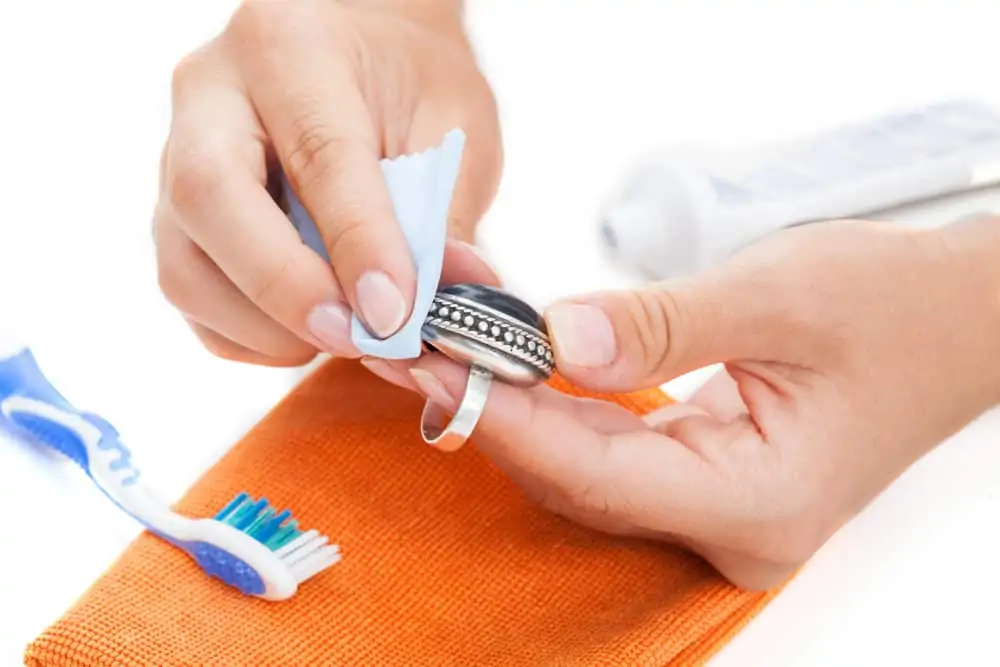
Toothpaste is a very versatile product. It can do more than just clean your teeth. When it comes to silver jewelry, use a little toothpaste to thoroughly clean your jewelry.
Just Watch Out
- Add a small amount of toothpaste to a soft-bristled toothbrush.
- Gently brush the jewelry until it’s thoroughly coated.
- Rinse well.
- Air dry on a towel.
Commercial Cleaner
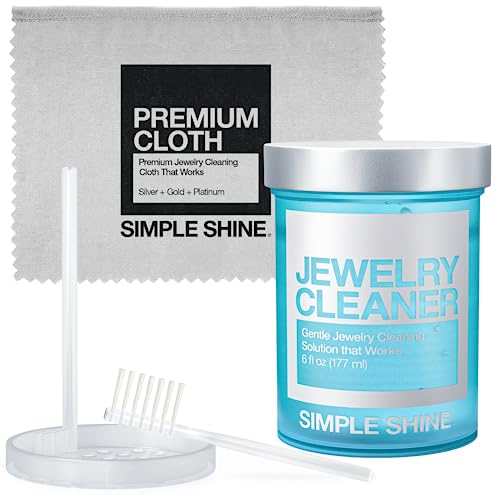
Why not invest in a commercial cleaner for cleaning silver? That way you’re getting something that will definitely work and is formulated to be kind on your jewelry.
We recommend the Simple Shine Cleaner. It’s perfect for sterling silver as well as pearls, beads, porous stones, soft stones, enamel, treated gemstones, and more.
There are lots of options on the market so look around to find one that will work on your jewelry.
Take It to the Jewellers
At the end of the day, you could take your silver jewelry to a jeweller. They’ll clean it properly, professionally, and thoroughly. Plus, a cleaning service isn’t too expensive! You have the added assurance that they won’t damage the pieces either.
How to Prevent Silver from Tarnishing
The key to beautiful silver jewelry is prevention. Here are five top tips for preventing silver from tarnishing:
- Don’t wear your silver jewelry in chlorinated water. Try and remove it before showering or bathing, too. Also, remove before exercise.
- Avoid wearing it around things that are heavy with sulfur compounds such as eggs and mayonnaise.
- When storing silver, make sure it’s not in a hot or humid place. A china cabinet is ideal for storing silver. You should also keep the jewelry in a flannel-coated bag or cloth. This will prevent tarnishing.
- Put your jewelry on after you’ve sprayed perfume and applied moisturizer.
- Wear your silver often. It’s actually better for the silver to be worn than it is to be sitting around for a long time.
Extra Tip
FAQs on How to Clean Silver Jewelry

Is 925 Silver Good Quality?
Yes, 925 silver is good quality. It’s what you’re likely to find in the store, over pure silver, since pure silver is soft and flexible (3). 925 silver is 92.5 percent silver and the rest is another metal, such as copper. This extra hardness makes the jewelry more durable.

How Do You Clean Severely Tarnished Silver?
The best methods for this are:
- The baking soda and vinegar method.
- The silver cleaning cloth method.
- The soapy water method.
- The white vinegar method.
- The baking soda paste method.
But above all, if it’s severely tarnished, take it to the jewelers.

Can Coca Cola Clean Silver?
You can try but it’s probably not as effective as the other tips. If you want to go give it a go, follow these steps:
- Place the jewelry in a cup or bowl.
- Pour Coca-Cola over it ensuring it’s completely submerged.
- Wait between one and three hours depending on how dirty or tarnished the silver is.
- Remove and rinse with warm water.
- Let it air dry on a towel.

What is the Difference Between Pure Silver and Sterling Silver?
The difference between pure silver and sterling silver is the silver content. Pure silver looks the same as Sterling silver but is far less durable. Sterling silver has other metals added to improve its strength.

What Should You Not Use on Silver?
You should not use a stiff bristle brush on silver because it tarnishes the surface. Also, avoid dedicated silver cleaners because they contain chemicals that could damage rather than clean.

Can Cleaning Silver With Baking Soda Damage it?
Cleaning silver with baking soda won’t damage it, provided it is Sterling silver. Baking soda cleans lots of metals, but could cause a slight discoloration.
Shine and Sparkle
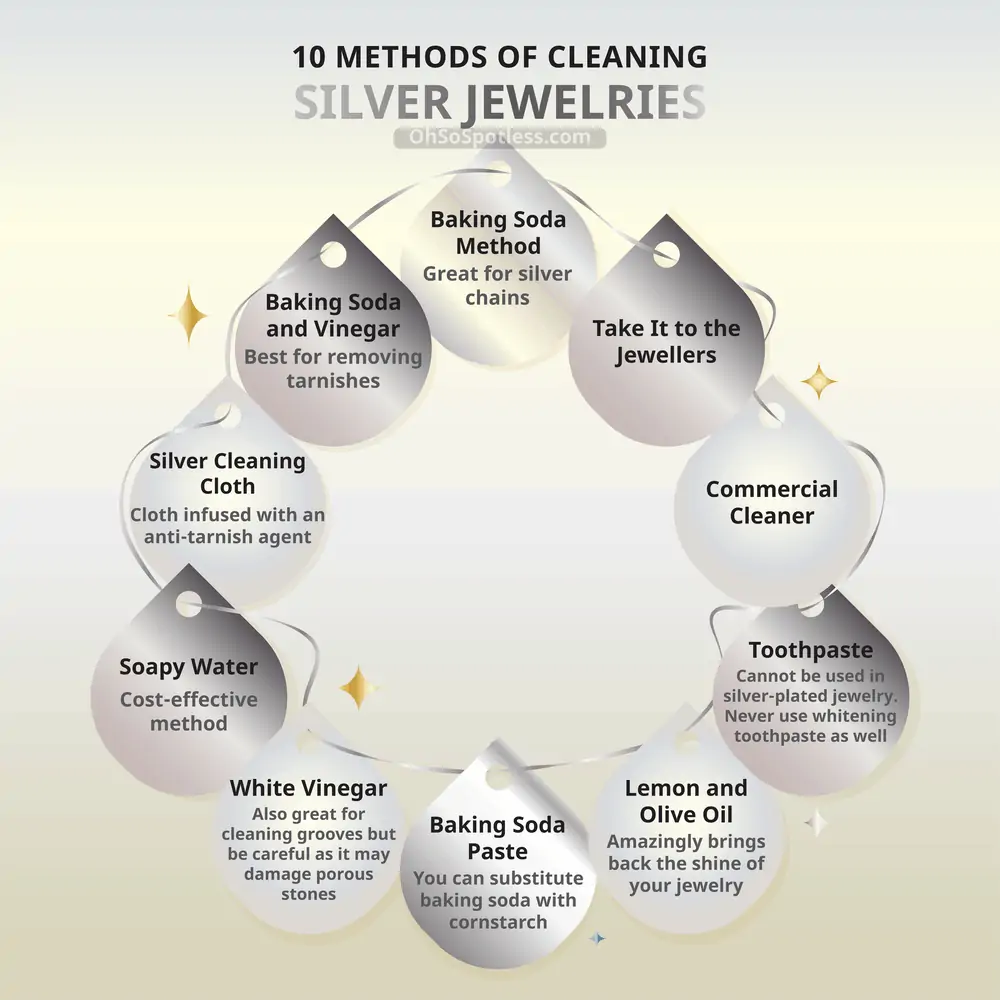
Now that you know how to clean silver jewelry, you can wear it again with pride! These 10 methods will get your jewelry from dull and tarnished back to shiny, silver, and sparkly.
Most of these methods can be done using ingredients you already have in the home. Baking soda, vinegar, and lemon can go a long way. They’re great for shining your jewelry and removing tarnish.
However, when in doubt, see a professional about your tarnished jewelry. They can help restore it back to beauty without a huge cost!