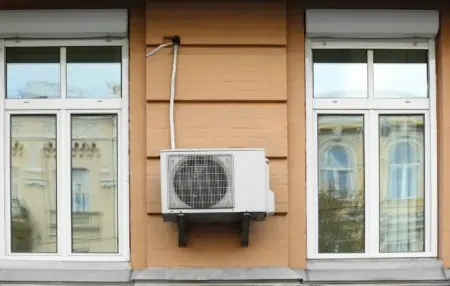
Nothing is better on a hot summer day than sitting in front of your window air conditioner unit enjoying the cool air blowing on you. However, window AC units will need to be cleaned regularly to prevent mold, dirt, and debris from developing inside them. So today, we’re discussing how to clean a window AC unit so you can enjoy the cool air all summer long.
Key Takeaways
- Clean your window AC unit’s filter every month and replace it every three months to prevent mold and ensure efficiency.
- Unplug the air conditioner, remove the front panel, and vacuum the interior, including the filter, evaporator, and condenser.
- Spray hydrogen peroxide into the AC unit, wait for 10-20 minutes, and then wipe it off with a clean microfiber cloth.
- To prevent mold growth, use a hydrogen peroxide spray, drain drip pans regularly, and ensure the unit is dry before storing.
How Often Should You Clean a Window AC Unit?
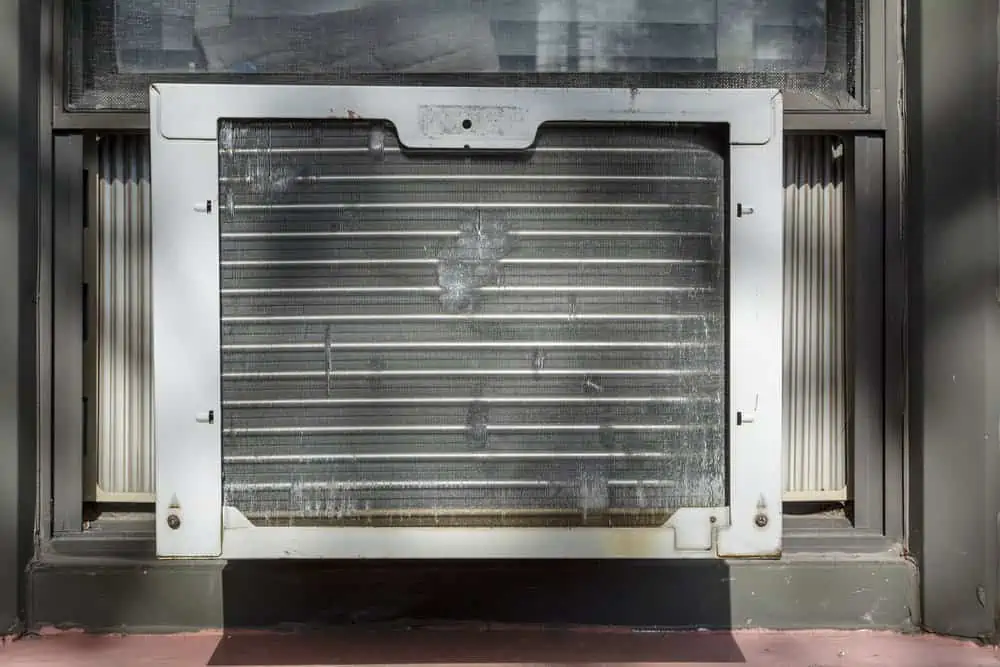
A clean window air conditioner keeps your AC working well and prevents mold and mildew from growing in the unit. It also reduces your energy bill and your need for costly repairs. In addition, your air conditioner will produce cleaner air.
To maintain a clean window air conditioner, you should clean the filter every month and replace it every three months.
Also deep clean your air conditioner once a year. The best time is at the beginning of summer to ensure that it runs smoothly with clean air all summer long.
How to Clean Window AC Unit Without Removing It
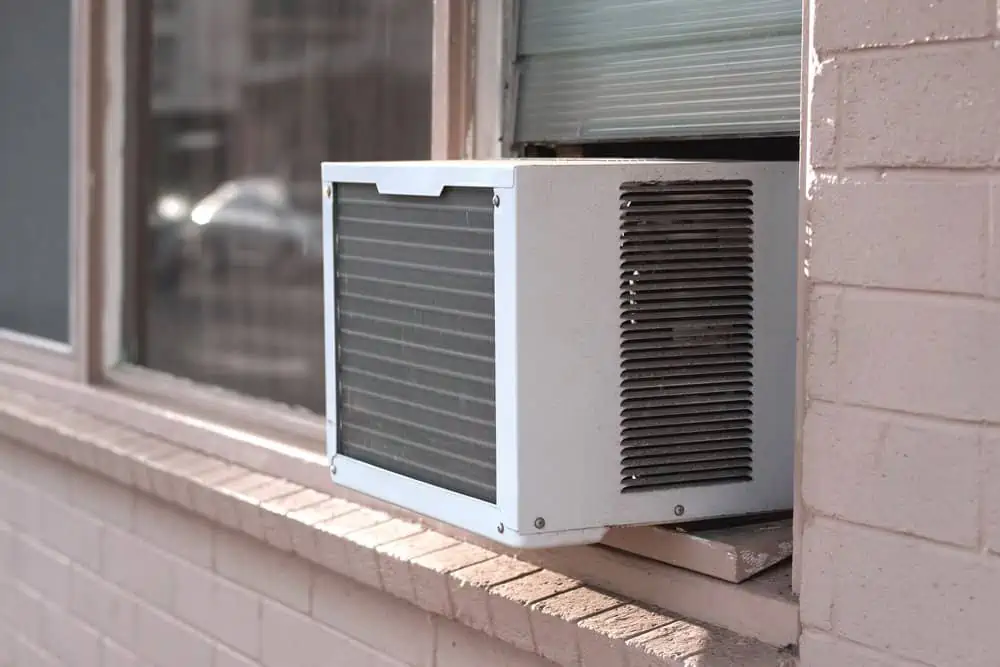
Cleaning your air conditioner properly will require hydrogen peroxide which has potent anti-fungal properties. The hydrogen peroxide will remove the mold spores hiding in your AC unit.
- Time: 1-2 hours + dry time
- Difficulty: Beginner
What You’ll Need
- 3% hydrogen peroxide solution
- Spray bottle
- Screwdriver
- 3-4 microfiber cloths
- Garden hose (optional)
- Vacuum and attachments such as soft brush
- Protective gloves
- Knife or fin comb
1. Prepare for Cleaning Your Window AC Unit
Unplug your unit to prevent an accidental shock and fill a spray bottle with your hydrogen peroxide solution.
2. Clean Face Panel or Grill Cover
Remove the face panel or grill cover which is the plastic or metal grate attached to the front of your air conditioner. It’s usually secured to the unit with screws, clips, or tabs. Be sure to check your user manual for specific instructions on how to remove the face panel of your air conditioner.
Once you have removed the face panel, spray the panel down with your hydrogen peroxide cleaning solution. Then wipe the solution off with a clean microfiber cloth.
Another option is to take the panel outside and spray it down with a garden hose.
Set the face panel aside to dry while you clean the rest of the air conditioner.
3. Remove and Clean Filter
Remove your air conditioner’s filter which is sometimes found inside the face panel.
Use the brush attachment on your vacuum to vacuum up all of the residue and deposits in the filter. Dampen a microfiber cloth and use it to wipe off any dust and debris that’s left in the filter after the vacuuming. For a deeper clean, you can take the filter outside to your lawn to spray it with the garden hose.
Set the filter aside and leave it for several hours to allow it to dry thoroughly. It speeds up the process if you turn the filter over halfway after an hour or two of drying to allow the other side of the filter to air dry as well.
Make sure that the filter is completely dry before putting it back in your AC unit. Any moisture in your AC unit will encourage the growth of mold, mildew, and bacteria.
4. Vacuum Interior of AC Unit
Use the vacuum attachment to vacuum out the interior of your AC unit. Make sure that you remember to vacuum the drain pan, fan, and blower in the middle. Also, vacuum the evaporator at the front of the AC unit and the condenser in the back.
Use the soft brush attachment on your vacuum when you’re vacuuming the fins. Make sure to vacuum in the same direction as the fins so you don’t damage or bend them.
Quick Tip
The aluminum fins can be sharp which is why we recommended that you wear protective gloves.
5. Spray AC Unit with Hydrogen Peroxide
Spray down the interior cabinet and the exterior housing with your cleaning solution. Make sure you also spray the evaporator and condenser coils as well. Wait 10-20 minutes.
You can allow the cleaning solution to air dry, or you can rinse it off with water using a damp microfiber cloth. However, make sure to give the cleaning solution 10-20 minutes to work before wiping down everything you can reach.
6. Straighten the Fins
Bent fins will reduce the efficiency of your air conditioner and may even cause it to stop working. Make sure you’re wearing protective gloves.
Insert a knife or the fin comb into the space between the fins. Then run the knife parallel with the surrounding fins to straighten the bent fins. Keep working until all the fins are straight.
7. Reassemble Your AC Unit
Allow your AC unit several hours to dry thoroughly. Once the parts are dry, reassemble your AC unit.
How to Clean a Window AC Unit With Mold
Window AC cleaning is important, especially if you discover a musty smell coming from your AC unit. You will need to remove the mold.
- Time: 1-2 hours + dry time
- Difficulty: Beginner
What You’ll Need
- Screwdriver
- Bucket
- Laundry detergent
- Dish soap
- Bleach
- Vacuum and attachments
- Microfiber cloths
- Scrub brush
- Face mask
- Protective goggles
- Protective gloves
1. Prepare to Clean
Put on your face mask, eyewear, and protective gloves. Then turn off and unplug your AC unit. Remove the front panel and the air filter.
2. Clean or Replace Filter
Depending upon the model of your AC unit, you will either throw away and replace the filter or clean it. Some filters are able to be washed while others need to be trashed and replaced. Read your user manual for specific instructions for your AC unit.
To clean the filter, fill a container with hot water and add a small amount of laundry detergent to the water. Mix thoroughly.
Immerse your filter and allow it to soak for 15 minutes. Then use a scrub brush to scrub the filter clean.
3. Clean Behind Front Panel
Remove the metal cover behind the front panel and lift it. Use the vacuum hose attachments to vacuum up all the debris lurking inside your AC unit.
4. Clean Air Conditioner
Make a window AC cleaner by mixing ½ cup of bleach, 1 tablespoon of mild dish soap, and 3 gallons of hot water. Use a cloth or scrub brush to scrub the moldy areas of your air conditioner. Clean the front panel of the air conditioner as well, especially if it’s moldy.
Let the solution sit on the air conditioner for 10 minutes.
Use a damp microfiber cloth to rinse the air conditioner with fresh water.
5. Dry and Reassemble AC Unit
Allow the parts of your air conditioner to dry thoroughly. This will likely take several hours. After it’s dry, reassemble the AC unit and plug it back in.
How to Clean a Portable Air Conditioner
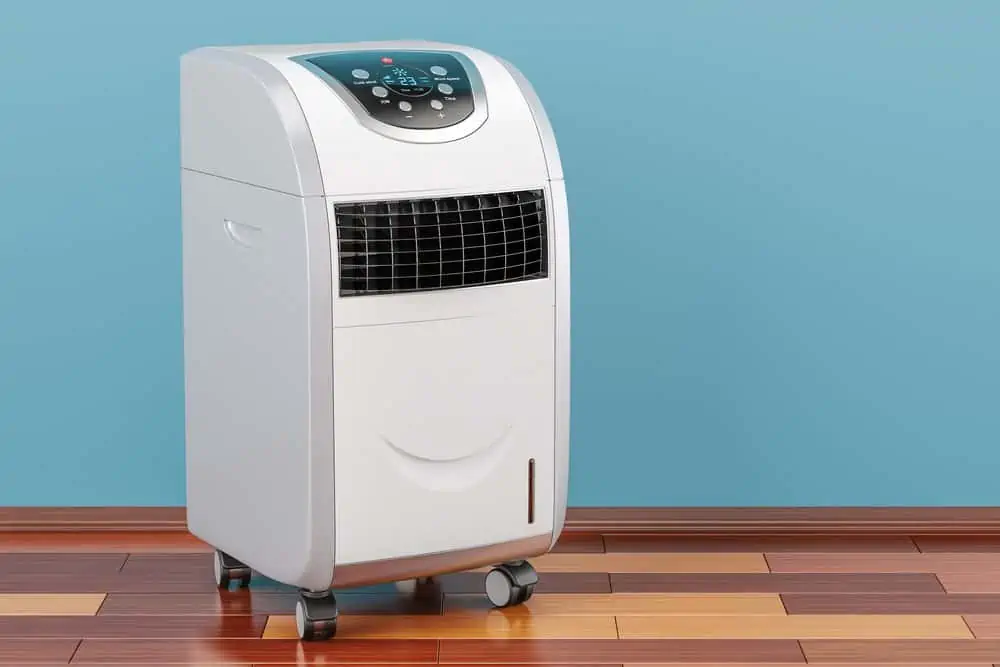
Portable air conditioner units are handy when you need to move the AC unit from room to room.
- Time: 1-2 hours + dry time
- Difficulty: Beginner
What You’ll Need
- Screwdriver
- Microfiber cloth
- Bucket
- Container
- Laundry detergent
- Clean air filter
1. Prepare for Cleaning
Unplug the AC unit and put it on a solid surface that’s easily dried as the unit may leak water. Drain the water from the water collection container into a bucket. Remove the panels.
Be sure to read the user manual for instructions on how to remove the panels.
2. Clean or Replace Filters
Remove the air filter. Either throw it away or clean it. To clean the air filter, first, vacuum it to remove all the loose debris on it. Then soak it for 10 minutes in a container filled with warm soapy water made by mixing a small amount of laundry detergent in warm water.
Allow it to thoroughly dry before replacing it.
3. Clean Inside AC Unit
Check your AC unit’s coils before sweeping away all the debris with a damp microfiber cloth. Use the damp microfiber cloth to wipe down the panels, inside the vents, and all the small spaces.
4. Dry and Reassemble
Allow all the parts to dry before reassembling your AC unit. Wipe down the exterior each week to remove any debris.
How Long to Let Air Conditioner Dry After Cleaning
Air conditioners will need to dry for several hours. If you can, it’s best to allow it to dry in the sun.
How to Prevent Mold Growth
There are several ways to prevent mold growth in an AC unit.
- Use a hydrogen peroxide spray to prevent the growth of mold.
- Drain drip pans regularly.
- When storing the AC unit, drain the tank and clean the filter. Then allow the unit to run in fan mode for 30 minutes to remove any moisture in the system.
- Make sure the AC unit is dry before storing it.
- Store it in a clean and dry place underneath a tarp.
Air Conditioner Maintenance Tips
You’ll be able to maintain your air conditioner in good working order by following these tips:
- Clean the air filter once a month.
- Replace the air filter every 3 months.
- Dust the exterior of your AC unit weekly.
- Wash the exterior of the unit with a damp cloth.
- Remove the unit from the window and store it inside under a tarp when not in use.
FAQs

Can You Hose Down a Window AC Unit?
Yes, you can hose down a window AC unit provided the water pressure isn’t too high.

Why Does My Window AC Smell?
Your window AC may have a musty smell which means you likely have mold and mildew in your system. If you smell exhaust fumes from the AC unit, then you may have a leak in the refrigerant line which is causing chemicals to be released into the air.
Window AC Cleaning
Cleaning your window AC unit, whether it’s a Frigidaire or another type of unit, is important. This will prevent the development of mold in your AC unit or on the wall near it. This will make sure that the filters, styrofoam, and panels are spotless so you can enjoy clean air blowing into your house.