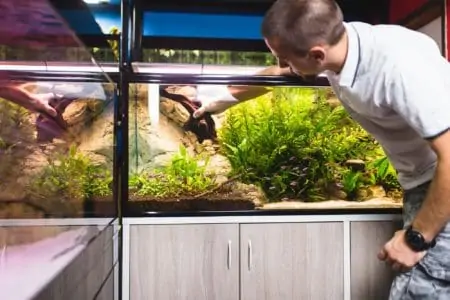
If you have an aquarium in your house, then you know that keeping your aquarium clean is vital to maintaining healthy fish. However, all the fish waste settles at the bottom of the tank. So, it’s important to know the best way to clean fish tank sand.
Key Takeaways
- Clean aquarium sand every two weeks to maintain water quality and fish health.
- Before using sand in the tank, rinse it thoroughly to remove sediment and prevent sand clouds.
- To clean the sand, gently rake it, use a siphon or gravel vacuum to remove debris, and refill the tank with clean water.
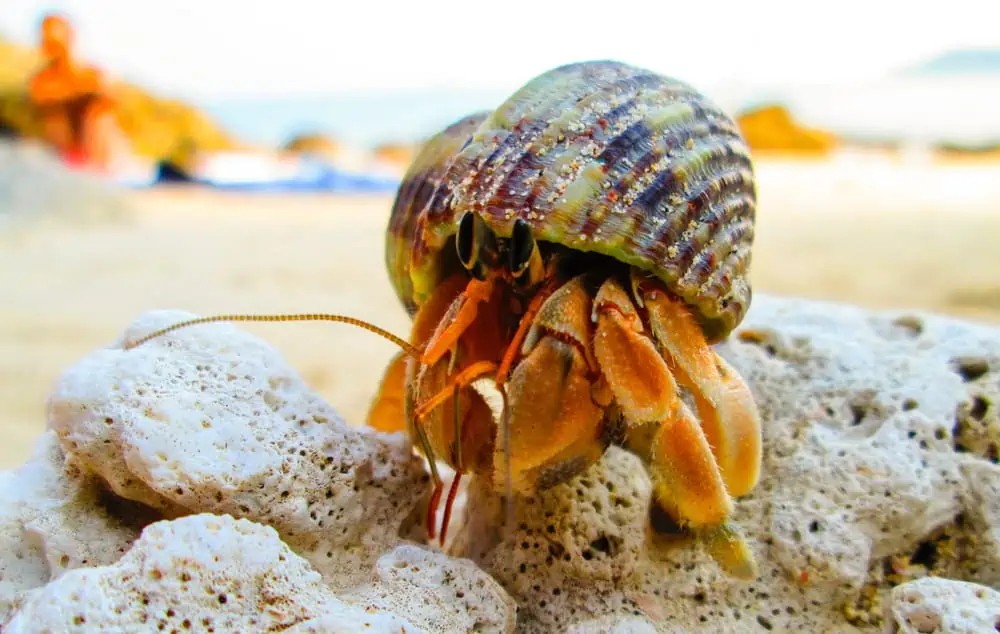
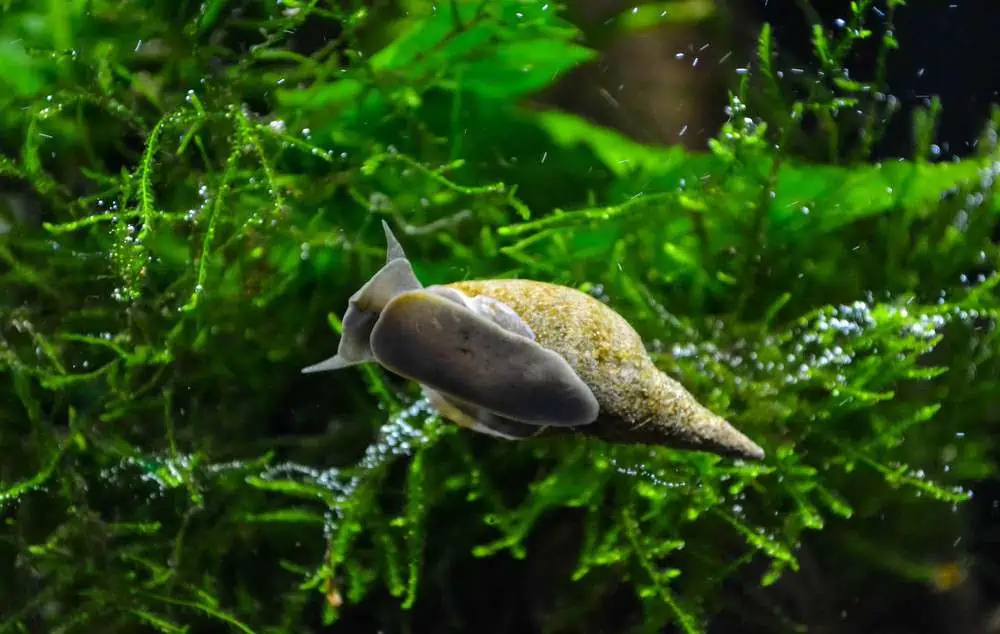
- Keep your aquarium clean by performing regular maintenance, using a proper filtration system, and adding sand shifters like snails or hermit crabs.
When Should I Clean Aquarium Sand?
Aquarium sand substrate should be cleaned every two weeks. It’s not always easy to see if your sand needs to be cleaned, but if you see brown or green patches in the sand it is definitely time to clean your sand.
How to Rinse Aquarium Sand Before Use
Cleaning aquarium sand before placing it in your tank is important. This will remove all the sediment and debris, and prevent a sand cloud from forming when you add water to the tank.
- Time: 25 hours
- Difficulty: Beginner
What You’ll Need
- 5-gallon bucket
- Large sink or garden hose
- Water conditioner (optional)
1. Pour Sand Into Bucket
Open your bag of sand and pour some into a 5-gallon bucket until the bucket is about ⅓ full. Be careful not to fill it too high or sand will spill out of the bucket along with the water.
2. Clean Sand
There are two ways to clean the sand once it’s in the 5-gallon bucket.
The first method is to place the bucket in a large sink under a faucet. Turn the faucet on completely so that it’s filling the bucket. Use your fingers to agitate and stir the sand. The water will turn cloudy.
Once the bucket is full of water, turn off the faucet and agitate the sand some more. Pour off the dirty water. Repeat the sequence until the water is clear no matter how much you agitate the sand.
This may take 10 rinses or more.
The second method is to use a garden hose. Push the hose into the sand until it’s close to the bottom of the bucket. The water from the hose will agitate the sand and fill the bucket.
Allow the water to overflow the bucket so that you have a continual stream pouring out. When the water is clear, move the hose to a different location and push the hose back into the sand.
Repeat until the sand is completely rinsed.
3. Drain the Water
Once you’ve cleaned the sand, it’s time to drain the water. Carefully pour the water out of the bucket so that only the water is removed and the sand remains in the bucket.
4. Pour the Sand into the Aquarium
Pour the sand into the empty aquarium and allow it to dry for 24 hours before adding any water to the tank. This is to prevent chlorine contamination which will harm your fish. Another option is to use a water conditioner that will also prevent chlorine contamination.
How to Clean Aquarium Sand
All the waste from your fish will sink down to the bottom of your tank and rest in the sand. Clean the sand every two weeks to maintain your water quality and the health of your fish.
Here’s a quick guide on how to clean sand in a fish tank.
With a Siphon
- Time: 1 hour
- Difficulty: Intermediate
What You’ll Need
- Warm water
- Brush
- Small hose or gravel vacuum
- Small bucket
1. Prep Tank
Unplug your filters, pumps, heaters, lamps, etc. You’ll be working with the water and it’s best to prevent an accidental shock from happening.
Remove all fake plants and decorations. Clean them with warm water and a brush to remove any algae that may have built up.
Leave all live plants. Removing them from the tank is hard on the plants and may eventually kill them.
Fish are usually left in the tank unless you’re doing a thorough cleaning. If you are planning on doing a thorough cleaning and removing most of the water, move your fish to a bucket for a short time, while you clean.
2. Gently Rake the Sand
Gently rake the sand with your fingers before you vacuum or siphon the sand. You want to move the debris and feces to the top of the sand to make it easier to remove.
Be careful not to stir up the sand too much so you don’t over pollute the water. Deep sand beds develop hydrogen sulfide gas over time which can kill the inhabitants of your tank if it’s released quickly.
3. Use a Gravel Vacuum or Siphon
Now use a siphon or gravel vacuum to suck up water and debris from the tank into a bucket. Gently hover the end of the siphon or gravel vacuum about 1-2 inches above the sand. Be careful not to disturb your fish while vacuuming up the fine debris in the tank.
Control the flow with a valve on a gravel vacuum or by pinching the tube of the siphon until you find the best rate of suction. As the sand rises, move the siphon or vacuum up away from the sand.
This will cause the sand to drop back down to the bottom of the tank. The debris you’re removing is lighter than the sand and will be sucked up with the water. The trick is to learn how to suck up the water and debris without sucking up the sand.
Gently move the vacuum or siphon around the tank sucking up the debris.
Stop when you’ve covered the entire surface of the tank or you’ve removed half of the water. If you haven’t cleaned the entire tank, don’t worry about it. Come back in 5-7 days to finish cleaning the sand the next time you’re changing the water.
4. Replace Decorations and Refill Your Tank
Replace all the decorations and fake plants that you removed in step one.
Gently refill your tank with clean water. Make sure that the new water doesn’t have any chlorine in it. You can do this by leaving it out for 24 hours or using a water conditioner.
Also, ensure that the new water is at the same temperature as your aquarium to prevent shocking or killing your fish.
When you’re finished refilling your tank, remember to plug in and turn on all electronics connected with your aquarium such as the filter and pump.
Without Siphon
If you don’t have a hose to siphon or a gravel vacuum, you can use a rake or shovel to stir up the sand. Then you will use cleaning tools such as a turkey baster or a pressure kit to remove the dirty water.
- Time: 1 hour
- Difficulty: Intermediate
What You’ll Need
- Warm water
- Brush
- Turkey baster or pressure pump
- Small bucket
1. Prepare the Tank
Prepare your tank for cleaning by turning off all the electronics and removing decorations and fake plants. Remember to leave your living plants in your tank so that you don’t damage the roots by removing the plants. Clean your decorations and fake plants using warm water and a brush.
2. Rake One Small Section of the Sand
Gently use your fingers to rake one small section of the sand, sending the debris you’d like to remove into the water. Use the turkey baster or pressure pump to remove the dirty water. Work slowly, doing only one small section at a time so you don’t release too many pollutants or hydrogen sulfide into your tank.
The advantage is that you will be able to clean the hard-to-reach areas of the tank more easily. It’s also easier to avoid removing any sand.
You don’t need to complete the entire tank in one day. Work slowly through the tank section by section.
3. Replace Decorations and Refill Your Tank
Replace all decorations and refill the water in your tank. Remember to use water that doesn’t have chlorine and is at the same temperature as the water in your aquarium.
How to Remove Aquarium Sand
If you need to remove the sand from your aquarium for deep cleaning, first move your fish to another tank. Then siphon all the water from your tank into a second tank or bucket.
Move your rocks, plants, and decorations into this tank or bucket as there are organisms on these items which are vital to the health of your tank.
Scoop out all the sand in your tank. Then you can clean the sand before placing it back in the tank, or replace the dirty sand with clean sand. Then replace the rocks, plants, and decorations.
The final step is to return your fish to their aquarium.
Tips For Keeping an Aquarium Clean
There are a few things you can do to help keep your aquarium clean. First, keep up with the regular maintenance. Do this by changing the water regularly, cleaning your sand every two weeks, and making sure that your filter is working properly.
Consider adding sand shifters to your aquarium. These are creatures such as snails and hermit crabs, who eat the algae and debris in your sand helping you to maintain a healthy aquarium for your fish.
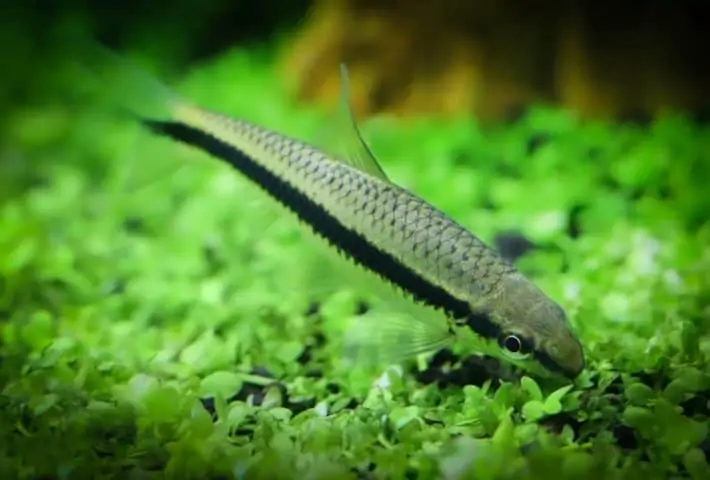
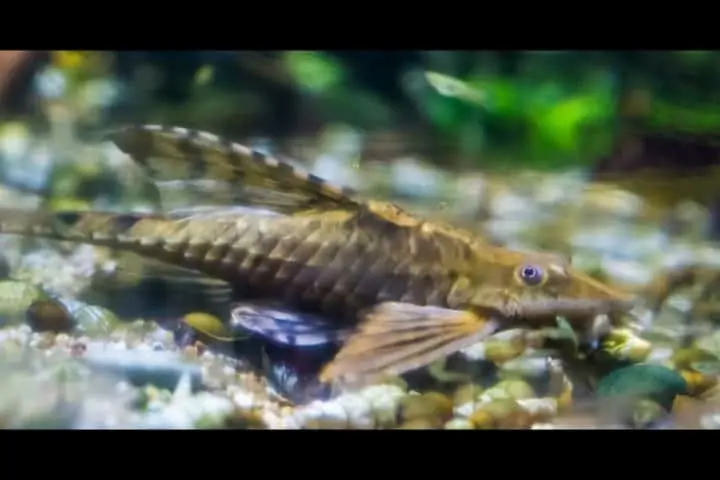
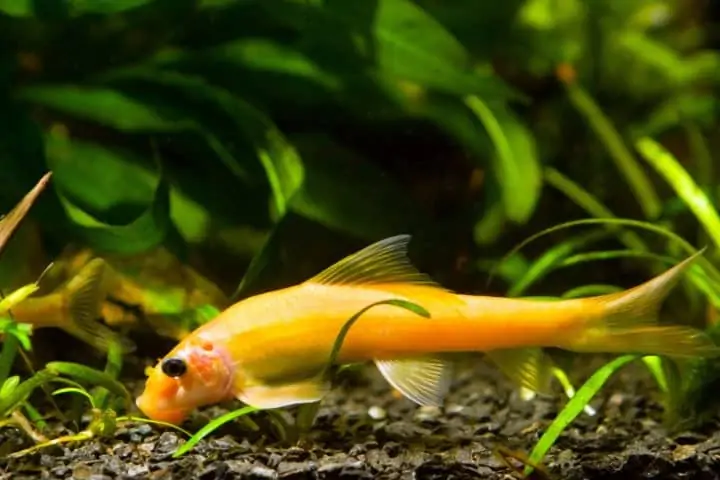
A few algae-eating fish to consider adding to your freshwater tank are:
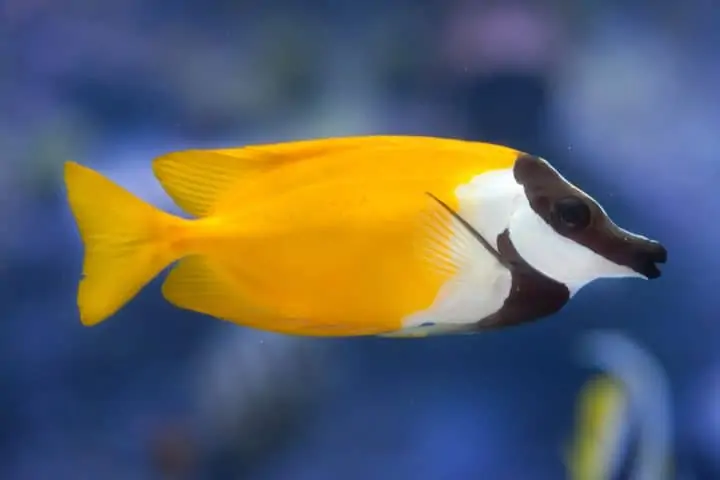
If you have a saltwater tank consider:
FAQs

Is it Hard to Clean Aquarium Sand?
No, it’s no harder to clean aquarium sand than it is to clean aquarium gravel.

How Do You Get Rid of a Sand Cloud?
The best way to get rid of a sand cloud is to prevent it from happening in the first place by washing your sand thoroughly to remove all debris before adding it to your tank.
Once you have a sand cloud, you will need to wait until the sand cloud settles which may take as long as 7 days. There are a few tips you should know that will help the sand cloud to settle faster.
- Do not run the filter as the sand in the water will damage it.
- Do not move your tank, this will agitate the sand and make the sand cloud worse.
- Do not add anything to your tank until the sand cloud settles as this will simply agitate the sand. The sand cloud will take longer to settle after the sand has been agitated.
- Change the water daily. Each time you change half the water, the time that the sand cloud will last is reduced.

Why Is My Fish Tank Getting Dirty So Fast?
Your fish tank may be getting dirty fast because the tank is too small for the number of fish you have or you may be overfeeding your fish. Also, make sure that you have a good filtration system installed as this will also help your water stay clean.

Does Brown Algae Go Away on Its Own?
The brown algae, which is a tiny single-cell animal called a diatom, will go away on its own after a few weeks or several months. However, it’s best to get rid of it even though it won’t harm your fish. It’s not good for any plants you may have in the tank as it competes for nutrients and blocks sunlight.

How Do You Keep Sand Out of an Aquarium Filter?
The best way to keep sand out of your aquarium filter is by placing your filter away from your sand bed.
Another option is to cut a sponge to the size of your intake tube. Insert it into the end of the tube. Keep an eye on the sponge as it will be filtering out the sand and will eventually need to be replaced.

What is the Difference Between Play Sand and Aquarium Sand?
The main difference between play sand and aquarium sand is the grain size, Play sand is more coarse, with larger grains.

What Removes Ammonia From Fish Tank?
The best way to remove ammonia from fish tanks is to improve filtration, clean the tank more frequently, and feed the fish less. Also, remove any organic matter inside the tank.