Do you suspect your thermal paste has dried out and is not conducting heat as efficiently? Perhaps your processor isn’t working as fast or your computer is heating up. If this is the case, then you need to learn how to clean thermal paste so you can apply a new layer.
Key Takeaways
- Thermal paste helps transfer heat from the CPU to the heatsink, keeping the CPU cool and efficient.
- Over time, thermal paste dries out and needs to be replaced every 3-5 years to prevent CPU overheating.
- To clean thermal paste, use a lint-free cloth, isopropyl alcohol, and allow the CPU to dry for an hour before applying new paste.
- When applying new thermal paste, use a small dot in the middle of the CPU and reattach the heatsink carefully.
- Do I Need to Clean Old Thermal Paste?
- How Often to Apply Thermal Paste
- How to Clean Thermal Paste Off CPU
- How to Clean Thermal Paste Off CPU Pins
- How to Reapply Thermal Paste to CPU
- How to Clean Thermal Paste Without Alcohol
- Factors to Consider When Buying Thermal Paste
- Tips For Cleaning and Applying Thermal Paste
- FAQs
Do I Need to Clean Old Thermal Paste?
Thermal paste is a compound that is placed between your CPU and the heatsink (also called a cooler). It helps to transfer the heat from your CPU to the heatsink allowing your CPU to stay cool and work efficiently.
However, as thermal paste ages, it dries out and will then not transfer as much heat from your CPU to the heatsink anymore. This leaves your CPU in danger of overheating when you use it.
The solution is to replace the old thermal paste with a new thermal paste.
How Often to Apply Thermal Paste
As the thermal paste dries out you will notice that your computer gets hot more quickly and the performance decreases. This will shorten the lifespan of your computer. In general, you’re looking at thermal paste needing to be replaced every 3-5 years.
How to Clean Thermal Paste Off CPU
The first step is to remove the old thermal paste from the CPU before you apply the new thermal paste. This will ensure that the thermal paste is able to efficiently transfer the heat from your CPU to the heatsink.
- Time: 2 hours
- Difficulty: Intermediate
What You’ll Need
- 90-99% Isopropyl alcohol or thermal paste cleaning product
- Thermal paste
- Microfiber cloths or coffee filters
- Compressed air
- Optional: Cotton swabs
- Optional: Thermal paste cleaning kit
1. Let Computer Run
Allow your computer to run for 15 minutes or longer. This will warm up the current thermal paste, otherwise, it may cement your CPU and heatsink together.
2. Disconnect Your Computer
Turn off your computer. Do not simply press the power button as this usually puts your computer to sleep. Instead, make sure to shut down your computer. When it’s shut down, unplug your computer from the socket and disconnect all devices.
Laptops will also need the battery removed before you progress further.
After disconnecting all possible power supplies, hold the power button down for at least 10 seconds. This will discharge any charge that may still be present in your computer.
3. Prepare the Area
Make sure that the area you will be working in is clean and dust-free before you begin.
It’s a good idea to wear latex gloves. The latex gloves will prevent you from accidentally transferring any oil from your skin to your computer. You can also wear anti-static bracelets to prevent an accidental static discharge from happening.
4. Check Manual
Check your computer’s manual to find out where the CPU and heatsink are placed in your computer. You will also need to consult the manual to learn how to remove the heatsink from your computer.
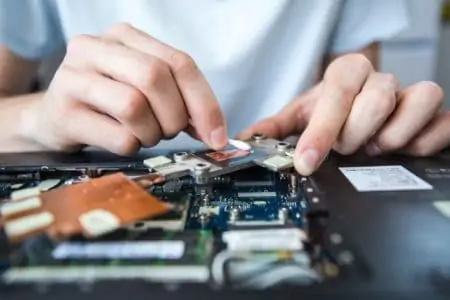
5. Remove Heatsink
Loosen any bolts, screws, or clips that are holding the heatsink in place. Gently twist the heatsink back and forth as you attempt to remove it. Do not yank on it as you may damage the CPU pins.
When you have removed the heatsink, move it away from the computer and use compressed air to dust it. Make sure it’s far enough away from the computer so any dust in the air does not end up inside your computer.
6. Remove Thermal Paste
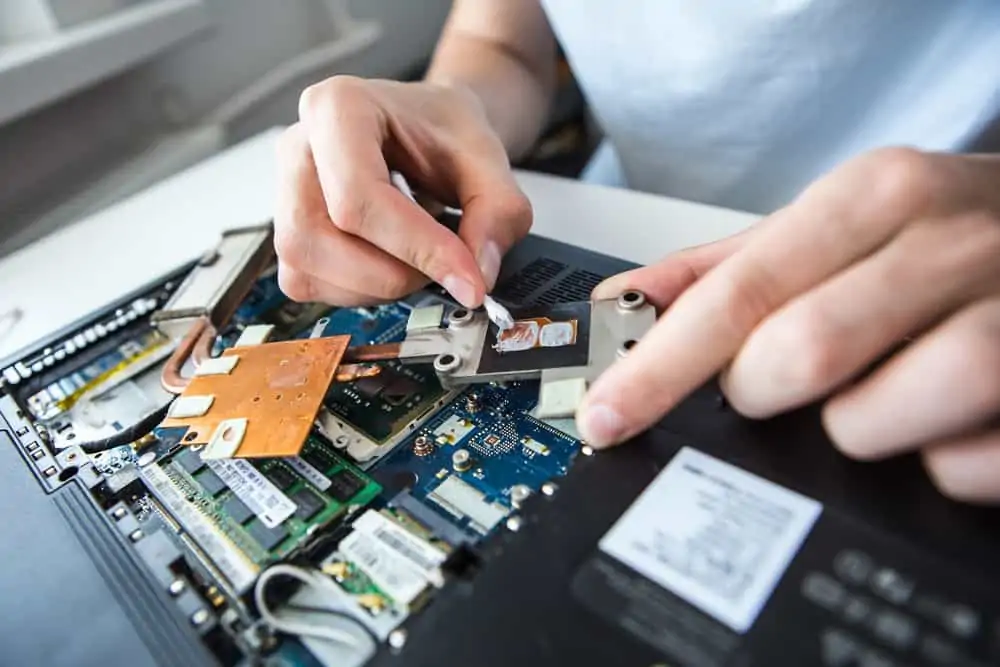
Use a microfiber cloth or coffee filter to rub at the thermal paste and gently remove the thermal paste as much as you can. Then dip the cloth into isopropyl alcohol and apply a small amount to the remaining paste. Repeat as needed until the thermal paste is removed.
If you’re using a cotton swab, dip it into the isopropyl alcohol. Gently rub the top of the CPU with the cotton swab to clean it.
The thermal cleaning kits include a thermal paste remover. Use this in place of the isopropyl alcohol. Apply the remover to your cloth, and rub the old thermal paste until it’s removed.
Check around the edges of the CPU and remove any thermal paste there as well. Be careful not to accidentally spread any small pieces of the thermal paste into your machine. So always rub from the outside in and carefully remove any pieces using the cloth, filter, or swab.
After the paste is removed, you will apply the isopropyl alcohol once more to the top of your CPU to clean it. However, thermal cleaning kits often include a thermal surface purifier. If you’re using the kit, apply some purifiers to a clean cloth and wipe the top of your CPU with the purifier.
7. Allow CPU to dry
Wait one hour to allow the CPU to fully dry before applying the thermal paste.
How to Clean Thermal Paste Off CPU Pins
If you accidentally got thermal paste on your CPU pins, it is possible to remove it. However, CPU pins are very delicate so it’s highly recommended that you allow a professional to clean the thermal paste off the pins.
- Time: 1 hour 15 minutes
- Difficulty: Advanced
What You’ll Need
- Soft-bristled toothbrush
- 90-99% Isopropyl Alcohol
- Microfiber cloth
- Isopropyl Alcohol Wipe
Clean Thermal Paste Off a Pin Grid Array
Dip the toothbrush into the alcohol. Determine the direction the pins are pointing towards and gently brush the pins in the same direction.
Be very careful as it’s easy to damage the pins if you apply any pressure or if you don’t brush the pins in a straight line.
Once the brush has some thermal paste on it, wipe it off on the microfiber cloth before repeating the sequence. Continue gently brushing the pins and wiping off the thermal paste until most of the paste has been removed from the pins and you can make a good connection.
Allow it to dry for an hour.
Clean Thermal Paste Off a Land Grid Array
For a land grid array, you will gently wipe the array in a straight line using an isopropyl alcohol wipe. Repeat using a new wipe until the thermal paste has been removed.
Allow it to dry for an hour.
How to Reapply Thermal Paste to CPU
Now that you’re finished cleaning old thermal paste from your CPU, it’s time to apply a new layer of thermal paste.
- Time: 20 minutes
- Difficulty: Intermediate
What You’ll Need
- Thermal paste
- 90-99% isopropyl alcohol
- Cotton swabs
1. Review Directions
Before you proceed, make sure that you’ve read the thermal paste directions on your tube of paste as some pastes require a different method of application. You will also need to know how to correctly attach your heatsink to the CPU.
2. Apply Thermal Paste
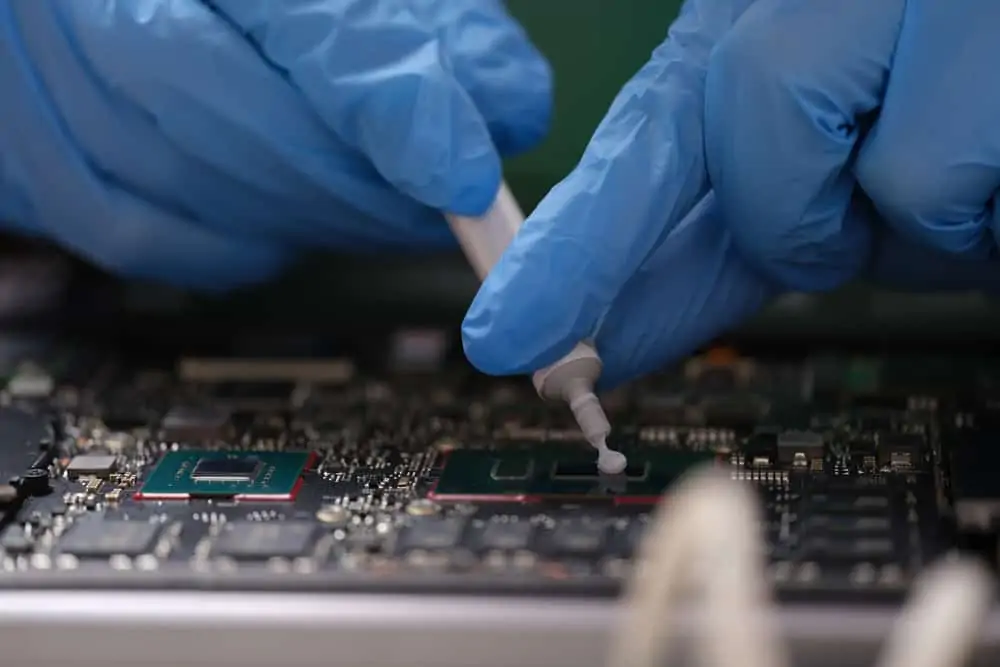
After waiting one hour to ensure that the CPU has dried, it’s time to apply the thermal paste. Put a small dot of thermal paste in the middle of your CPU. The small dot should be about the size of a grain of rice or the size of a small pea.
The thermal paste tube includes a syringe. Use it to help apply the correct amount of paste.
3. Reattach Heatsink
Carefully place your heatsink on the CPU while making sure that it’s flat. This will help the thermal paste to spread evenly. Hold it firmly in place while you reattach it to the CPU.
4. Put Your Computer Back Together
Now it’s time to put your computer back together again. Refer to your owner’s manual if you have any questions.
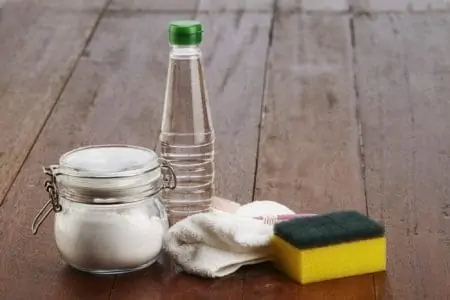
How to Clean Thermal Paste Without Alcohol
If you don’t have any rubbing alcohol or isopropyl alcohol to clean the thermal paste off your processor, the best solution is to scrub the thermal paste with a coffee filter or lint-free cloth until it is removed. It may take a while, but it will work.
Hand sanitizer is not recommended as a thermal paste cleaner. It will likely leave residue on the CPU.
Factors to Consider When Buying Thermal Paste
There are several factors you will need to consider when you buy thermal paste.
When purchasing thermal paste, the first thing to consider is whether you’re going to purchase conductive or non-conductive thermal paste. Conductive thermal paste has a higher thermal conductivity but may short your motherboard if you spill any.
Non-conductive thermal paste has a lower thermal conductivity but is better for beginners to use as it won’t damage your motherboard if you spill it.
Also, check the density of the thermal paste you are purchasing. Liquid thermal paste is much harder to apply than one with a higher viscosity, so you’re much more likely to spill it onto your motherboard.
The different types and brands of thermal paste have different thermal conductivity. Thermal conductivity is how well it transfers the heat from your CPU to the heatsink. The higher the rating number, the better the thermal paste will be at transferring the heat.
Tips For Cleaning and Applying Thermal Paste
Use a Lint-Free Cloth
When you’re cleaning or applying thermal paste, make sure that you use something that is lint-free such as a microfiber cloth or coffee filter. Avoid using a paper towel as most paper towels have lint.
Wear Latex Gloves and Anti-Static Bracelets
Latex gloves will prevent you from leaving oils from your skin on the inside of your computer. These oils may interfere with your computer’s normal operation. Also, consider wearing anti-static bracelets to prevent yourself from accidentally causing a static electricity discharge that may damage your computer.
Don’t Manually Spread the Thermal Paste
Don’t spread the thermal paste with your finger or a brush, as this creates small air bubbles in the thermal paste that interfere with how well heat is transferred.
Instead, place the heatsink on the dot of thermal paste. The pressure from the heatsink will cause the thermal paste to spread without causing air bubbles to form.
Remove the Thermal Paste from Outside In
Always remove the thermal paste by pushing in from the outside so you don’t push any residue into your computer system.
FAQs

Can You Use Water to Clean Thermal Paste?
No, you should not use water to clean thermal paste. Water can cause short circuits which can damage your CPU and motherboard.

Can You Use Nail Polish Remover to Remove Thermal Paste?
No, nail polish remover often contains added ingredients that may leave a sticky residue behind.

Can You Use Toothpaste As Thermal Paste?
Yes, in theory, you can use toothpaste as thermal paste. However, there’s a wide range of types of toothpaste available. Some types of toothpaste are able to substitute as thermal paste and other types will not work.
Also, toothpaste is only a short-term substitution and will degrade under high heat, so you will need to replace the toothpaste every few days. You can make a mixture by combining toothpaste and vaseline in a ratio of 80:20. This mixture will still need to be replaced every 15-30 days.

Does Thermal Paste Application Method Matter?
No, the thermal paste application method does not matter, so you can apply the thermal paste in an X, a line, or a dab the size of a pea. Just be careful not to add too much or too little thermal paste.

How Long Does Unused Thermal Paste Last?
Unused thermal paste may last for 3-5 years if it’s stored correctly. Thermal paste is sensitive to sunlight, heat, and cold so it will go bad quickly if it’s exposed to these elements.
One way to tell if your thermal paste is still good is to put a small amount on a piece of metal. Then spread the thermal paste around and check its consistency. If the thermal paste has started to separate, clump, or is watery then you should discard it and purchase a new tube of thermal paste.

How Do I Keep My CPU Cool?
One way to keep your CPU cool is to upgrade your fan. Often computers include low-quality fans that keep the CPU cool enough to work, but the fan will not keep the CPU cool enough to run well. If you upgrade your fan, you can keep your CPU cooler.
You can also add a water cooling kit to help keep your CPU cool. The kit works by pumping cold water in tubes over the CPU and then pumping the warm water away to be chilled.

How Do I Know If My Thermal Paste is Bad?
You know if your thermal paste is bad if you can see dried flakes of paste coming from between the CPU and the cooler. Another sign your thermal paste is bad is if your computer overheats despite no change the frequency of use.