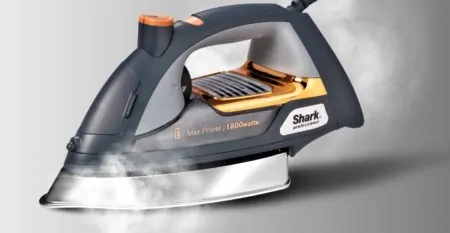
Do you ever find yourself jealous of other people’s crisp and fresh clothes? That’s totally normal, but definitely not necessary. You don’t have to be the odd one out, with dozens of wrinkles and creases in your clothes.
With these top ironing tricks and tips, you can make ironing easy, effective and dare we say — fun.
Key Takeaways
- Use dryer and water spray for quick wrinkle removal.
- Iron clothes in long straight strokes, not circles.
- Utilize steam and vinegar to tackle stubborn wrinkles.
- Try alternative methods like flat iron, blow dryer, or shower steam.
17 Genius Ironing Hacks And Tips
Ironing may not be your favorite way to pass the time, but it’s the key to looking good. We’ll give you 17 top ironing hacks and ironing tips to make this household chore easier.
1. Use Your Dryer
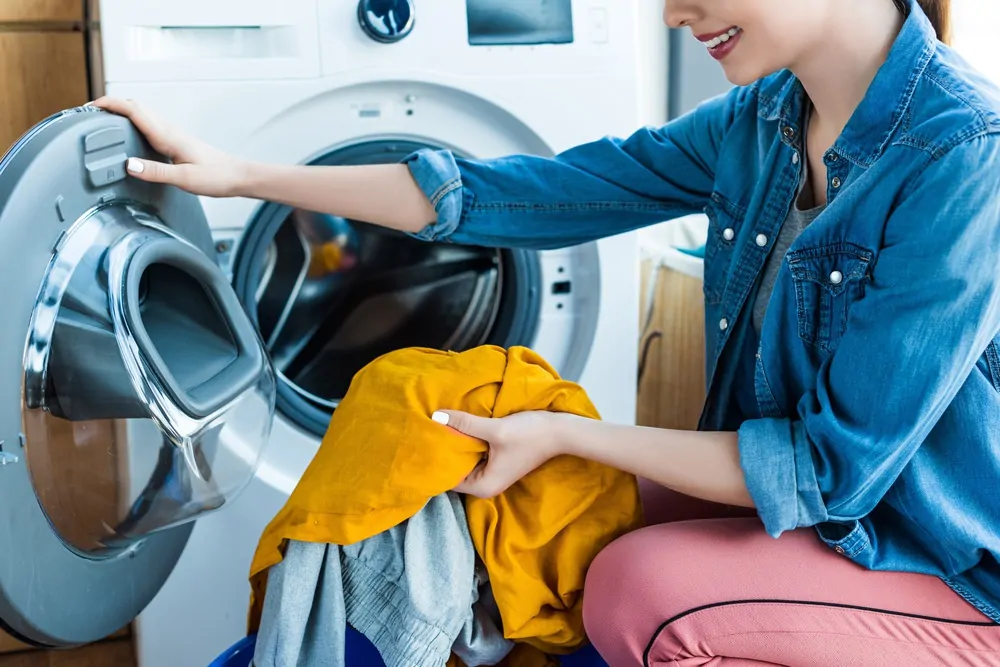
If you have just a couple things that need ironing, you can use your dryer instead. Spray them with some water, toss them in the dryer and leave them for a few minutes. The heat will create steam from the water and smooth out the wrinkles. This is a great ironing hack if you need to multitask.
2. Wash Smaller Loads
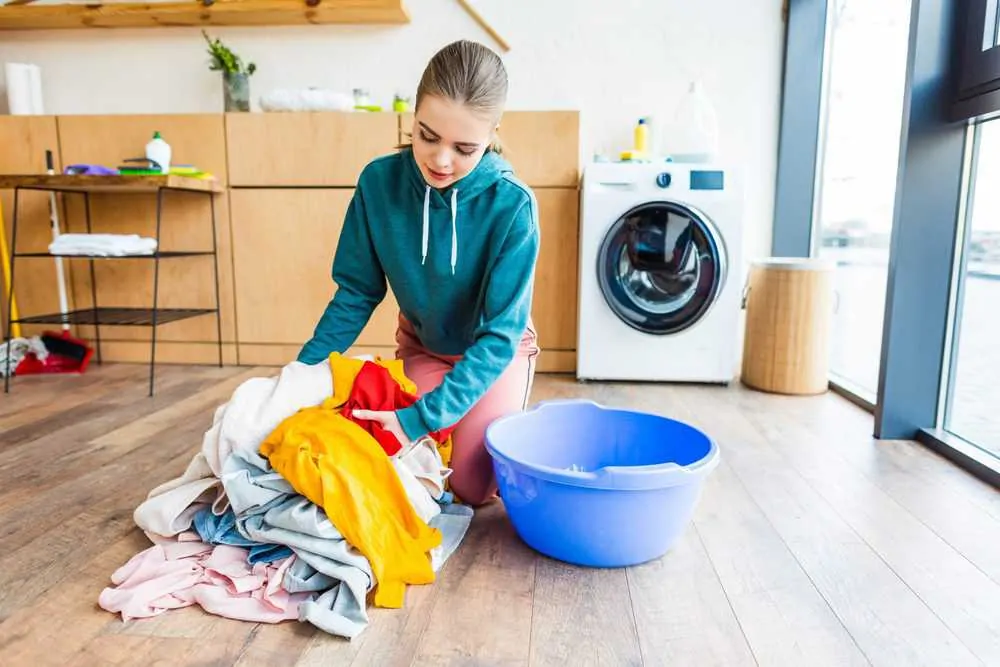
We know that doing big loads is convenient, but it’s not super effective. If you do smaller loads, you need to do less ironing! The steam and heat in the machine has more space to pass through your clothes, reducing wrinkles and creases.
3. Spritz Your Shirts
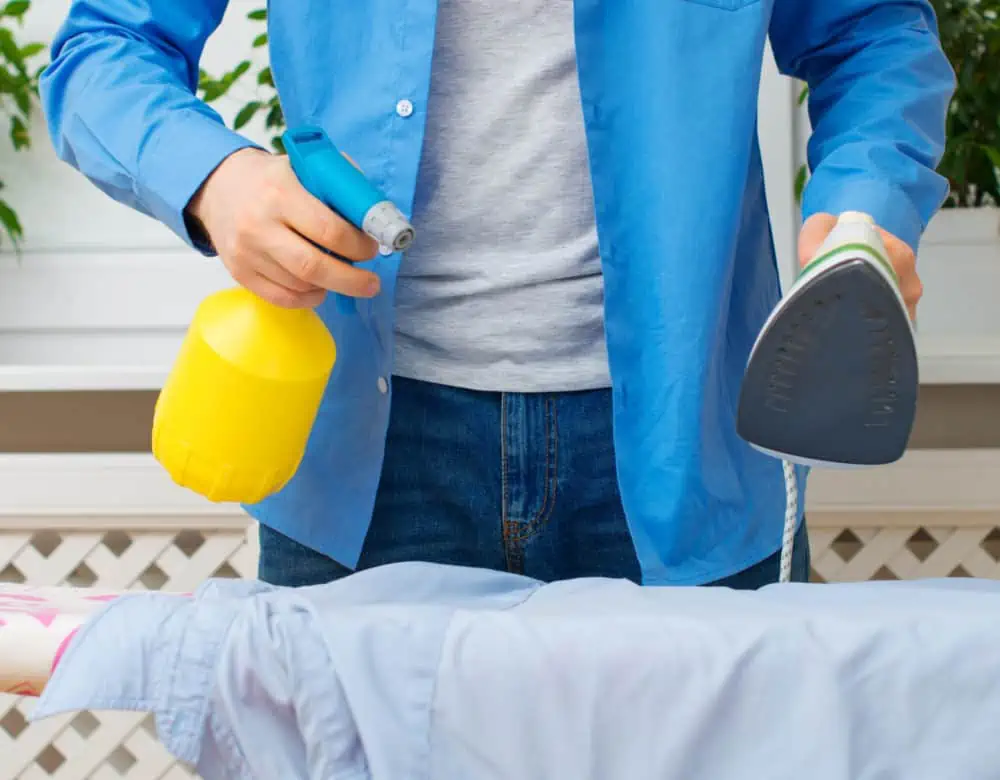
Before ironing, spritz your shirts with water. This ironing tip will help you get out stubborn wrinkles. Perhaps your iron even has a spritz option. If it does, use it!
Once the item is dampened, iron as normal. The combination of water and heat will tackle wrinkles easily.
4. Hang Clothes Up ASAP

We know that hanging up clothes is the most boring — and unsatisfying — part of laundry. But if you want to avoid wrinkles and creases, it’s crucial you hang up your clothes ASAP. The clothes will still be warm so that the wrinkles won’t have set, yet. Gravity helps keep the clothes smooth and crisp.
5. Shake It Out
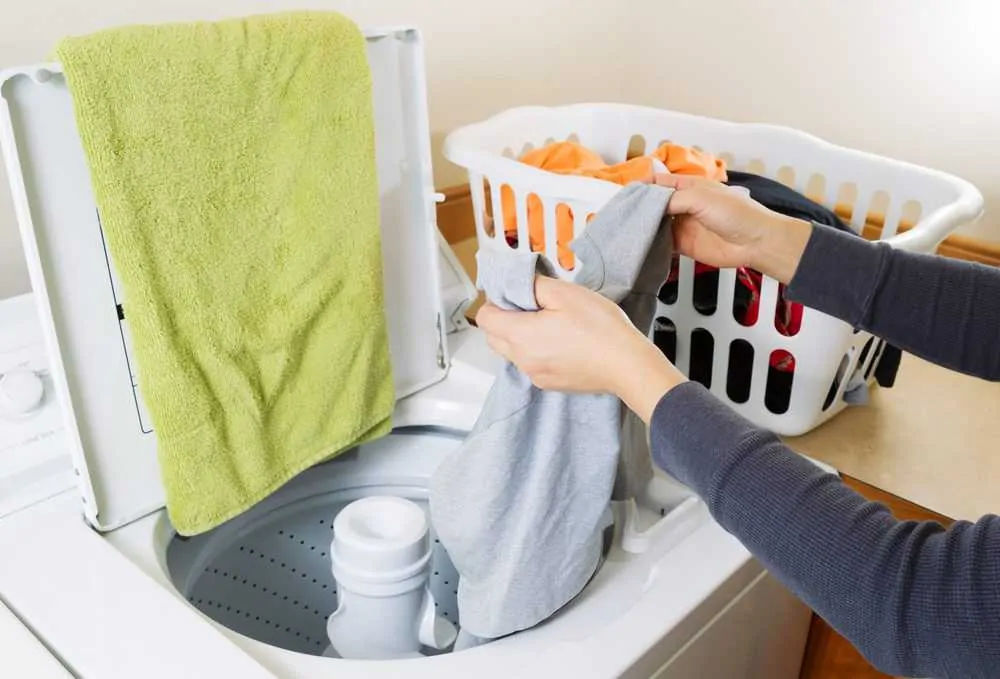
Between the washing machine and the dryer, give your clothes a shake. This helps to untangle them and untwist clothes so they don’t get wrapped up and wrinkled in the dryer.
6. Iron in Order
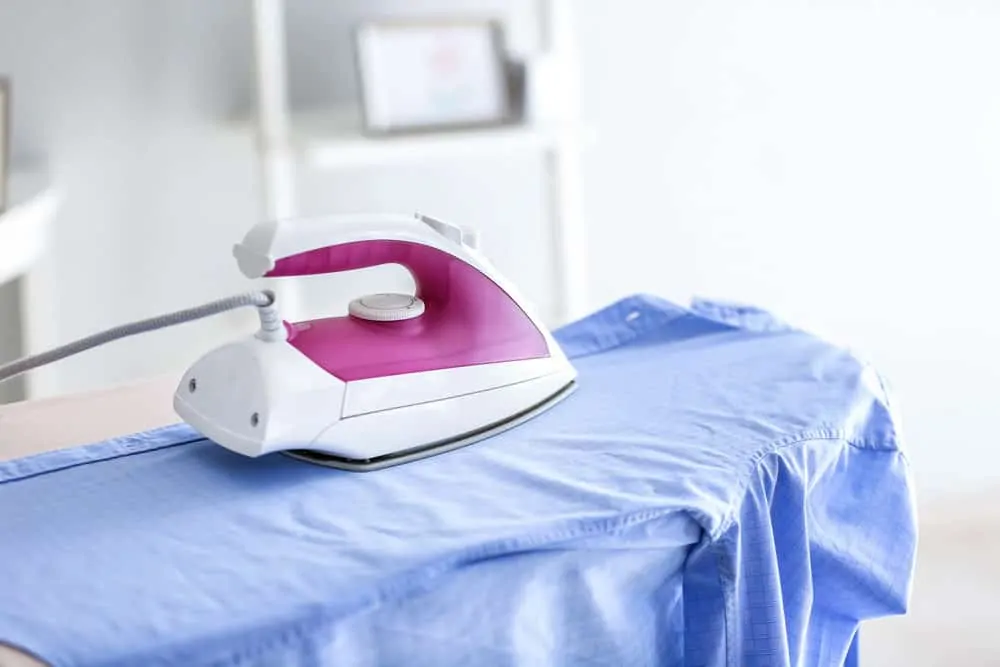
This one will please all you organised folk. You can sort your clothes from delicate and less wrinkled, to sturdier and more wrinkled.
Your iron gets hotter as you go, which prepares it for tackling the more stubborn garments. It also means you don’t have to wait for the iron to cool down between clothes that require different temperatures. This is a top ironing tip that you’ll use for life.
7. Say No to Circles
You might be surprised by this one. We all watched our parents iron in circular motions, but guess what? It’s no longer in fashion!
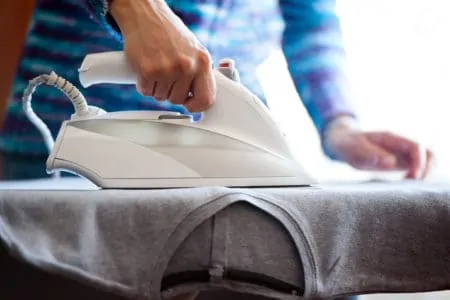
Ironing in circles causes scratches and it can ruin the fit of your clothes. Use long straight strokes in the same direction instead. This will prevent you from stretching the fabric.
8. Say Yes to Steam
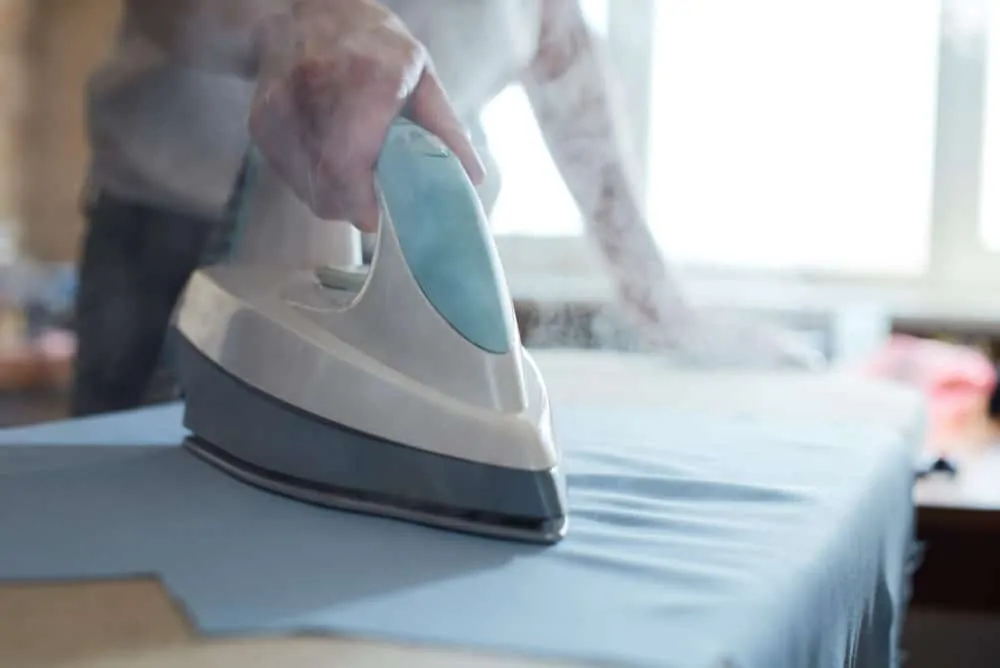
The next ironing tip is to say yes to steam! If you can’t get a wrinkle out, no matter how hard you’ve tried, you need to turn on the steam. You’ll see the wrinkles disappear before your eyes.
9. Check Your Board
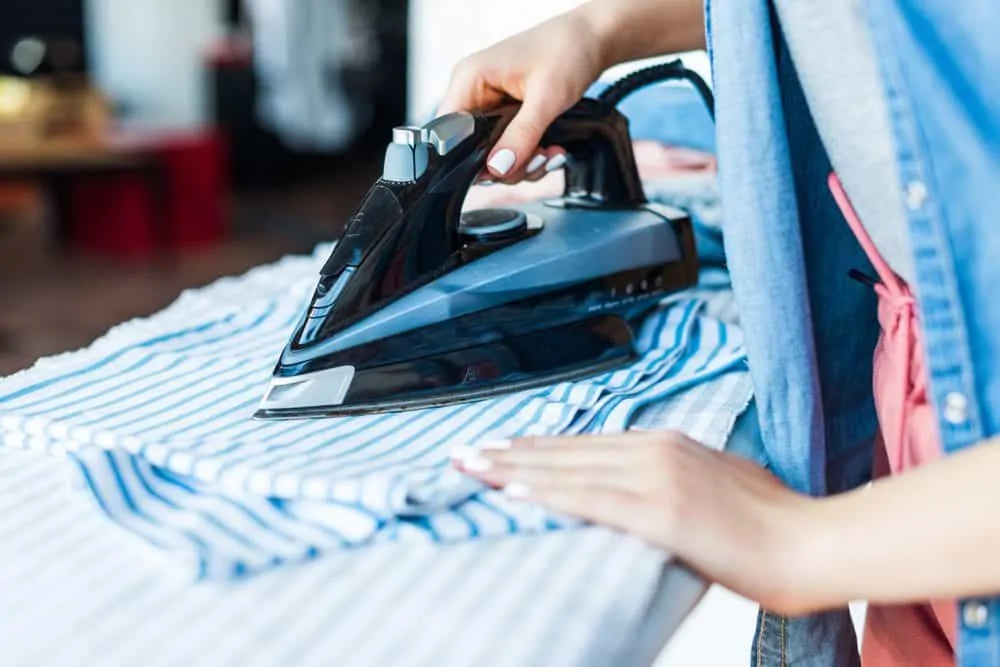
Hate ironing because your ironing board sucks? Time to get a new one. Having a decent board can make all the difference in ironing. It makes it easier and protects your clothes if you have a good board.
Before You Buy A New Board
10. Clean Your Iron
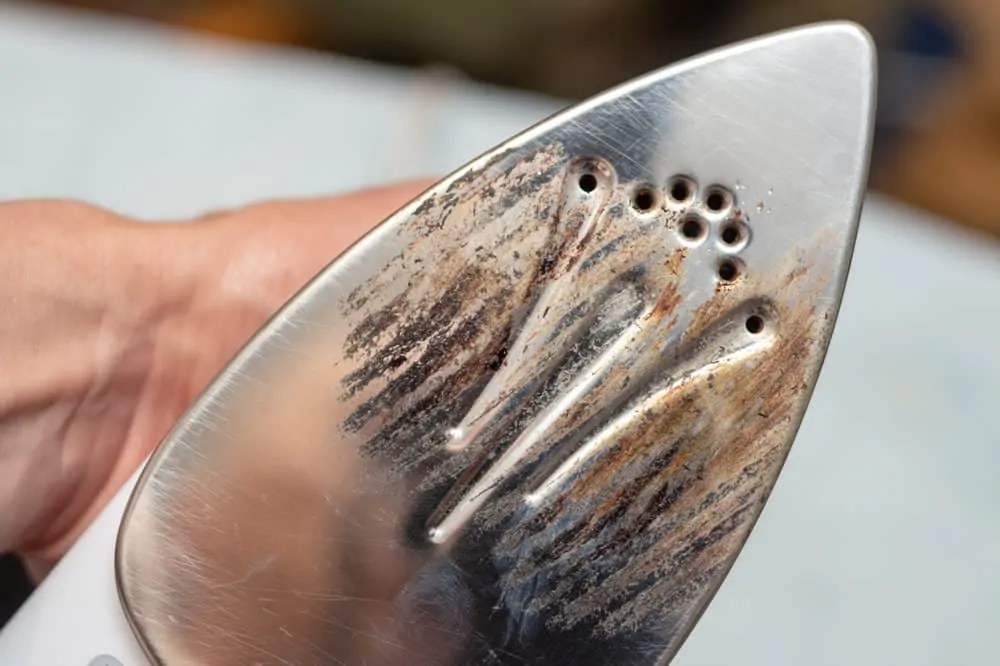
A dirty iron can leave marks on fabrics and snag the material. Whenever you notice rust, marks, dirt or stickiness, it’s time to clean your iron. Use a cleaning solution, or mix together equal parts distilled white vinegar and water, and with a cloth, clean down the plate.
You might also need to clean the interior of your iron. To do this, use a cleaning solution, or mix together equal parts distilled white vinegar and water. Pour it into the water tank. Either press the self clean button, or press the steam button repeatedly.
Afterwards, fill the iron up with clean water and press the steam button to get out any remnants of the solution. This prevents limescale build up which can be damaging on your clothes.
11. Vinegar: Your Iron’s Best Friend
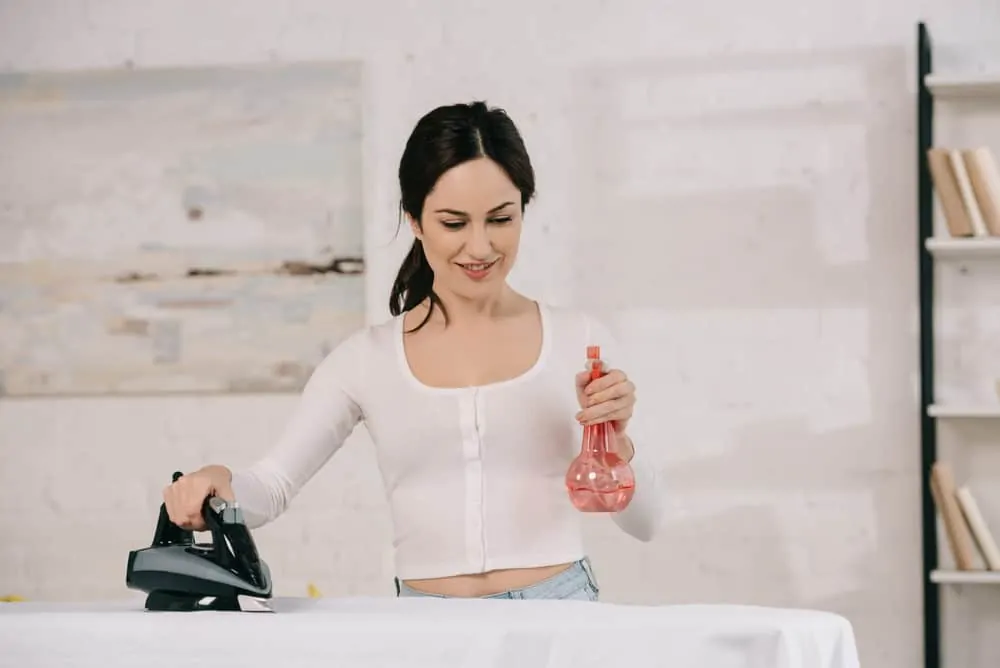
Who knew irons had a best friend? Well, they do — and it’s vinegar.
There are a few ways to use vinegar when ironing. Try one of these ironing tricks!
- Remove creases: Mix together equal parts distilled white vinegar and water. Put it in a spray bottle. Spray the garment, then use the iron to remove the creases.
- Remove shiny areas: You know those shiny areas you get on your clothes from irons? Vinegar can help. Use your spray bottle to dampen the garment, then iron as normal. Of course, check your iron is clean first.
- Prevent yellow marks: When you’re done ironing, use your solution to spray collars and underarm areas to prevent sweat stains.
- Clean your iron: Follow the tips above to clean your soleplate and the inside of your iron with equal parts vinegar and water.
12. Iron on Your Favorite Fragrance
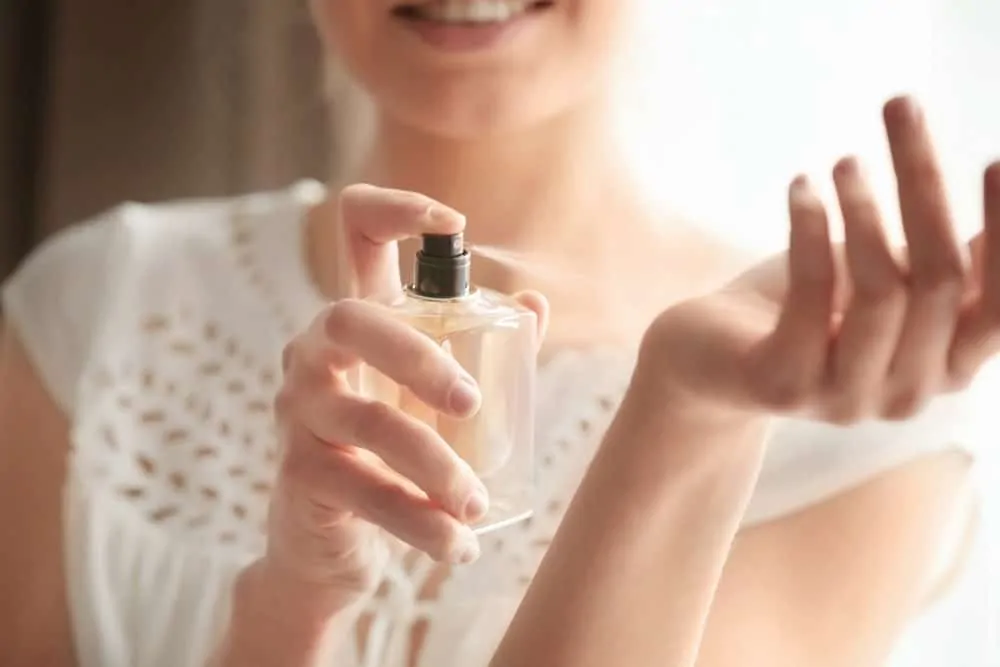
You can make your clothes smell good by adding perfume to your water tank. Just add a drop!
When you start ironing, you’ll notice the wonderful smell. Now, all your clothes will smell of your favorite fragrance all the time.
13. Grab Your Flat Iron
Did you know you can use a hair straightener as an ironing hack? Well, you can.
This is perfect if you don’t have an iron, or are in a rush.
First, clean the flat iron plate. You don’t want to press dirt or hairspray residue into your clothes! Do this with a clean cloth while the flat iron is cool.
For delicates, use a lower temperature. You can increase this gradually, depending on the fabric. Look at the clothing label to get an idea of what temperature the clothes can handle.
Now, carefully put the item between the plates and straighten out the wrinkles until they’re gone.
14. Blow Dry Your Dress
Another hair tool that will come in handy for an ironing hack is your blow dryer.
Use a spray bottle to spritz water onto the clothes. This will soften the creases. Hold the clothes tight, lying flat or hanging up, and use the hair dryer to blow hot air onto the wrinkles. This will remove them in a short amount of time.
This is super useful for skirts and dresses because they can be difficult to iron. Plus, it’s good for delicate fabrics. You shouldn’t really be ironing silk and wool, so a hair dryer can do wonders here!
15. Shower Steam
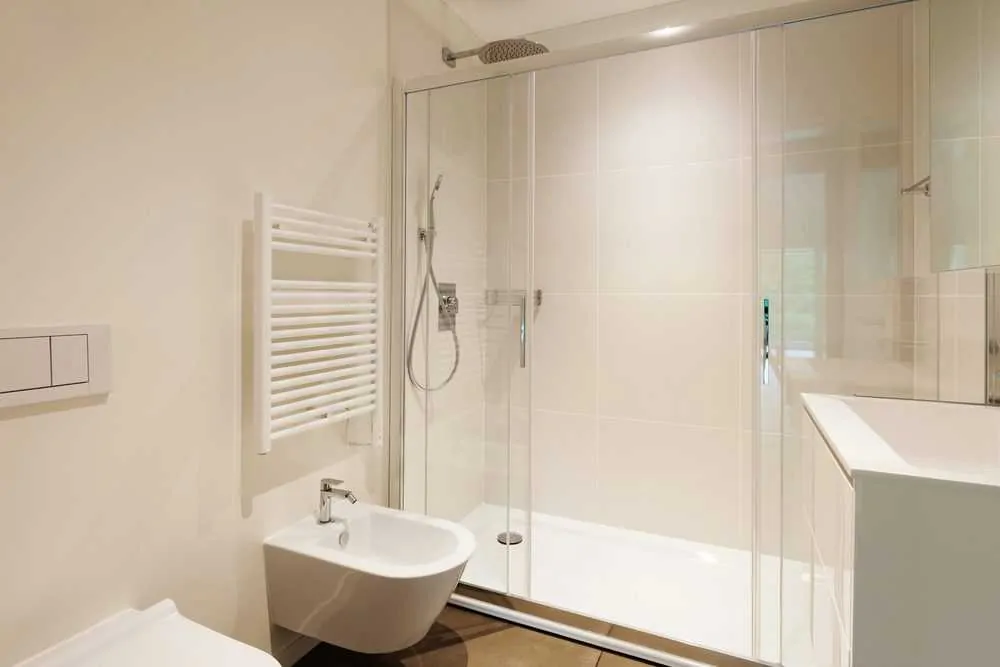
This is another top tip for those who don’t have an iron. Use shower steam!
Hang up the wrinkled clothes in the bathroom. Turn the shower on using the highest heat setting. Shut the door behind you and let the bathroom fill up with steam. After about 10 or 20 minutes, your clothes should look much better!
We love this tip for softer wrinkles. Shower steam isn’t that effective for stubborn creases. In fact, it works best for non-cotton clothes. For things like dress shirts, it might be pointless. In that case, opt for an iron.
16. Spray Bottle and Sun
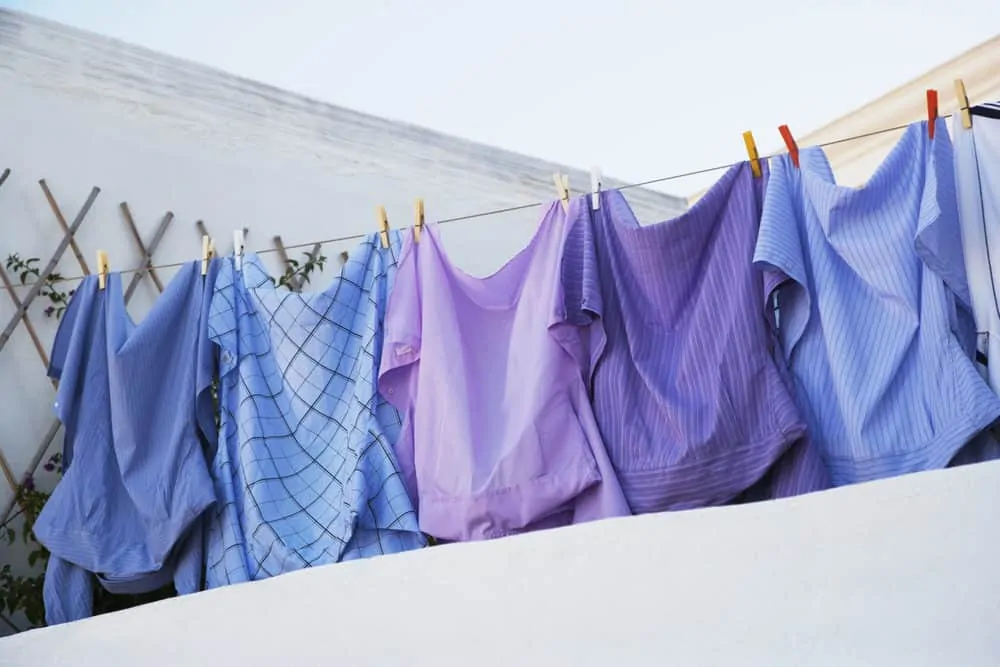
For a more hipster way at tackling wrinkles, this ironing trick can help!
This one is particularly useful if you’re away on vacation without an iron. All you need to do is spritz the clothes with water and hang the garment out in the hot sun. If you don’t have a spray bottle, use your hands or a bottle to splash some water onto the clothes.
17. Commercial Spray
Our final ironing tip is to try a commercial wrinkle release spray. These are amazing if you travel a lot. It’s quite devastating when you open up your suitcase to find all your clothes are creased. But if you have a commercial spray, you can quickly fix that problem!
Use these sprays across the fabric of your clothes to quickly remove wrinkles, refresh fabrics and get rid of static. Some of them have lovely scents which can be an added bonus.
FAQs

Is a Steamer Better Than an Iron?
A steamer might be better than an iron, but it depends how you use it. They are easier to set up (no ironing board), fabrics can be steamed to remove wrinkles, and they heat faster than an iron.

What Can You Do If You Hate Ironing?
If you hate ironing, one of the best ways to keep your clothes wrinkle-free is to buy wrinkle-resistant clothing. Another method is to hang your clothes next to the shower and let the steam release the creases.

How Do You Get Stubborn Wrinkles Out of Clothes?
One of the best ways to get stubborn wrinkles out of clothes is to wash them in a fabric softener. Wait while the clothes are 90 percent dry, and use an iron set at the right temperature to remove the wrinkles. This also helps dry the garments.

Can You Iron Wet Clothes?
You can iron wet clothes, especially thin items like dress shirts. Ironing them after they come out of the washing machine helps to remove wrinkles.
Enjoy These Tips and Hacks
These ironing tips and hacks will help to make ironing more fun, easier and effective. Some of these tips are great for stubborn creases while others help when you’re in a hurry. And some of these top tips are ideal for travelers. Let us know what works best for you!