Floors can be one of the dirtiest places in a family home. From crumbs in the kitchen to dirty shoes in the hallway, you’ve got to work hard to keep them clean.
You may be surprised to learn that many people are mopping wrong. This may seem silly, but you’ve got to have the right tools and techniques to know how to mop well.
We’ve put together a mopping guide so you can get professional-level results at way less cost.
Key Takeaways
- Mop floors at least once a week, and vacuum more often for debris removal.
- Choose reusable mop pads, like microfiber, for better grime capture and cost savings.
- Begin with vacuuming, then mop using a bucket with the correct water and cleaning solution ratio.
- Open windows for ventilation and faster drying when mopping your floors.
How Often Should I Mop?
Aim to mop at least once a week. However, areas with lots of foot traffic may need more scrubbing sessions.
Generally, you’ll vacuum more often than you mop. Vacuuming picks up debris while mopping is best for scrubbing marks and stains, as well as sanitizing.
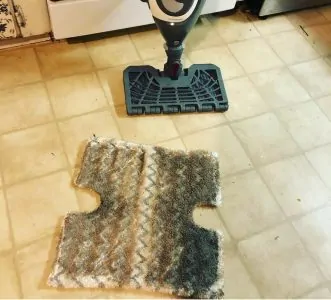
Disposable Vs. Reusable Mop Pads?
You may choose disposable mop pads if you’re cleaning heavily soiled flooring. They can be more convenient, particularly if you’re cleaning up an accident.
But, they can work out to be more expensive. If you’re watching your wallet and have a cleaning budget, you might want to opt for reusable mop pads.
Many people assume that reusable mop pads harbor more dirt and germs. But this is not true. In fact, they can be better for capturing grime, depending on the material.
For example, microfiber is good for capturing bacteria, and it can remove more grease than cotton or paper (1). It also dries faster than cotton, which prevents mold and mildew growth.
They’re easy to throw in the washing machine to refresh and use again. Of course, this is also more economical, saving you money in the long run.
How to Mop
We’re going to show you the most effective and efficient way to clean your floors with a mop and bucket. Our 11 steps below should have you covered.
- Time: 20 minutes
- Difficulty: Easy
1. Open a Window
First, open a window in the room you’re cleaning. This will help ventilate the space if you’re using a cleaning solution. It may also help to speed up the drying process.
2. Tidy up and Move Furniture
We know you’ll probably want to start mopping already. But this step will save you a lot of time and effort.
Move any objects that are in your way. For example, lift rugs, move the trash can, and put chairs on the table.
Of course, you don’t have to move large pieces of furniture. Many mops are designed with a flexible or flat head for sliding underneath sofas and around fridges.
3. Start With the Vacuum

Any deep clean should start with vacuuming. Mops are not designed to pick up excess dirt and debris – they’re more for sanitizing and buffing. You risk damaging your floors if you drag around dirt.
On the other hand, vacuums have powerful suction to capture dust, dirt, and crumbs and will leave you with a deeper clean.
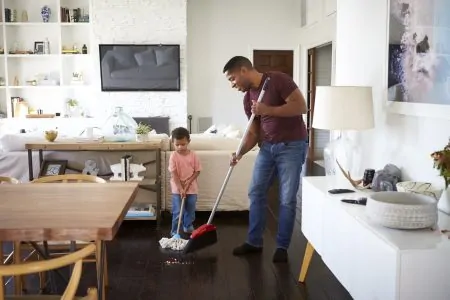
You may be tempted to use a broom for this step. But sweeping releases large amounts of dust into the air instead of trapping it as a vacuum does. This might not be good if you’ve got allergies.
You might want to use a canister vacuum for this job. It doesn’t have a beater bar, so it’s less likely to damage hardwood floors. You may use an upright vacuum, but only if it has specific brushes for safe cleaning.
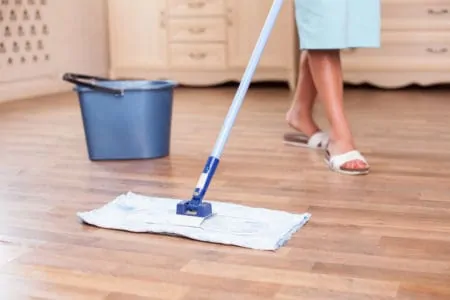
4. Fill Your Mop Bucket
Fill your mop bucket with cool water and a cleaning solution of your choice. You want enough water there for the mop head to be submerged, but don’t make it so heavy that you can’t transport the bucket.
It’s important to achieve the right water and cleaning solution ratio in your bucket. This may help to avoid streaks and stickiness. Most cleaning products will provide you with instructions to follow.
Take Note
With its acetic acid, vinegar makes a good sanitizer for your flooring. A study found that it has the natural ability to kill around 80 percent of germs (2). This includes bacteria that can cause Salmonella and sickness from E. coli.
Just be sure to use a 2:1 solution of water and vinegar since undiluted vinegar can damage the flooring due to the acidity.
5. Dunk Your Mop
Now it’s time to start mopping: dunk your mop into the bucket. Submerge the mop head so that it can absorb the cleaning solution. Swish it around to make sure all fibers are covered.
But don’t forget to wring your mop before it touches your flooring. Too much water may damage your floors or leave them streaky.
Caution
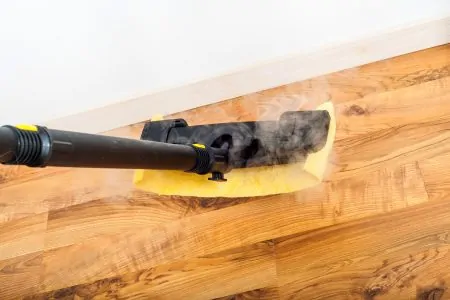
You might want to invest in a microfiber mop for this task. These are better for removing small contaminants and dust from wooden floors.
If you have a sealed wooden floor, you may be able to damp mop without causing any damage. To be on the safe side, check with the floor manufacturer beforehand.
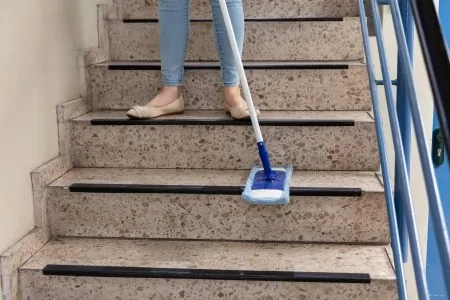
6. Start in the Furthest Corner of the Room
You probably don’t want to spend hours mopping. So, the best cleaning technique is to start scrubbing in the furthest corner of the room. This should be away from the doorway with your back to the exit.
The idea is to avoid walking over a clean, wet floor with dirty shoes. That’s just going to double your workload unnecessarily.
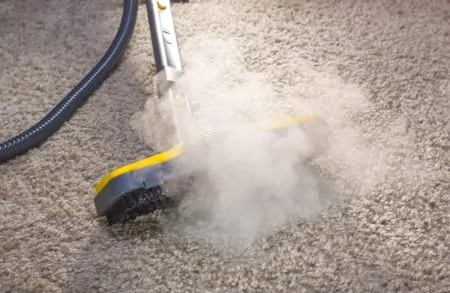
7. Mop in Straight Lines or Figure of Eight
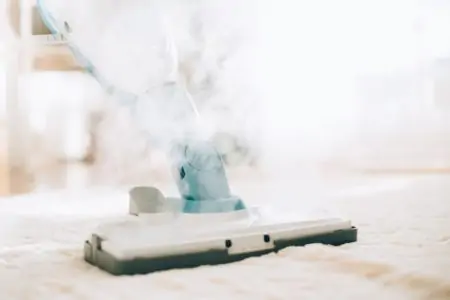
To capture all of the dirt and grime from your floor, mop in straight lines. As a rough guide, follow the direction of your floor’s pattern or grain design. This is the best technique for using a damp microfiber mop or steam mop.
If you’re choosing to use a cotton string mop, move in a figure of eight. Each pass should overlap for the most effective clean.
You may want to apply some downward pressure for any stubborn grime or marks. This way, you can scrub and loosen the dirt with the moisture. It’s often best to work in small sections – it may be easier to track where you’ve already cleaned.
8. Rinse and Wring Your Mop Regularly
During the mopping process, rinse and wring your mop several times. The number of times you’ll have to do this will depend on how dirty the floor is.
Use your bucket’s water and cleaning solution to clean your dirty mop. It’ll have picked up dirt and germs you can’t see. Rinse and wring it to prevent streaks and excess moisture.
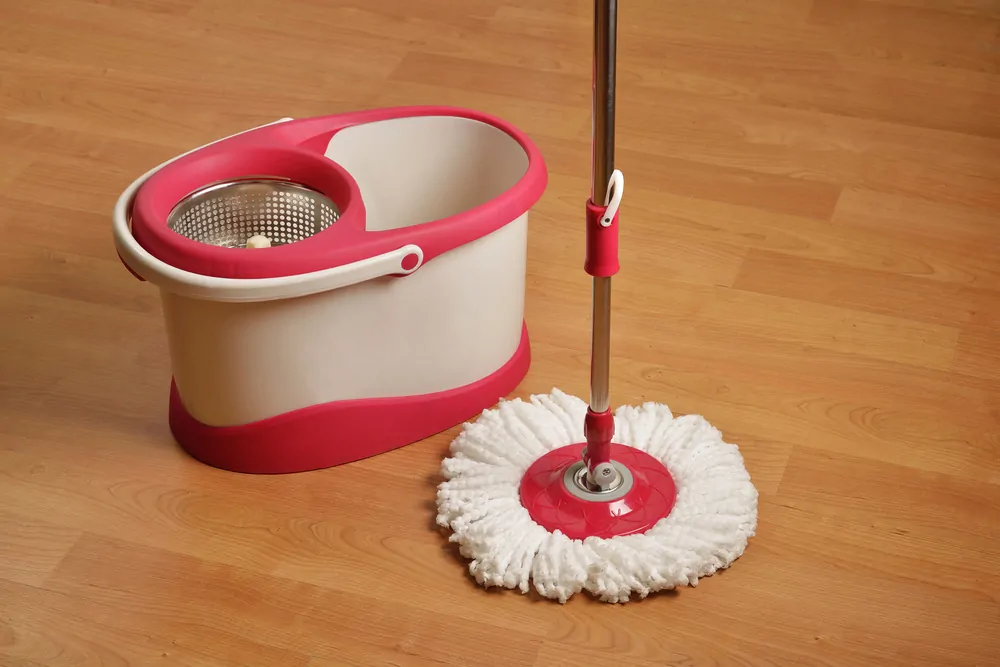
If you find it a hassle to wring out your mop by hand, you may be interested in a spin mop. This has a device attached to the bucket to spin out excess water from your mop automatically.
9. Discard Dirty Water
Cleaning your floors with dirty water is counterproductive. We recommend discarding the water in your bucket when it becomes murky.
Germs and dirt will lie in the water and saturate your mop. The last thing you want to do is smear dirt back onto your clean floors, right?
10. Rinse Your Floor
If your floor has been incredibly dirty, you may want to consider rinsing it after scrubbing. This is an essential step if you’ve used a string mop.
Once you’ve poured out your cleaning solution, fill up your bucket with clean water from the faucet. Just like you did before, quickly mop over your flooring. You won’t have to be as thorough as you were before.
11. Let Your Floor Dry
Finally, the mopping is all done. Allow your floors time to dry before you walk on them again. This prevents outdoor shoes from spreading muck on the floors while they’re still wet.
Remember, ventilation, and fresh air helps floors dry quicker.
FAQs

What Should You Not Do When Mopping?
When mopping, you should not drag furniture across the floor because chair and table legs can scratch the surface. Don’t store wet mops in closets or against walls. And tell everyone in the house that you are mopping to alert them that the floor is wet.

Is It Better to Mop With Hot Water or Cold Water?
It is better to mop with cold water because some surfaces get damaged with hot water. Always use a cleaning agent to kill bacteria and get up as much dirt as possible.

How Long Does It Take to Mop a Floor?
The amount of time it takes to mop a floor is about one hour. Obviously, it depends on the floor size and the type of mop you use.

How Do You Get Streak-Free Floors?
To get streak-free floors, you should sweep first, then wet mop using a cleaning solution like white vinegar and water. Once completed, you should dry buff the floor to remove water marks and streaks.

Why is My Floor Still Dirty After I Mop?
Your floor is still dirty after mopping because you have not used enough cleaning solution. Follow the manufacturer’s instructions on the packaging to get the correct water ratios for the cleaning agent.
Another reason could be you failed to sweep or vacuum the floor before mopping. Instead of cleaning the floor, the wet mop turns the dirt into brown sludge, which dries on the surface.
Enjoy Your Spotless Floors
Flooring is often the first thing you notice when you walk into a house. You want to make a good impression on your guests, right?
Following our mopping guide lets you enjoy a spick and span home.
Some of the most important mopping steps include vacuuming before you begin. You also want the correct water ratio to cleaning solution in your bucket. Be sure to dunk and wring your mop often.
When your water gets dirty, it’s time to go. Rinsing your floor is helpful if you’re after a deep clean. Don’t forget to let your floors dry before the kids come home.