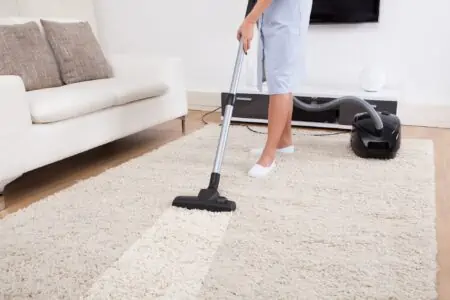
Vacuum cleaners themselves can get pretty nasty. Dirty vacuums are no good for cleaning. It can decrease suction power, rendering the vacuum useless.
Dumping the trash from your vacuum is not the end of the cleaning process. It’s actually the beginning, and we’re here to show you the following steps for how to clean a vacuum cleaner.
Keep reading to get the full breakdown for cleaning the beater bar, intake port, filters, fan, and more. Soon enough, your vacuum will be functioning as well as it did the day you bought it!
Key Takeaways
- Clean your vacuum regularly to improve performance and remove trapped dirt, dust, and allergens.
- Ideally, take the vacuum apart for thorough cleaning every 12 to 18 months, and clean filters every seven uses.
- Proper cleaning includes filters, beater bar, canister, interior, and attachment accessories.
- Avoid using baking soda in your vacuum as it can block filters and damage the motor.
Why You Should Clean Your Vacuum Cleaner
As you vacuum your floors, carpets, and rugs, most of the dirt will get into the dust bag or canister. But some of the dirt, dust, allergens, and debris get trapped in the beater bar and the filters.
Cleaning your vacuum will also help get rid of dirt, bacteria, and other microorganisms that may be lurking in there.
While we’re on the subject, avoid using the vacuum if a member of your family has a stomach bug. This is particularly important if the person is vomiting or has diarrhea. Some of the germs may find their back into your home and affect other people (1).
Cleaning your vacuum also helps it perform optimally. Some people will throw out their vacuum because it’s no longer working well. But unless there is a mechanical problem, the vacuum may need a good cleaning.
The brushes on the beater bar, for example, get caught up in hair, fur, and other dirt, which reduces their ability to function correctly. In the same vein, you can’t rely on a clogged filter to effectively separate dust from the air.
So, by taking the time to clean your vacuum, you will also be setting it up for long life. You’ll also enjoy much cleaner floors than before.
How Often Should You Clean Your Vacuum?
The owner’s manual contains specific information regarding the maintenance of your vacuum. If you don’t have one handy, you can always check online. Ideally, you will want to take the vacuum apart for thorough cleaning every 12 months but no longer than 18 months.
Additionally, if your vacuum comes with a dust bag, always empty the contents when the bag is about two-thirds full. Any higher, and the vacuum will not perform effectively. Many vacuums have a maximum line to remind you when to empty the tank.
It would be best to empty the canisters in bagless vacuums after each use. Clean your filters every seven uses.
How Do You Know It’s Time To Clean Your Vacuum?
How to Clean Your Vacuum Cleaner
Vacuums differ depending on the model. However, in most cases, they will contain similar components such as the filters, beater bar, fan, motor, and the like. We have provided below a step-by-step guide to help you clean your vacuum.
- Time: 45 minutes
- Difficulty: Intermediate
What You’ll Need
- Dish soap
- Water
- Microfiber cloth
- Sink or basin
- Small cleaning brush or toothbrush
- Scissors or seam ripper
- Garbage disposal bag
- Gloves
- Can of compressed air (optional)
- Disinfectant (including alcohol) and a cotton pad (both optional)
- An open area or garage where you will be cleaning the vacuum
Quick Tip
1. Dismantle the Vacuum
Dispose of any dirt that may be in the dust bag or canister. Remove all washable and replaceable parts, such as the filters and attachment accessories.
2. Clean the Filters
Your vacuum may contain more than one filter. Check your owner’s manual to verify how many are in your vacuum and where they are located.
Dunk the washable filter in water and scrub it clean using a toothbrush. Add disinfect to the water if you’re choosing to use one. Rinse the filter in cool water and air dry for at least 24 hours.
Non-washable filters can be tapped a couple of times against a surface to loosen and remove dust and other clumped particles. You can also use a cloth to wipe off the dirt.
If necessary, replace the filters now. Check the manual for the instructions, particularly regarding HEPA filters.
Assemble Dry Parts Only
HEPA filters for vacuums used in residential settings may not need changing for up to three years (3). Check with the manufacturer. However, if the HEPA filter emits a musty odor, it’s time to replace it.
3. Clean the Canister
You can skip this step if your vacuum comes with a dustbag. But if you wish to clean your dust bag more thoroughly, check if the manual comes with any instructions. Manufacturers typically don’t recommend washing dust bags, so you may need to replace them.
Now for those with canisters. Start by emptying the canister. Check the manual for instructions on how to separate the canister from the larger vacuuming unit.
Then, soak the canister in warm soapy water (mixed with a disinfectant) and scrub it with a brush. Rinse with cool water and allow it to air dry completely.
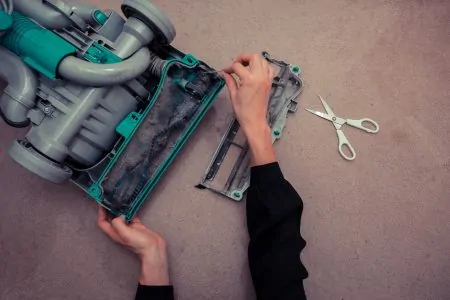
4. Clean the Interior
With the canister out of the way, remove dirt from the vacuum’s interior using a toothbrush. Use downward strokes to ensure the dirt comes down and not further up.
Blast some compressed air to remove stubborn and hard-to-reach debris. Watch out for flying particles that can enter your eyes and airway, triggering allergic reactions.
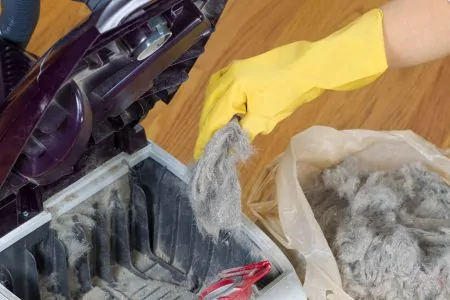
5. Clean the Beater Bar
Lots of stuff gets caught in this part of the vacuum, including hair, strings, and other debris. Start by carefully trimming the hair and strings from the bristles using a pair of scissors or a seam ripper.
Gently pull away the hair and other debris without damaging the bristles. Use the toothbrush to wipe off the remaining dirt.
If the rotating brush in your vacuum can be removed, unscrew it for a thorough scrubbing. Behind the rotating brush, you will see a small passageway (present in most vacuums) that is easily ignored.
Remove any debris that may be obstructing this passageway. Rub some cleaning alcohol on a cotton pad and apply it to the bottom of your vacuum cleaner.
We recommend disinfecting the bottom because it’s what touches the surfaces around your home. Alcohol is perfect for this because it dries very quickly while disinfecting the vacuum.
Inspect the vacuum drive belt for signs of wear and tear. Visible signs of aging and scratches mean it’s time to replace it.
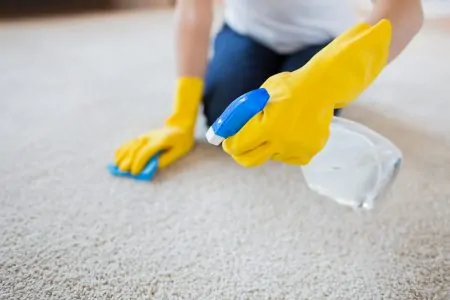
6. Clean the Attachment Accessories
This is a fairly straightforward process. Dunk washable accessories in soapy water, scrub, and rinse in cool water. If any attachments have hair or strings caught in them, use the scissors to trim the debris and remove it.
Remember to lay them flat to air dry for at least 24 hours.
7. Wipe Down the Exterior Unit
Use the microfiber cloth to wipe down the vacuuming unit. As an extra measure, rub a bit of alcohol to ensure everything is clean and disinfected.
8. Reassemble the Vacuum
Once all the parts are dry, it’s now time to reassemble the vacuum cleaner and install any new parts. When done, give the vacuum one final wipe down, and you’re good to go.
Mistakes to Avoid
Here are some things to remember as you clean your vacuum:
- Turn off the vacuum: If you want to look at the beater bar, ensure the vacuum cleaner is turned off and unplugged. A running vacuum can pull in your hair from your head (yes, we’re cringing at the thought, too). It can damage your clothes and even cause injury.
- Faulty electrics: Don’t use your vacuum cleaner if the electrical fault is worn out or has wires sticking out.
- Careful when carrying: Don’t carry the vacuum cleaner by its cord as this may damage the cord, resulting in electrical fault.
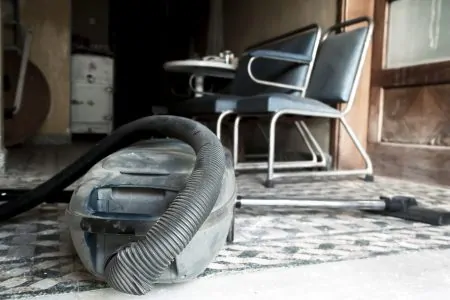
What to Do With a Smelly Vacuum?
Vacuum cleaners can become smelly if the dust bag or canister is not emptied regularly. The smell could also come from sucking up something nasty or from vacuuming an area where your dog had laid.
Here are some tips for freshening up your vacuum:
- Scent beads: Invest in fresh air scent beads and place one in the vacuum bag before vacuuming.
- DIY sprinkle: You can also go DIY by sprinkling a small amount of cinnamon or ground potpourri into the dust bag. Alternatively, sprinkle directly onto the area you’re vacuuming beforehand.
These options will provide a fresh scent to your vacuum cleaner and home.
However, a burning smell is an indication of just that — burning. You may have a faulty electrical cord which puts you at risk of a fire or electric shock. In this instance, have an electrician check the vacuum. Please don’t use it until they have certified it as safe.
FAQs

How Do You Disinfect a Vacuum Cleaner?
You can disinfect your vacuum cleaner using white vinegar and water. Add one quart of vinegar to one gallon of warm water and mix it in a bucket. Wet a clean cloth and wipe down the exterior of the vacuum cleaner.
To disinfect the inside, spray the water and vinegar solution inside the canister, wait for five minutes and then wipe it clean.

How Often Should You Change Your Vacuum Filter?
You should change your vacuum filter every two or three years if used in a residential setting. For commercial use, where the vacuum is used more frequently, change the filter every six months to a year.
If you smell a musty odor when using the vacuum cleaner, it will likely be the filter that needs changing.

Can I Put Baking Soda In My Vacuum?
You can’t put baking soda in your vacuum because the tiny particles block filters and eventually destroy the motor. While some recommend baking powder as a carpet odor remedy, avoid sucking it into the vacuum.

Why Does My Vacuum Keep Getting Clogged?
Your vacuum cleaner keeps getting clogged because you are not cleaning it enough. Filters and hoses get clogged with dirt, causing the vacuum to stop working.
In Conclusion
Learning how to clean a vacuum cleaner the right way will help your device run more efficiently and lengthen its working life. Don’t forget to regularly check the filters, dust bag, and bin for buildup while you’re at it.
Gather all your cleaning supplies into one area before you begin cleaning, so you’re ready for the mission. This method only takes around 45 minutes but can lengthen your vacuum’s durability for years ahead.