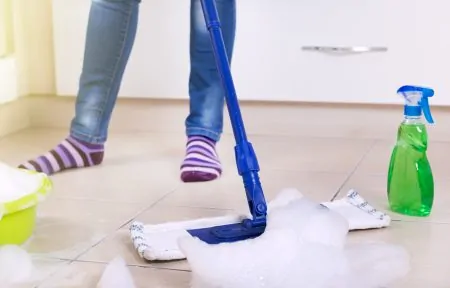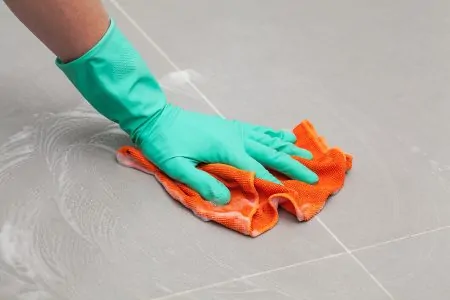
Porcelain tiles are durable and beautiful, but you need to know how to keep them clean.
There are three main porcelain types: glazed, unglazed, and textured.
You can keep your porcelain tiles polished and attractive for decades with the proper cleaning techniques. We’re here to show you how. Good news, it’s very easy!
Key Takeaways
- Clean glazed porcelain tiles with a soft broom or dust mop, vinegar solution, and gentle scrubbing for stains, then dry thoroughly.
- Unglazed porcelain tiles require a microfiber dust mop, mild cleaner, and drying with a microfiber cloth or towel.
- Textured porcelain tiles need a flared broom for sweeping, mild cleaner for mopping, and soft towel or cloth for drying.
- Maintain all porcelain tiles by sweeping or vacuuming regularly, cleaning spills quickly, avoiding abrasive tools, and cleaning grout.
Types of Porcelain Tiles
Cleaning porcelain tiles is reasonably straightforward. However, there are a few pitfalls to avoid if you want your floors to shine. Before we start cleaning, let’s take a closer look at the different types of tiles:
- Unglazed: Porcelain tiles are made by tightly pressing silica, clay, and other materials, and then firing them using high temperatures. This creates a dense tile that is resistant to water penetration. Unglazed tiles are thus less slippery, and chips or gashes aren’t as noticeable.
- Glazed: Glazed tiles are made the same way as unglazed, but a thin layer of liquid glass is added to the exterior. This causes glazed tiles to be more glossy, and it also allows the addition of various colors and even prints.
- Textured: These are made to resemble other types of flooring, such as natural stone and hardwood.
How to Clean Glazed Porcelain Tiles
First, we’ll look at the best cleaning method for glazed porcelain tiles. This four-step method is effective and gentle on your floors.
- Time: 45-60 minutes
- Difficulty: Easy/Intermediate
1. Remove Dust and Dirt
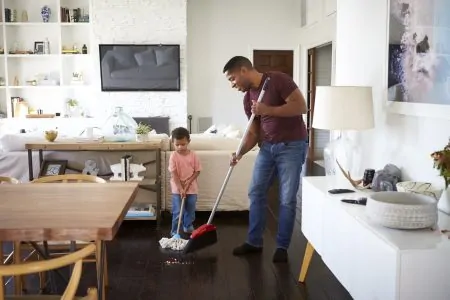
Always start your cleaning regimen with a good broom, dust mop, or vacuum. This will eliminate dust, dirt, and debris and help you get a better result.
For porcelain tiles, we prefer using a soft broom or dust mop. A dust mop has a microfiber pad that attracts and collects fine dust, dirt, and hair. It’s easy to use and gentle on glazed tiles.
If you encounter some stubborn dirt, you can use a small nylon brush to scrub the dirt away gently. Pour some hot water onto the dirt first and then rub. You might damage the finish on the tile if it’s dry.
2. Remove Stains
It can be frustrating to discover stains on your glazed porcelain tiles. However, they’re easy to remove with the right tools and solution. You can use a commercial product safe for glazed tiles or use white vinegar.
Combine a quarter cup of white vinegar and two gallons of water (preferably warm). Mop the area and allow it to sit for 10 minutes, then rinse with clean water. If you choose a commercial product, use it as directed.
Stubborn stains such as coffee or red wine can be removed using a baking soda and water paste. Mix equal parts of the two, apply to the stain, and scrub lightly using a small brush until it’s gone. Then rinse the area with clean water and repeat if necessary.
3. Mopping the Entire Floor
Once you’ve removed any possible stains or spots, it’s time to mop the entire floor. You can use the vinegar and water solution you mixed before to clean your tiles effectively. Vinegar is excellent on glazed porcelain as it brings out its shiny exterior without leaving a soapy film or residue.
Begin at the back of the room and work your way to the entrance or exit. After mopping, clean the floor once more using fresh water to rinse. This will eliminate any residue and help your floors look flawless.
4. Wipe to Dry
Once you’re done mopping, it’s time to dry the floors. It’s essential to dry glazed tiles as any standing water could cause watermarks.
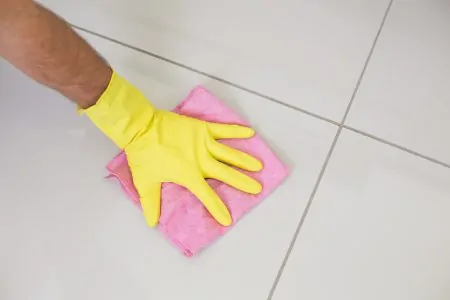
Use a cloth or clean towel to wipe the floors. You can also work a fan or open some windows to allow the fresh air to dry your tiles.
Buff the floors using a porcelain tile polishing pad and rub in circular motions. This will help to revive the tiles and restore their shine.
How to Clean Unglazed Porcelain Tiles
Unglazed porcelain tiles require a slightly different approach since they don’t have a protective layer.
- Time: 20-30 minutes
- Difficulty: Easy
1. Use a Dust Mop
Unglazed porcelain tiles don’t have a protective glass layer like glazed floors. It is, therefore, important that you refrain from using any abrasive tools. When sweeping, opt for a microfiber dust mop to remove dust and dirt before mopping.
2. Use a Mild Solution
Unglazed porcelain tiles should only be cleaned using a mild cleaner to prevent damage. You can make the same vinegar solution mentioned above or use a commercial product safe for unglazed tiles.
Wet the floor slightly using a mop and then scrub spots or stains using a small brush. Then once you’re done, rinse with clean water.
3. Dry the Floor
Getting rid of water is essential to keep water from penetrating your unglazed tiles. Use a microfiber cloth or towel to dry the floor.
How to Clean Textured Porcelain Tiles
Last but not least, here’s how to tackle stains and dirt on textured tiles. This two-step method is the least complicated so far, but it’s still important to take precautions.
- Time: 30 minutes
- Difficulty: Easy
1. Sweep With a Broom
Textured tiles are often made to look like natural stone and will, therefore, have more places where dust can hide. Use a flared broom to sweep the floor in one direction — once you’re done, sweep the other way. This will help ensure you get all dirt and dust out of the tiles.
2. Mop With a Mild Cleaner
When you’ve removed most dust and dirt, it’s time to mop. Use a microfiber mop and a mild solution that’s safe for the surface.
Allow the cleaner to sit on the floor for up to 10 minutes. Then, scrub stains or dark spots using a small, soft brush. If you have many spots requiring scrubbing, you can use a soft broom or push a broom to clean a large area effectively.
Always Rinse
Finally, dry the floor using a soft towel or cloth.
Maintaining Porcelain Tiles
Porcelain tiles, whether glazed or unglazed, require some maintenance if you want them to look good as new. Use these tips to keep your tiles looking fresh:
Sweep or Vacuum Regularly
Dust and loose dirt can quickly cause porcelain tiles to look dull. So try to sweep the floors using a broom or vacuum at least twice a week. If your home is in high traffic with pets, kids, or guests, you might need to sweep daily.
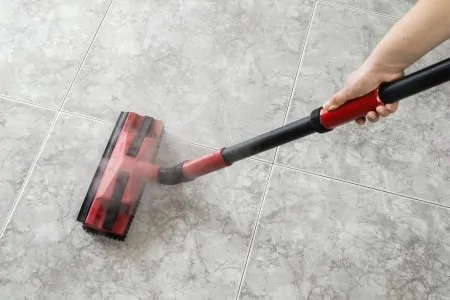
However, if you choose to vacuum, use one with a hard floor setting and preferably a soft floor head. Vacuums intended for carpets can cause deep scratches and damage porcelain tiles.
Clean Spills as They Happen
To avoid a buildup of grime and settled spills, clean up anything that falls on the floor right away. Porcelain tiles aren’t porous, so that they won’t absorb the stain, but spills can cause marks that are difficult to remove. Use a microfiber cloth or soft brush to scrub the stains away.
Avoid Abrasive Tools
Avoid Bleach and Ammonia
Bleach and ammonia can stain your grout lines and damage the color of your tiles. Cleaners with added dye or coloring should also be avoided as well as oil-based detergents and wax cleaners.
Opt for vinegar instead, as this is a natural product that restores shine, disinfects, and deodorizes the tiles.
Clean the Grout
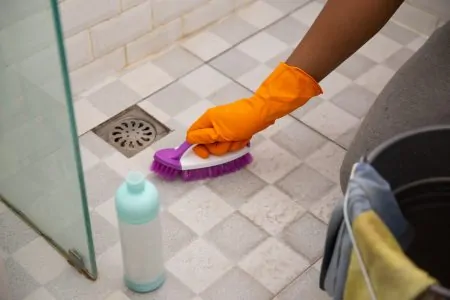
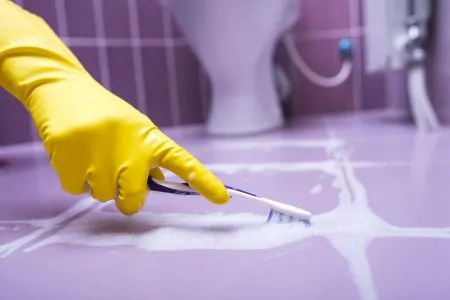
Dirty or discolored grout can make your tiles look unclean as well. You can clean these areas using a paste of water and baking soda. Simply apply the paste to the grout and scrub using a small brush, then rinse when done (1).
You can also use a commercial product. Just make sure the one you choose is safe for your tiles. If your grout is unsealed, consider sealing it to prevent stains and discoloration.
FAQs

Why are My Porcelain Tiles Dull?
Your porcelain tile floors are dull because of excess cleaning solution residue and water marks from dried pooled water. It causes misting, which dulls the porcelain tiles.

What Should You Not Use on Porcelain Tiles?
You should avoid corrosive cleaners that contain ammonia, bleach, or acids that strip away the glaze on the tile surface. Porcelain tiles have the same water resistance as glass, and frequent use of abrasive chemicals strips the coating to increase water absorption.

How Do You Clean Porcelain Tiles Without Streaks?
The best way to clean porcelain tiles without streaks is to use a diluted mixture of water and white vinegar and always wipe the tiles dry using a clean rag. Dry buffing removes water pooling and polishes the tiles.

Can a Swiffer be Used on Porcelain Tile?
You can use a Swiffer on porcelain tile. Swiffers are designed to clean most floor surfaces and are excellent at cleaning ceramic and porcelain tiles.

Can You Use Windex on Porcelain?
You can use Windex on porcelain tiles as long as you avoid the linings of the tile. The linings are where two clay layers are pressed together to form the tile. If Windex gets into the lining, it could damage the tile.
Pristine Porcelain
How to clean porcelain tile floors depends on which type you have. Glazed tiles aren’t as sensitive to water and cleaning products as textured and unglazed tiles. However, you should always use a mild product or go natural and use vinegar.
Opt for gentle cleaning tools such as a dust mop and a microfiber mop when cleaning. Never use steel wool, even if you’re facing some tough stains. Keep your floors looking new by regularly sweeping to keep dust and dirt at bay.