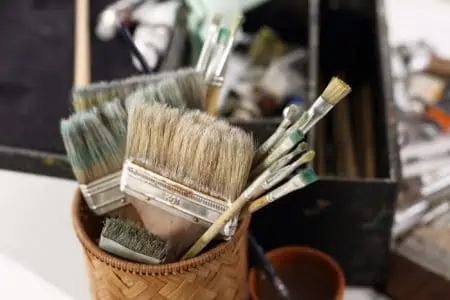
Keeping your oil paint brushes in good condition is essential to being able to paint well and painting well is how you express yourself. Plus, good paint brushes are expensive.
So today we’re discussing how to clean oil-based paint brushes so you can cleanup easily after a painting session. You’ll be able to care for your brushes properly without compromising on the quality.
Key Takeaways
- Clean oil paint brushes using oil or solvent, then wash with soapy water and let them dry flat in a well-ventilated area.
- Water cannot be used to clean oil paint brushes as oil is impervious to water.
- Alternative cleaning methods include using linseed oil, Gamsol, vinegar, dish soap, baby oil, natural cleaners, or paint cleaner.
- To dry oil paint brushes, lay them flat in a well-ventilated area away from direct sunlight and avoid storing brushes with bristles touching each other.
- Can You Clean Oil Paint Brushes With Water?
- How Often to Clean Paint Brushes
- How to Clean Oil Paint Brushes With Linseed Oil
- How to Clean Oil Paint Brushes With Gamsol
- How to Clean Oil Paint Brushes Without Solvent
- How to Clean Dried Paint Brushes
- How to Dry Oil Paint Brushes
- Cleaning Different Types of Brushes
- Tips For Storing and Caring For Oil Paint Brushes
- What to Do With Old Paint Brushes
- FAQs
Can You Clean Oil Paint Brushes With Water?
Oil paint brushes can’t be cleaned with water. Oil is impervious to water, so the water will simply bead off of the brush and won’t clean it. You will need to use an oil or thinner to clean your paint brushes.
How Often to Clean Paint Brushes
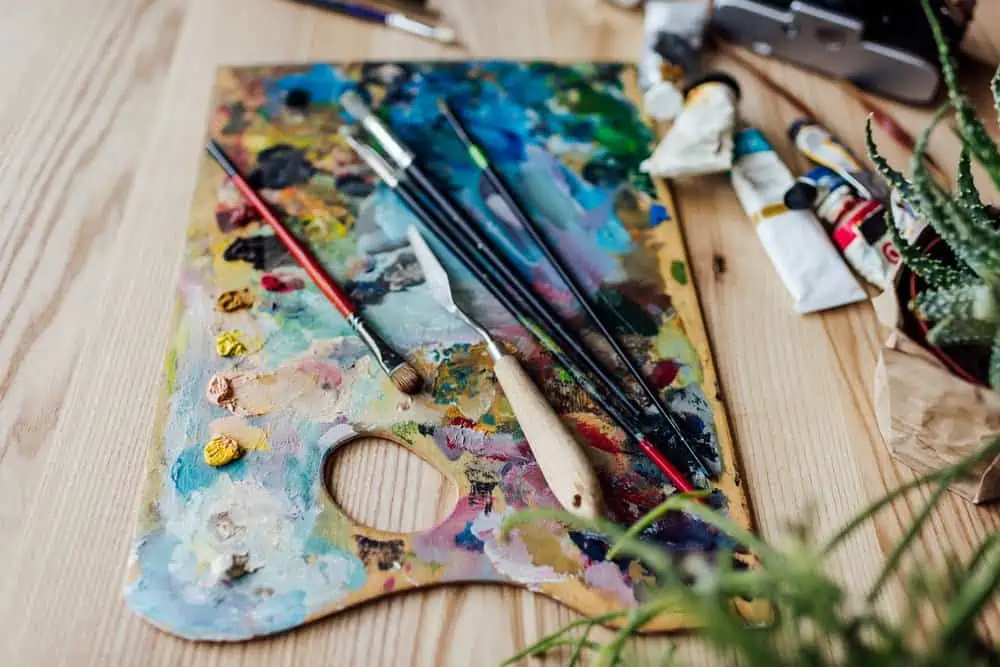
If you’re planning on using your brushes in the next few days, you can cover the paint brushes with oil to prevent them from drying. Oil takes a long time to dry.
So when you finish painting, remove as much of the paint on the brush as you can by wiping it with a paper towel. Then coat the brush in an oil such as poppy seed oil. You can use linseed oil, but it dries faster than poppy seed oil making it less ideal.
Once the paintbrush is coated in oil, let it rest on your drying rack until your next painting session. When you’re ready for your next painting session, wipe down the brushes and they’re ready to paint.
Coating the paint brushes with oil doesn’t work if you’re not sure when you will be painting again or if you plan on storing the brushes. In this case, you will need to take more time and use a solvent or oil to clean them.
How to Clean Oil Paint Brushes With Linseed Oil
Oil paint brushes can be cleaned with vegetable oil such as linseed oil or olive oil. Linseed oil is sometimes called flaxseed oil, so you might have some on your shelf.
Oils take longer to remove the paint from your brushes than cleaning oil paint brushes with turpentine or thinner. However, thinners and turpentine may damage your brush and make the bristles fall out. Linseed and olive oil are less toxic, more affordable, and are less likely to damage your brushes.
- Time: 15-20 minutes
- Difficulty: Beginner
What You’ll Need
- Oil like olive oil or linseed oil
- Paper towels or paint rag
- Old cup or jar
- Artist hand soap such as Master’s Artist Soap
1. Remove Excess Paint
Remove as much of the oil paint from your brush as you can by wrapping the brush in a paper towel or rag. Then push the paint up towards the tip of your bristles. If you’re using paper towels, change them as needed. Continue removing the excess paint until your brush is no longer dripping paint.
2. Clean Brush
Pour enough oil into a cup or jar to cover the head of your brush. Submerge the head of your brush in the oil and make sure that the brush is saturated. Remove the brush.
Using your paper towel or rag, carefully push the paint up towards the tip of the brush. Keep working until most of the paint is removed. Dip your brush into the oil as needed.
3. Wash Brush
Hold the artist’s hand soap in your hand. Brush the bristles across the soap creating a lather. Gently work the lather into the bristles making sure that you are not pushing the bristles into the soap. Use a pulling motion.
You will see the soap changing colors as the paint bleeds into the soap. Rinse the brush in warm, but not hot, water. Hot water may heat the glue holding your brush together.
Repeat this step until you no longer see color bleeding in your soap.
4. Mold and Dry Brush
Mold the tip of your brush into a neat edge. Then lay the brush flat to dry in a well-ventilated area. Be careful that the bristles do not fold or bed as this will damage them.
How to Clean Oil Paint Brushes With Gamsol
You will be able to clean paint brushes more thoroughly with mineral spirits. Other options are to clean your brushes with paint thinner. However, these paint thinners are not able to be poured down the drain. You will need to dispose of them correctly.
Gamsol is an odorless mineral oil. Using it will allow you to avoid the nasty thinner smell as you clean your paint brushes.
- Time: 15 minutes
- Difficulty: Beginner
What You’ll Need
- Paint thinner or mineral oil such as Gamblin Gamsol Odorless Mineral Spirits
- Old cup or jar
- Paper towels or rag
- Artist hand soap such as Master’s Artist Soap
1. Clean Brush
Pour solvent into an old cup or a jar. You will need enough to cover the head of your brush. Then dip your brush into the solvent and swish it around the jar.
As you lift your brush from the jar, tap it on the edge to remove any excess solvent so the brush isn’t dripping solvent. Wrap the brush in the paper towels or rag. Gently pull the paper towel or rag down the brush to force the paint to the tip and off the brush.
Repeat this process until your brush is as clean as you can make it.
2. Wash Brush
Hold the artist soap in your hand and brush the bristles gently across the soap. You want to pull the brush across being careful not to push the bristles into the soap. Color may bleed into the soap.
Rinse the bristles under warm water. Hot water may loosen the glue that holds the brush together.
Repeat until there is no more color bleeding into the soap. Rinse the bristles thoroughly.
3. Mold and Dry Brush
Gently mold the bristles back into the proper shape before laying your brush down horizontally. Make sure that the bristles are not folded or bent. Allow it to dry in a well-ventilated area.
How to Clean Oil Paint Brushes Without Solvent
You can clean your paint brushes without using oil or paint thinner. Here are a few options to try.
With Vinegar
Vinegar is an excellent choice to remove dried paint from your brushes.
Put vinegar in an old saucepan and soak your paint brush in the vinegar for an hour. After an hour, heat the vinegar until it’s simmering. Let it simmer for a few minutes.
Rinse the brush well in clean water.
With Dish Soap
Dish soap is another option to clean your paint brushes. However, some people recommend not using it as it may damage the bristles on your paint brush.
Grab an old cup that you plan on dedicating to cleaning your paint brushes. The paint may stain your cup during the cleaning process. Fill the cup with enough dish soap to cover the head of your brush.
Dip your brush into the soap and make sure that all of the bristles are well coated. Then rub the bristles gently with your fingers or a cloth to work the paint up to the tip of the bristles.
Repeat this process until you have removed most or all of the paint.
Fill another cup with soapy water and let your paint brush soak in it for a few minutes. Rinse the brush and lay it flat to dry in a well-ventilated area.
With Baby Oil
To clean your paint brush with baby oil, first, make sure that each bristle is covered with the oil. Then use your fingers or an old rag to work the paint from the base of the head to the tips of the bristles. Keep working until the bristles are as clean as you can get them.
Soak the brush in a small amount of soapy water for a few minutes. Rinse the brush thoroughly and lay it flat to dry in a well-ventilated area.
With Natural Cleaners
Natural cleaners such as EcoSolve or Murphy’s Oil Soap can also be used to remove oil paints from your brushes. Put some of your natural cleaner into a jar. Dip your brush into the cleaner and swish it around.
As you remove the brush from the jar, tap it on the top edge so that the brush isn’t dripping any cleanser. Use a paper towel or old rag to remove the paint by working the paint towards the tip. Repeat the sequence until you have removed as much paint as possible.
The natural cleaners may leave a residue on the brushes so make sure that you clean your brushes with warm soapy water before laying them flat to dry.
With Paint Cleaner
Another option is to use an oil paint brush cleaner such as Masters Brush Cleaner. Begin by wiping your paint brush with a paint rag or paper towel to remove as much paint as possible. Then dip your paint brush in warm water and swish it around.
Lay the head of your brush on the brush cleaner and swirl it around gently until a lather forms. Rinse your brush. Repeat until the lather is clean and white instead of colored.
How to Clean Dried Paint Brushes
Despite your best efforts, sometimes paint will dry on your brushes. While you can use these brushes to create different textures on your canvas, cleaning your paint brushes is also an option.
Put enough vinegar in an old saucepan to immerse your paint brush. Soak your brush for an hour.
Then heat the vinegar with the paint brush in it until it’s simmering. Let it simmer for several minutes. Rinse your brushes well with clean water and lay them flat to dry.
How to Dry Oil Paint Brushes
When you’re drying your oil paint brushes, first wipe down the handle with a paper towel or old cloth to make sure it’s dry. This will prevent the moisture from causing the wood to swell or crack.
You will also need to lay your brushes horizontally to dry in a well-ventilated area that’s out of direct sunlight. Placing your brushes upright in a jar to dry will allow water to flow from the bristles onto the handle also causing it to swell or crack.
Cleaning Different Types of Brushes
Paint brushes are made from several different types of materials. Each material has a different set of requirements when you are cleaning your brushes.
Natural Bristles
Natural bristles are usually made from boar or horse hair. The bristles will retain some oil from the paint despite cleaning them, so keep the natural bristle brushes away from brushes that you use for other mediums.
After cleaning your natural bristle brushes, you will need to restore the tip. Dip the tip into hot water and blot it dry on a towel. Use your fingers to reshape the brush head into the desired shape.
Sable Brushes
Sable brushes are made by using the hair from the tail of a kolinsky which is a type of weasel. If you can, it’s best to store these brushes in an airtight box well away from direct sunlight.
Synthetic Bristles
Synthetic brushes have bristles made from nylon or polyester. While these brushes are inexpensive, they can last for months if you care for them properly.
Tips For Storing and Caring For Oil Paint Brushes
When you are storing your oil paint brushes, make sure that you store them in a well-ventilated area away from direct sunlight.
In addition, follow these tips to help your paint brushes last.
- Don’t allow your brushes to sit for more than a day before cleaning them. The paint will dry causing the bristles to harden.
- Lay your paint brushes flat.
- Avoid allowing the hairs of your paint brushes to touch each other.
- Never leave your paint brush sitting in water or solvent as the liquid will damage your brush.
What to Do With Old Paint Brushes
You may be tempted to toss your old paint brushes. However, even if they’re old they still have use left in them.
- Paint with the old brushes to create different effects such as a rough or textured style of painting.
- Use the old paint brushes in mixed media art projects.
- Donate the brushes to charity.
FAQs

What is the Best Solvent for Cleaning Oil Paint Brushes?
You can clean oil paint from your brushes with white spirit, Gamblin Gamsol Mineral Spirits, turpentine, the odorless turpenoid, and Real Milk Paint Citrus Solvent.

Is It Okay To Wash Oil Paint Down the Drain?
Oil paint should not be washed down the drain nor should it be thrown into the trash. The paint may have contaminated the water system. Instead, place the oil paint and oil-soaked paper towels into an airtight container until you can dispose of them correctly. Contact your local hazardous waste facility for directions.

What Can I Mix With Oil Paint to Make It Thinner?
You can mix mineral spirits, turpentine, and oils such as linseed oil and poppyseed oil to make the paint thinner.

Can You Reuse Oil Painting Rags?
Yes, you can reuse oil painting rags. Hang the rags up to dry. Once they’re dry they can be safely reused.