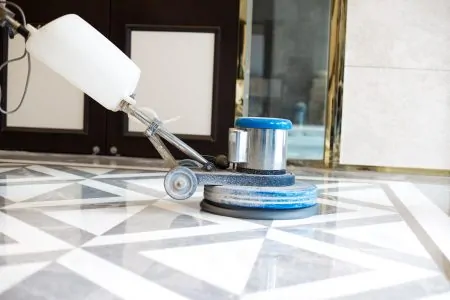
Dirty marble floors immediately take away the elegance of this flooring choice. The glossy exterior is no longer shiny, and the veining design looks filthy. Your sense of royalty is ruined.
Cleaning marble isn’t as straightforward as cleaning other floor types. Since marble is highly porous, you can damage it if you’re not careful.
We’ve put together a great guide for you if you want to know how to clean marble floors. We’ll help you tidy up your floors without causing damage.
Key Takeaways
- Marble floors are porous and sensitive, requiring gentle cleaning methods.
- Regularly sweep with a soft broom or dust mop, and mop occasionally using a pH-neutral soap and hot distilled water.
- Always dry marble floors with a clean cloth or towel after mopping to prevent water damage.
- Protect marble by sealing with a marble sealer and cleaning spills as they happen.
How Are Marble Floors Made?
Marble is a metamorphic rock, typically formed from limestone or other sedimentary carbonate rocks. The heating process causes the recrystallization of the primary mineral grains within the marble. Marble rock is, therefore, made up of an interlocking mosaic pattern of carbonate crystals (1).
Mineral impurities added, such as silt, clay, sand, and iron oxides cause the different colors within the marble. Green marble is generally made of mineral-rich limestone or dolomite with silica impurities.
Natural vs. Cultured Marble
If you’re considering installing marble floors in your home, you’ll likely be faced with the choice of natural or cultured. Which one you should choose depends on the area of the house.
Natural marble is mainly made of calcite. This creates a natural veining, or marble, within the tile. The minerals present in the limestone or dolomite also determine its color and veins (2).
The beauty of natural marble flooring is the fact that no piece is the same. It changes throughout the room or house. Regardless, a good installer will be able to lay the tiles to enhance their natural beauty.
Because pure marble is a natural stone, it’s porous (3). You have to be careful when choosing natural for rooms such as kitchens and bathrooms. If you install it in these high-moisture areas, make sure you use a good-quality sealant to protect the stone.
Cultured marble, on the other hand, is man-made. During the manufacturing process, crushed marble dust and polyester resins are added to create the desired color and veins (4).
This marble type is less porous than natural stone due to a finishing gel coat that seals the surface. Therefore, cultured marble is more glossy in appearance with subtle colors and uniform veins.
Because of the water-resistant surface, cultured marble is a popular choice for luxurious bathrooms. It is also commonly used in vanity tops.
Even though cultured marble is less sensitive to water compared to natural marble, you should still be careful when cleaning. Harsh chemicals can damage the protective finish and expose the marble. So, use non-abrasive cleaners and tools — the same as you would with natural stone.
Removing Dust and Dirt
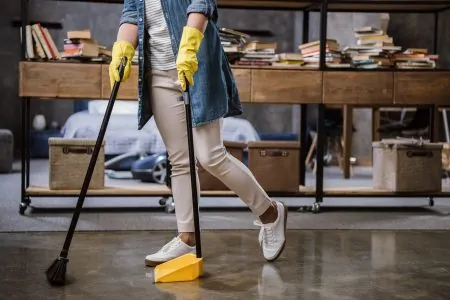
Regularly sweeping your marble floors is an excellent way to keep them looking clean. However, you have to be careful with the tools you’re using.
We highly recommend investing in a dust mop or dry mop. These are easy to use and consist of a long handle with a microfiber cloth at the end. The microfiber attracts and collects dirt, dust, and hair effectively while being gentle on the surface.
You can also use a flared broom for daily sweeps. Flared brushes are softer compared to unflared brooms. The ends of the bristles resemble split-ends and pick up dust efficiently.
Stay Clear Of Vacuums
If you do want to use a vacuum, make sure it has a setting for hard floors. Use it lightly on the floor, and don’t apply pressure as you clean. Choose a vacuum with rubberized wheels to ensure a smooth ride.
How to Wash Marble Floors
Let’s get into the best method for cleaning your marble floors.
- Time: 45 minutes
- Difficulty: Easy
What You’ll Need
- Hot water (preferably distilled)
- pH-neutral soap
- A soft mop (preferably microfiber)
- Clean water to rinse
- A soft towel or cloth
1. Prepare the Water
Because you shouldn’t use harsh chemicals or rough brushes, your best bet at beating tough stains is hot water. Hot water is very effective at cutting through dirt, grease, and other things that might be sticking to your floors (5).
So whether you’re using a cleaning solution or not, always use hot water. Boil some on the stove or heat in a kettle.
We also highly suggest that you use distilled water. This water goes through a process called distillation. During the procedure, impurities such as minerals are removed — leaving clean H2O.
Due to the purity of distilled water, it won’t stain, discolor or damage your precious marble floors. You can buy distilled water at any grocery store or make your own at home.
2. Add a Cleaner
Marble floors are porous and, therefore, require a mild detergent. You can buy pH-neutral cleaners, such as this one from ZEP. These are mild and safe to use since they have a minimal risk of irritation should they spill on your skin (6).
Follow the directions provided by the product you chose and add the necessary amount to your hot water. If you have a spray mop, you can find specially made cartridges with a ready solution safe for marble floors, such as Bona Stone.
3. Mop the Floor
Take out your best microfiber mop; it could be a spin mop or a regular manual mop. Spin mops are especially practical since you can quickly wring most of the water out.
Start at the farthest part of the room and work your way towards the entrance or exit. Short strokes work best on marble, and don’t be afraid to overlap as you go. Dip and wring your mop often to avoid spreading dirt.
4. Rinse
Once you’re done mopping the floor with the detergent and hot water, it’s time to rinse. Fill a bucket with clean, cool water. Then use the same method to mop by dipping and wringing as needed.
Mopping the floor an extra time will remove any residue from the cleaning solution. It’s also an excellent way to get rid of any remaining dust or dirt.
Quick Tip
5. Dry the Floor
Drying marble floors is crucial if you want a good result and to prevent water damage. Use a clean and soft cloth or towel to wipe the floor. Switch it whenever needed.
Quick Tip
Tips for Maintaining Marble Floor and Avoiding Damage
Marble floors are a luxury. It’s therefore essential to preserve the sensitive surface. Here are a few ways to avoid substantial damage:
1. Clean Spills as They Happen
Due to the porous surface, marble will absorb standing water and liquids — including spills and stains. When this happens, your marble will either stain or discolor.
The best thing to do is to clean spills as they happen. Use a damp cloth (preferably microfiber) to blot up the spill. Start from the edges and work your way into the center to avoid spreading the liquids.
2. Never Allow the Floor to Air Dry
Allowing your marble floors to air dry can be tragic. When the floor air dries, marble absorbs both water and detergent. This will discolor or stain your floors.
Always use a clean cloth or towel to dry the floor after mopping. It’s also good to use as little water as possible when washing by wringing it thoroughly.
The additional process of rinsing and drying marble floors can make cleaning more difficult. However, this will give the best results while preserving the sensitive surface.
3. Go for Mild Detergents
If you choose to use a detergent on your floors, always select a pH-neutral product. These pH-neutral cleaning products are gentle to the surface. Thus, it is safe to use on marble. However, they’re less efficient at removing tough stains compared to acidic and alkaline products.
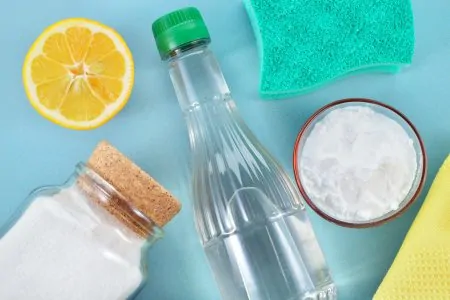
Vinegar is commonly used to clean various types of flooring, such as tiles and hardwood. However, this is a big no-no when it comes to marble. Vinegar is acidic, with a pH level of two or three, and will, therefore, damage the surface (7).
Other commonly-used cleaners to avoid include:
- Citrus cleaners such as orange or lemon
- Ammonia
- Ceramic floor cleaners
4. Felt Removes Scuff Marks
Scuff marks can happen when furniture is dragged along the floor — sneakers or other shoes could also cause them. Whatever the cause, though, scuff marks can be frustrating to discover on your beautiful marble floors.
Most scuff marks should be able to come off when you mop. However, if you notice a few stubborn marks, you can use a felt pad or tennis ball. Lightly apply some mild detergent and water to the pad and rub the floor along the grain.
Take Note
5. Use a Marble Sealer
Sealing your marble floors is the best way to preserve them. It’s a job easily done for any creative DIY’er. You can buy marble sealers online or at your local supply store or home improvement store.
Use a product such as this spray from Black Diamond. It’s easy to use and will protect your marble against spills and grease.
With most sealers, you apply it generously and allow the product to penetrate the natural stone. After the required time, you either wipe off or clean off the excess.
Some sealers require resealing every three years, while others will last five. If you’re feeling unsure of how to seal your floors, contact a professional to help you out.
6. Sweep Regularly, Mop Occasionally
Dust can quickly make your marble floors look dull. Dirt and debris can cause scratches on your floors if dragged around by shoes or bare feet.
Sweeping regularly using a soft broom or dust mop can keep dust, dirt, and scratches at bay. Light vacuuming with an appropriate machine can also do the job.
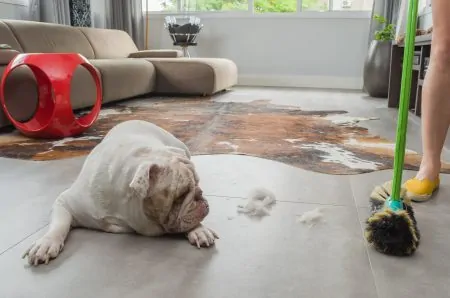
You might be pleased to hear that marble floors don’t require mopping that often. Unless you have a bustling home with pets and children, once a month should suffice a deep clean. Because marble is so sensitive to water, limiting mopping can help preserve your floors’ delicate surface.
7. Use Baking Soda with Caution
If you encounter very stubborn stains, you may use baking soda with caution. Baking soda is an alkaline and should be handled with care. It’s also labeled as a mild-abrasive cleaner, so there’s no need to use too much force when cleaning.
Sprinkle a small amount of baking soda on the stain. Use a soft, damp cloth to rub the surface gently in the direction of the grain; do not scrub. Rinse the area well using cold water to neutralize the alkaline, and dry the spot using a soft towel.
Make sure you don’t leave the baking soda on the floor for too long. It’s always better to repeat a process rather than risk prolonged exposure. Baking soda will dull the glossy finish on marble floors.
8. Use Carpets and Rugs
Placing a few carpets or rugs in high traffic areas can help to prevent wear on the floors. It will also limit dust and dirt.
You can also use doormats by entrances as a friendly reminder for visitors to wipe their shoes or remove them.
Using colorful rugs and carpets is an excellent way to show off your style and taste. Mix and match different colors and patterns to create a pleasant atmosphere for you and your family. In winter, they’ll also keep your feet warm — marble can get cold.
FAQs

Can You Clean Marble Floors Naturally?
Marble floors are best cleaned naturally, but only to some extent. We’re often advised to use home remedies such as vinegar and baking soda to clean various areas of our home. However, these shouldn’t be used on marble.
The best way to clean marble floors is by using hot water and a pH-neutral detergent or an environmentally-friendly soap. You should steer clear of using acidic or alkaline products such as vinegar and baking soda.
However, if you do choose to use baking soda on stubborn stains, do so with caution. Don’t allow the baking soda to sit and soak on the surface for long periods. Rub lightly with a damp cloth, then rinse thoroughly.

How Can I Fix Dull Spots on My Marble Floors?
Dull spots can quickly happen if you use the wrong type of cleaner or certain spills are left. Acidic stains such as red wine, coffee, and soda, or alkaline stains like olive oil and green tea can also cause dullness.
These can cause dullness even if you clean the spill right away with water and a mild detergent. Luckily, you can restore the glossy surface using a polishing powder specialized for marble.

How Should I Clean Urine from Marble Floors?
In households with pets or young children, mishaps can happen. When it does, you must clean it as quickly as possible. Urine can cause etch marks or stains on marble, which can be difficult to remove if left.
Clean fresh urine using a soft microfiber cloth dipped in soapy water (preferably warm). Wipe the urine starting from the edges and work your way to the center — this will prevent the liquid from spreading and potentially worsening the stain.
If you discover old urine stains, they might look like a dark mark or dull spot. To clean this, you need something a little stronger than soapy water.
The Natural Stone Institute recommends making a marble poultice. This paste is created using a liquid cleaner and mixed with kaolin, whiting, powdered chalk, talc, or white molding plaster (8).
You spread the paste over the stain and cover it with plastic. Allow it to sit for 24 to 48 hours. The liquid cleaner will draw the stain out, and the white material will then absorb it.
Take Note
You can use marble poultice to remove vomit stains as well if these have left a mark.

Can I Polish My Marble Floors Myself?
Marble floors are best polished by professionals, especially if dealing with a large area. You may cause damage if you’re not sure of the process — and fixing marble floors can be expensive.

What Home Remedy Can I Use to Clean Marble Floors?
You can use pH-neutral soap like this ZEP Floor Cleaner. It is suitable for marble, granite, stone, and other hard floors. It restores shine, and the formula balance ensures that your marble floor is protected.
You can also use baking soda if you prefer a completely natural cleaner, although it could dull the marble if left on the floor for too long.

Can You Steam Clean Marble Floors?
You can steam clean marble floors, but only do it infrequently because natural marble is porous. If you have cultured marble, it is more hard-wearing and less permeable, so it should cope with regular steam cleaning.

What Causes Marble to Turn Yellow?
There are several causes of your marble turning yellow. Dirt can get into the pores and discolor the surface. Waxing your marble floor also changes the color as the wax forms a layer that yellows over time.
Preserving Marble
Your marble floors will indeed become the centerpiece of your house. The elegant veins and subtle colors can be mesmerizing to look at.
Whether you have natural or cultured floors, they need careful maintenance. Stay away from abrasive cleaners and only use pH-neutral detergents. Consider sealing your marble floors to keep stains and spills from settling and causing discoloration.