Do you have a set of ceramic cookware such as frying pans, skillets, and saucepans? Ceramic cookware includes expensive pans that have been finished with a ceramic coating. If you have a set, then you need to know how to properly care for your pans.
Otherwise, you may end up replacing your pans after only a few months of use because the non-stick surface wore away. So read on to learn how to clean ceramic cookware so your pans will last for years.
Key Takeaways
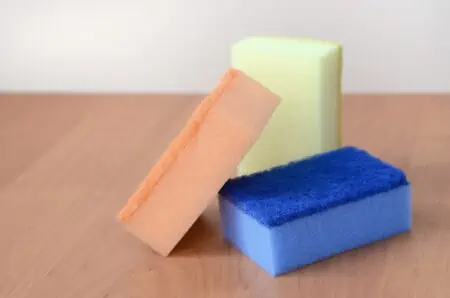
- Always hand wash ceramic pans and avoid using abrasive sponges or harsh detergents to protect the non-stick surface.
- Let the ceramic pan cool before cleaning to prevent damage from sudden temperature changes.
- Use baking soda to remove hardened and burnt food, and use hydrogen peroxide or white vinegar to remove stains and discoloration.
- To maintain the non-stick surface, use soft materials like plastic, wood, or silicone utensils while cooking and store pans with a pad or cloth between them.
How Often to Clean Ceramic Pans
Ceramic pans need to be cooled and hand washed after every use. Otherwise, you will be cooking congealed food and burning it on your frying pan. Burnt and congealed food is hard to wash off of your saucepans.
Not only will the scorched food damage the non-stick surface of your pans, but it’s unhygienic.
You will also need to check your ceramic pans once a month or so to ensure that they are not becoming stained or discolored. This can be done while you’re washing the saucepan or you can make a note on your calendar to check your pans.
How to Clean a Ceramic Pan
- Time: 20 – 45 minutes depending upon how dirty the pan is.
- Skill: Beginner
What You’ll Need
- Sink or plastic tub
- Dishcloth or sponge
- Soft dish towel
- Rubber Gloves
- Dish soap
- Baking Soda
- Hydrogen Peroxide
- White Vinegar
1. Allow the Ceramic Pan to Cool
The first step to cleaning a ceramic pan is to allow it to cool. One reason is that you do not want to burn yourself working with a hot pan. More importantly, moving a ceramic pan from one extreme temperature to another will cause the non-stick finish to be damaged.
This means that you don’t want to move your pan from the stove into cold water. You also don’t want to move your pan from the refrigerator onto a hot stove. This will also damage your ceramic pan.
Allow your pan time to cool before you wash it.
2. Fill a Sink With Water and Dishwashing Liquid
Next, you will fill your sink or plastic tub with hot water and add a good-sized squirt of dish soap to the water. It helps to wear rubber gloves as this will allow you to use hotter water than if you wash the pan with your bare hands.
The hotter the water, the more easily your ceramic pan will be cleaned. So if you’re washing the pan without wearing rubber gloves, you’ll want to use water that is as hot as you can stand and yet is not hot enough to burn your hands.
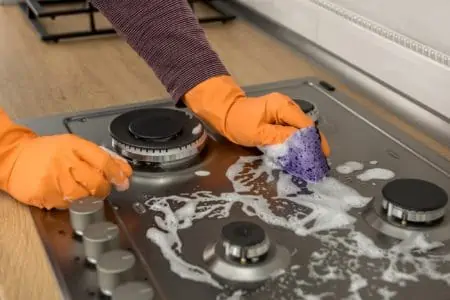
4. Clean With a Sponge
Now use a dish sponge or dishcloth to wash the pan and rub any food particles left on the pan away.
Do not use an abrasive sponge. Abrasive sponges will scratch your pan and damage the non-stick surface. A soft sponge or a soft cloth will work just fine to clean your ceramic pan.
While you’re cleaning your pan, remember to clean the outside of the pan as well. It can become greasy and will attract dirt.

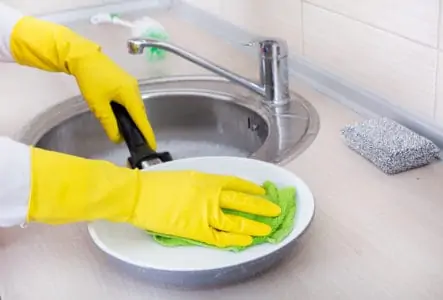
4. Rinse the Pan
When you’re done washing the pan with the soft sponge or dishcloth, rinse the pan with warm water. The easiest way to rinse the pan is to turn on warm water from your faucet and hold the pan under the running water.
Turn the pan over to make certain you’ve removed all the soap before placing it in the drying rack to drip dry.
5. Inspect For Any Missed Food Particles
Now check the pan for any missed food particles. It’s not uncommon for food particles to be hiding under the soap. If you’ve missed a few, simply put the pan back into your sink of soapy water.
Carefully wipe the ceramic pan again with the sponge to remove all the food particles. When you’re finished, rinse the pan. Take a good look at your pan to ensure that all the food particles have been removed.
You may find that there are hardened food particles or stains that will not come off your pan. If this is the case, move on to step 7 to deal with the hardened and burnt food stuck on your pan.
6. Remove Hardened and Burnt Food With Baking Soda
Let It Cool
Again before you work with your pan, you need to allow it to cool. You don’t want to burn yourself or damage the non-stick finish of your pan.
Soak in Warm Soap Water
Fill your sink with warm soapy water and soak your pan in the soapy water for at least 30 minutes. This will help loosen hardened and burnt food stuck on the pan.
After the 30 minutes are over, dip your sponge in baking soda and wipe the baking soda on your pan. You’ll want to create a paste with baking soda and water. This gentle abrasive will rub away the hardened and burnt food.
Now check your pan, has the hardened and burnt food been removed, or is your pan stained? If the food has not been removed or your pan is stained, move on to the next step.
Otherwise, if your pan is clean, you can dry it and put away your pan. Make sure that you put a soft cloth, pad, or paper towel between the pans if you stack them in the cupboard.
Sprinkle With Baking Soda
For this step, you will sprinkle your pan with baking soda. Don’t be stingy. You want a good covering of baking soda on your pan before you begin scrubbing it.
Scrub
Make a baking soda paste to clean your pan by mixing some water with your baking soda. Now scrub your pan with the baking soda using your sponge.
Again the goal is to remove all the burnt and hardened food particles that are stuck to your pan.
When you are finished scrubbing, rinse the pan with warm running water. Check to see if you have removed all the food particles.
If not, add another layer of baking soda and scrub again.
7. Remove Discoloration And Stains
The next step is to remove discoloration and stains from your ceramic pan. You can do this in one of two ways, using hydrogen peroxide or white vinegar.
Using Hydrogen Peroxide
Pour hydrogen peroxide into your pan. You will need to add enough hydrogen peroxide to cover the bottom of your pan and any stains. If the stains are high up on the side of the pan, you may need to add quite a bit of hydrogen peroxide to cover the stain.
After pouring the hydrogen peroxide into your pan, check that the hydrogen peroxide is fizzing. The fizzing means that the slight bleaching action of hydrogen peroxide is working. If it’s not fizzing, you may have an older bottle of hydrogen peroxide.
You will need to get a new bottle of hydrogen peroxide.
Let your pan soak for 30 minutes. After the 30 minutes is up, rinse the pan and dry it with a soft dish towel.
The hydrogen peroxide should have bleached your pan and made it shiny again.
Using White Vinegar
White vinegar is used in a 1:4 ratio with water.
Do not use a higher ratio of vinegar to water in an attempt to clean your pan. Vinegar has an acidity level that will damage the non-stick surface of your pan. However, the 1:4 ratio dilutes the vinegar enough that this is not a problem and your pan will be safely cleaned.
Mix 1 cup of vinegar and 4 cups of water in a bowl. Next, pour the mixture into your pan making sure that the dark stain you wish to remove is covered. If the stain isn’t covered, make more of the vinegar and water mixture. Add it to the pan until the stain is covered.
The first option is to let your pan sit overnight. The next morning pour the mixture out of the pan. Rinse the pan with warm water and dry it with a clean dish towel. The stain should be removed and your pan should be shiny again.
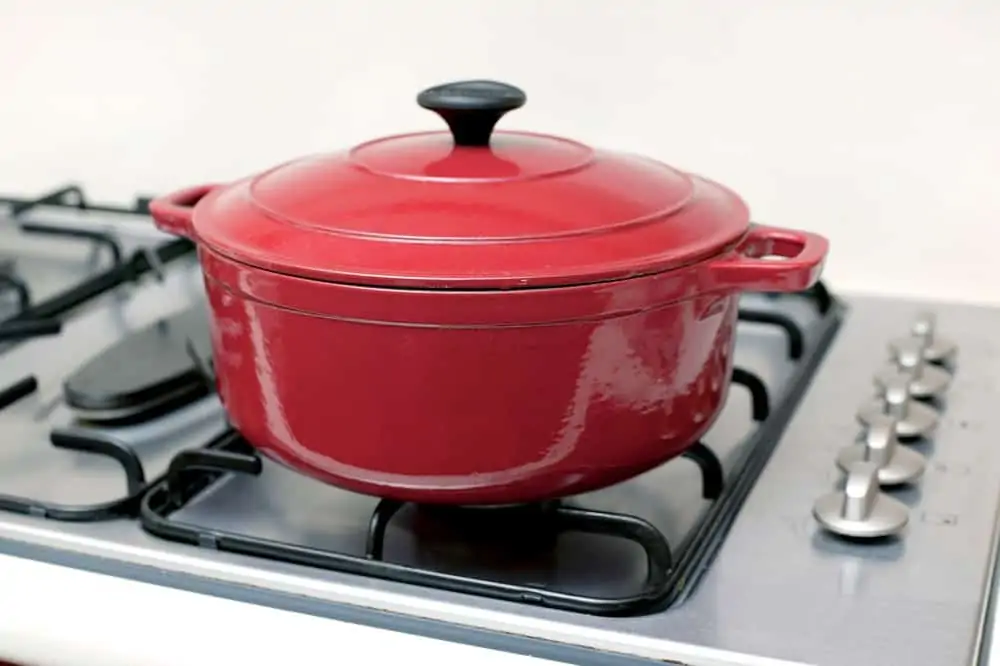
The second option is to put the pan on the stove and boil the mixture for 15 minutes. After the 15 minutes is over, let the pan sit until it’s cooled. Then pour the mixture out of the pan.
Rinse the pan with warm water and dry it with a soft dish towel. The stain should be removed and your pan should be shiny again.
8. Air-Dry The Pan
If you don’t have a dish towel to dry your pan, you can always air dry it by leaving it in a drying rack for a time. When the pan is dry, put it away.
Do’s When Cleaning Ceramic Pans
In order to prevent damaging the surface of your ceramic pan, there are a few dos that you need to follow while cleaning the pans.
Always Handwash
Dishwasher detergents contain chemicals such as bleach and citric acids. These chemicals will damage the non-stick coating of your pan. So never put your ceramic pan in the dishwasher. Always handwash the pan.
Always Let Cool Before Cleaning
The abrupt temperature shift from hot to warm or worse, from hot to cool can crack, warp, or damage your ceramic pan. This will cause your pan to lose its non-stick surface.
By the same token, do not take your ceramic pan directly from cold water to the stove. This extreme temperature change will also damage the pan.
So be careful to allow your pan enough time to cool before putting it in the sink to clean it.
Always Stack With a Pad In Between
The non-stick surface of a ceramic pan is easily scratched and damaged. So you will need to place a pad over your pan to protect the non-stick surface. This will ensure it’s not damaged while you’re stacking the pans on top of each other.
A soft cloth or a paper towel will work as well if you don’t have a pad.
Don’ts When Cleaning Ceramic Pans
To avoid damaging your ceramic pans while cleaning them, there are a few don’ts you will need to carefully follow.
Do Not Use Abrasive Sponges
Abrasive sponges will scratch your ceramic pans damaging the finish. This will damage the non-stick surface causing food to stick to the pan. It will become much harder to clean.
You can continue to use a pan that has been scratched, but if the non-stick coating is starting to peel away, you’ll need to replace the pan.
Do Not Scrape Food With Metal Utensils
It is tempting to use a metal spatula or utensil while cooking or when cleaning your pan. Don’t do it! This will cause damage by scratching or marring the surface of the pan. Your non-stick coating will begin to peel off. Once the coating begins to peel off, you will need to replace the pan.
Instead of using metal utensils, use plastic, wood, and silicone utensils when cooking on your pan. These will not scratch or damage the surface.
Do Not Use Harsh Detergents
Harsh detergents such as dishwasher detergents contain chemicals and acids that may etch or scratch the surface of your ceramic pan. Instead, use dish soap and baking soda to clean your pan.
Do Not Use Acidic Solutions When Cleaning Pans With Worn Ceramic Coating
When your pan’s surface is becoming worn, avoid using acidic solutions such as the vinegar mixture or lemon juice on your pan. The acid will erode what is left of the non-stick finish on your pan.
Do Not Soak Your Ceramic Pans
Soaking your ceramic pans for long periods of time may cause the non-stick surface to eventually erode. Again this may damage the non-stick surface.
FAQs

What is the Best Way to Clean a Ceramic Pan?
The best way to clean a ceramic pan is to hand wash the pan. The chemicals in dishwasher detergent may damage the non-stick coating of a ceramic pan. This will cause food to stick to your pan making it more difficult to clean.
How Do You Restore a Ceramic Non-Stick Pan?
One way to restore a ceramic non-stick pan is to mix 1 cup of water, 2 tablespoons of baking soda, and ½ cup of vinegar, and pour it in the pan. Put your pan on the stove and boil the mixture for 10 minutes.
Let the pan cool so that you don’t damage the coating before washing the residue off of your pan.
Now dry your pan. The final step is to rub vegetable oil on the pan while it’s lukewarm or at room temperature. This will re-season the pan and restore the non-stick surface.

How Long Do Ceramic Pans Last?
Ceramic pans need to be replaced every 2-5 years. You should inspect your pans periodically and look for warping, discoloration, stains, and scratches. This is a sign that your pans will need to be replaced soon.

Can You Ruin a Ceramic Pan?
You can ruin a ceramic pan by scratching the surface with sharp metal objects. It removes the non-stick coating, encouraging food to adhere and burn.

Can I Put Ceramic In an Air Fryer?
You can put ceramic in an air fryer because it can withstand extreme temperatures without warping or cracking.

Can You Use Olive Oil In Ceramic Pans?
You can use olive oil in ceramic pans. You can use any oil for frying and cooking, but remember that olive oil is not suitable for baking because it lacks heat resistance.
Caring for Ceramic Pans
Ceramic pans can last for years if they are cared for properly. Make sure that you have given your pans enough time to cool before putting them in the sink to wash. Handwash the pans instead of using a dishwasher so that the dishwasher detergent doesn’t damage the non-stick coating.
Be careful of the utensils you use on the pans. Metal spatulas and abrasive sponges will damage the non-stick coating, as will storing your pans in a pile without a pad in between each pan. By following these simple instructions, your pans will stay beautiful and last for years before they need to be replaced.