If you have a baby, the last thing you want to do is make your baby sick by not cleaning his or her bottles correctly. Plus, you may have heard that you need to sterilize your newborn’s bottles as well.
So today we’re discussing how to clean baby bottles and when you should consider sterilizing them to keep your baby healthy.
Key Takeaways
- Clean baby bottles with soap and hot water after each use, and sanitize them by boiling or steaming to kill all germs.
- Sterilize baby bottles at least once a day for newborns under 3 months, premature babies, or those with weakened immune systems.
- Dishwashers can clean and sanitize baby bottles if they have hot water and heat drying or sanitizing settings.
- You can stop sterilizing bottles for healthy babies at 3 months, but continue for those with special health considerations.
Cleaning Vs Sanitizing Baby Bottles
Cleaning baby bottles removes milk, grime, and most of the germs. However, it doesn’t always remove all of the germs. Sanitizing baby bottles does remove all the germs and helps to protect your child. This is an important step as bacteria that is left in your baby’s bottle will grow in the milk and that can be harmful to your child.
Cleaning
- Definition: Using soap and water to physically remove food particles and most of the germs.
- How to: Wash the bottles with soap and hot water.
- How often: After the bottle is used.
Sanitizing
- Definition: Kills all of the germs and makes the bottle hygienic and safe to use.
- How to: Use boiling water to sterilize the bottles.
- How often: Varies.
When Should You Sanitize Baby Bottles?
You should sanitize baby bottles at least once a day if not more often. This is very important for newborn babies younger than 3 months, premature babies, babies that have a weakened immune system, or babies who are undergoing medical treatment. In these cases, every bottle should be sanitized before you use it for your baby. A practical way to do this is to sanitize a few bottles at a time, the night before so that they are ready for the day, in the morning.
You will also need to sanitize baby bottles the first time you use them no matter what age your child is. The reason is that you don’t know what the bottles have been exposed to before you received them, so be safe and sanitize the bottles before you use them to feed your baby. You can even do this before birth, as you prepare for your baby’s arrival.
Also sanitize baby bottles when your child returns home from daycare, if your child has been sick, or if a sibling has used the bottle. This will prevent accidental contamination and prevent your children from becoming ill.
Otherwise, if you have a healthy older child, you may not need to sanitize the baby bottles. You will need to make sure that bottles are carefully cleaned after each use.
How to Clean Baby Bottles
The first step is to clean the baby bottles. This will remove food particles and most of the germs from the baby bottles.
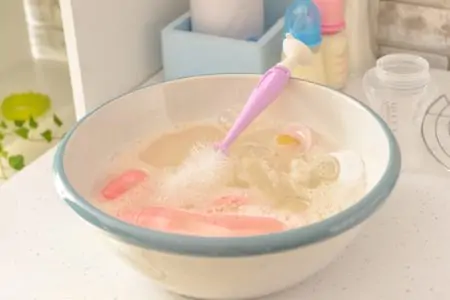
With Soap
You can easily hand wash baby bottles with dish soap and hot water. It doesn’t take much time and will give you clean bottles in just a few minutes.
- Time: 20 minutes
- Difficulty: Beginner
What You’ll Need
- Dish soap
- Hand soap
- Clean basin
- Bottlebrush
- Clean and dry dish towel
1. Wash Your Hands
The first step is to wash your hands with soap and water for at least 20 seconds to be sure that your hands are clean and you’re not accidentally introducing germs to your baby’s bottle.
2. Take Bottle Apart and Rinse
Take the bottle apart and rinse each component under running water. Do not set the bottles into the sink as kitchen sinks can be full of germs. Instead, place the parts into a clean basin on the counter.
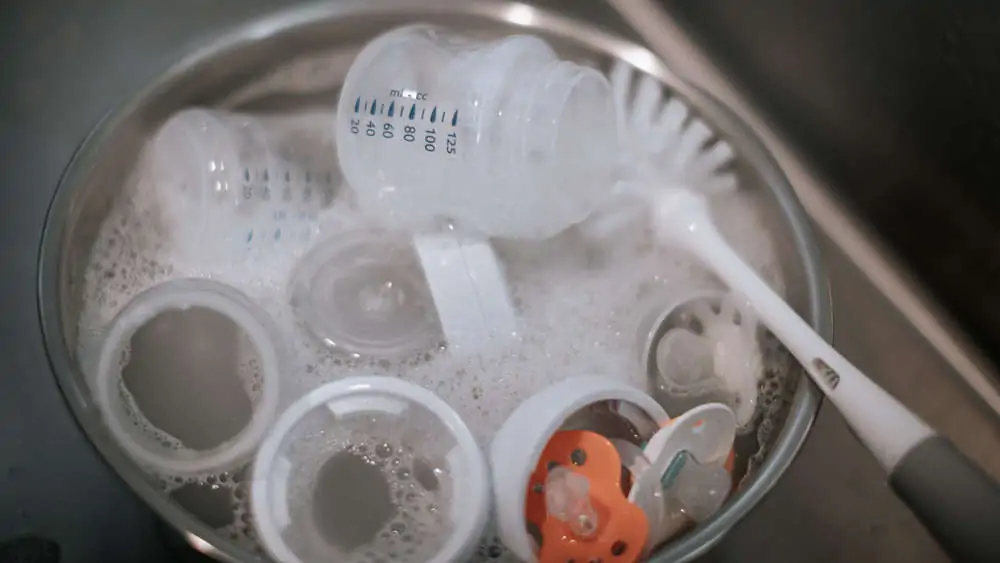
3. Wash the Bottles
After all the pieces are placed into the basin, place the basin in the sink. Fill it with hot water and a squirt of dish soap. Scrub each piece with a clean bottle brush that you use only for washing your baby’s bottles.
4. Rinse and Dry
Rinse the pieces under running water and place them on a clean, dry dish towel to air dry. Do not attempt to rub or pat the pieces dry as this may introduce germs to your clean baby bottle.
5. Clean Basin and Brush
Rinse the basin and brush after you’re finished. If your child is younger than 3 months, is ill, receiving medical treatments, or is premature, then you will need to wash the basin and brush with soap and hot water each time you wash the baby bottles. Otherwise, you only need to wash the basin and brush every three days or so.
In Dishwasher
If your baby bottles are dishwasher safe, then washing them in the dishwasher is the easiest way to clean them.
- Time: 2 hours
- Difficulty: Beginner
What You’ll Need
- Mesh bag or closed-top basket
- Paper towels or clean dishcloth
- Baby safe detergent
1. Take Apart the Bottles and Rinse.
Take the baby bottles apart making sure that the nipples, bottles, caps, rings, valves, etc. are separated. Then rinse the separated components of the bottle under running water. It makes no difference if the water is cold, warm, or hot.
2. Wash the Bottles
Place small parts of the bottle into a mesh bag or a closed-top basket. This will prevent them from ending up at the bottom of the dishwasher or in the dishwasher’s filter.
Then place all the bottle pieces, including the mesh bag of small parts, on the top shelf of the dishwasher. Set the dishwasher to wash using the hottest setting possible.
3. Remove the Bottles
Wash your hands before you remove the bottles from the dishwasher. This will help to prevent accidental contamination.
If the pieces are still wet, place them on a paper towel or clean and dry dishcloth to air dry. Do not rub or pat the components to dry them. This increases the risk of accidentally spreading germs and making your baby sick.
When the components are dry, store them properly in a clean area away from dust and dirt.
How to Sterilize Baby Bottles
If your dishwasher has hot water and a heat drying setting or a sanitizing setting, then you don’t need to add another step to sterilize your baby’s bottles. Otherwise, the CDC recommends that you sterilize baby bottles in boiling water or steam and only use bleach as a last resort.
On Stove
It’s easy to boil baby bottles on the stove. You will need a pot large enough to hold everything along with tongs to remove items after sterilization.
- Time: 20 minutes
- Difficulty: Beginner
What You’ll Need
- Pot
- Tongs
- Clean and dry dishcloth
1. Put the Bottle Into a Pot and Cover With Water
Put the disassembled and cleaned bottle parts into a pot along with the bottle brush. If it will fit, also include the basin you used to clean the bottles. Cover everything with water.
2. Boil
Put the pot on the stove and turn on the heat. Heat the water until it’s boiling. Set the timer for 5 minutes.
3. Remove Bottle Pieces
Remove the bottle pieces with clean tongs and place them on a clean dishcloth to air dry.
In Microwave
A microwave can be used to steam the bottle. The best method is to check the manufacturer’s instructions. If those are not available, follow these steps.
- Time: 10 minutes
- Difficulty: Beginner
What You’ll Need
- Microwavable bowl
- Oven mitt
- Clean and dry dishcloth
1. Clean Microwave and Bottle Parts
The first step is to clean the microwave and bottle parts. Put the clean nipples and rings into a clean microwavable bowl and set them aside.
2. Microwave Bottles
Fill the bottles half full of water. Put them inside the microwave. Microwave them on high for 1-2 minutes.
Wait a couple of minutes before you remove the bottles from the microwave using oven mitts and dump the water into the sink. Put the bottles aside to air dry.
3. Microwave Nipples and Rings
Take the bowl you set aside in step one and put enough water into it to cover the nipples and rings. Put it into the microwave.
Microwave the bowl with the nipples and rings for 1-2 minutes.
Wait a few minutes before you remove the bowl with oven mitts. Dump out the water and put the nipples and rings on a clean and dry cloth to air dry.
With Bleach
Bleach is only recommended for use if you’re unable to boil or steam your baby’s bottles to sterilize them.
- Time: 10 minutes
- Difficulty: Beginner
What You’ll Need
- Unscented bleach
- Water
- Basin
- Clean and dry dishcloth
1. Prepare Bleach Solution
Clean the basin in which you will sterilize your baby bottles. Then prepare your bleach solution by mixing 2 teaspoons of unscented bleach in 16 cups, or one-gallon, of water. Make enough of the solution to fill your basin, as you will need to submerge all the items in it.
2. Submerge and Soak
Submerge all the bottle parts and the bottle brush in the solution ensuring that no air bubbles remain. The nipples will need to have the bleach solution squeezed through them in order to sanitize them.
Soak the items for at least 2 minutes.
3. Remove and Air Dry
Remove the items from the bleach solution with either clean hands or clean tongs. Place them on a clean dish towel to air dry.
Do not rinse the items. Rinsing runs the risk of contaminating the items. Also, bleach breaks down quickly in the air and will not harm your baby.
With Countertop Sterilizer
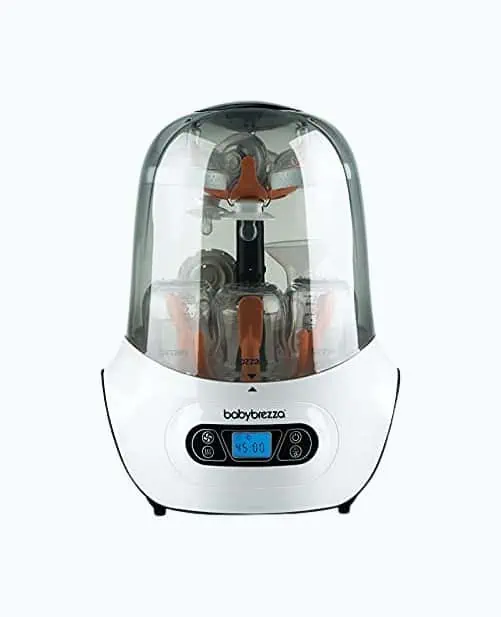
Another option for sterilizing baby bottles is to use a countertop sterilizer. A countertop sterilizer will steam the baby bottle parts for you, but it’s the most expensive option available.
You will need to follow the manufacturer’s instructions to use your countertop sterilizer.
Tips For Cleaning Baby Bottles Quickly
There are a few things you can do to speed up the process of cleaning and sanitizing your baby’s bottles so you can save valuable time.
- Make sure you have enough baby bottles to last an entire day so that you don’t need to clean and sanitize baby bottles every time your child is hungry.
- If your dishwasher has a hot water and heat dry setting or a sanitizing setting, make sure you use it when you’re cleaning your baby bottles. This way your dishwasher will clean and sanitize the baby bottles for you.
Bonus Tip
When Can I Stop Sterilizing Bottles?
If you have a healthy baby, you can stop sterilizing bottles at 3 months. However, if your child was born prematurely, has a weakened immune system, or is undergoing medical treatment you should continue to sterilize the bottles at least once a day. You should also continue to sterilize bottles if you do not have access to clean water.
FAQs

Do You Have to Sterilize Baby Bottles?
Yes, you should sterilize baby bottles to prevent any risk of your child becoming ill.

Can You Wash Baby Bottles in Dishwasher With Other Dishes?
Yes, as long as you do not put any oily or greasy dishes in the dishwasher. Also, it’s best if you first lightly wash the dishes to prevent any discoloration of the bottles.
How Long Do Baby Bottles Stay Sterile?
Baby bottles stay sterile for up to 24 hours.

Is It Safe to Boil Plastic Baby Bottles?
While you can boil most plastic baby bottles safely, always double-check your manufacturer’s instructions to be sure your bottles can be safely boiled.

How Do You Sterilize Baby Bottles Naturally?
The best way to sterilize baby bottles naturally is to boil the bottles for 5 minutes.

Do I Need to Clean Infant Formula Containers or Scoops?
Infant formula needs to stay dry, so don’t clean scoops unless they’ve dropped on the floor or become soiled. Then wash them as you would a baby bottle and allow the scoops to air dry before you return them to the container.
Never clean the inside of an infant formula container as it’s less likely to become contaminated if it stays dry. Babies get sick from contamination on the outside of the infant formula container.
If you need to clean the outside of the container, use a disinfectant wipe or paper towel sprayed with disinfectant to wipe it down. Wait until it’s dry before opening it.

How Often Should I Sterilize Pacifiers?
As a minimum, you should sterilize your pacifiers every month, but there is no rule that says you can’t do it every week if you wish.