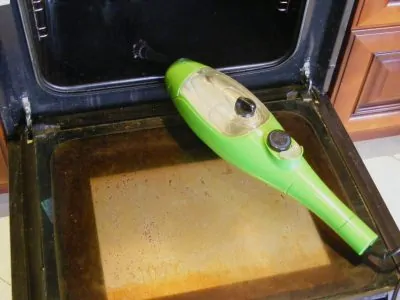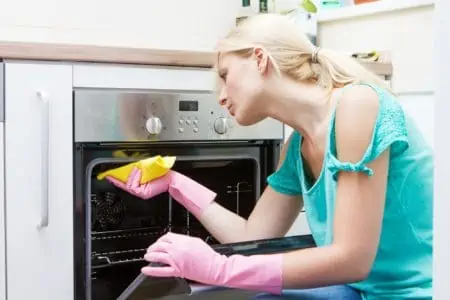
Dirty ovens are intimidating. They have burnt-on grime and dirt. Grease may have spilled all over the bottom of the oven causing a smoky stench every time you turn it on.
We are here to help. This is why we’re discussing how to clean an oven so you can enjoy baking without breathing smoke.
Key Takeaways
- Use baking soda paste and vinegar to clean the oven naturally and effectively.
- Clean oven racks with hot soapy water, vinegar, and baking soda.
- Remove brown stains from glass oven doors with oven cleaner or scrubber sponge.
- Keep your oven clean by wiping up spills immediately, using oven liners, and cleaning regularly.
How Often to Clean Your Oven
Dirty ovens aren’t just an unsightly mess. They can transfer foul odors and flavors to your food. Plus, the grimy filth may cause a fire when you turn on your oven.
The best way to prevent an unsightly mess is to clean your oven seasonally or when you see one of these signs:
- The door is splattered with grease and grime.
- The bottom of the oven has burned residue.
- You smell a burning odor or see smoke when the oven begins to heat.
How Does the Self-Cleaning Function Work?
Using the self-cleaning feature is easy. First, make sure to remove the racks. Then set your oven to self-clean.
The self-cleaning feature will lock the oven door before raising the temperature to 550 degrees Fahrenheit or higher. The heat will burn away the grease in your oven without chemicals.
After 2 hours, you will find white ash at the bottom of your oven. Wipe it away with a sponge after your oven has cooled and unlocked the doors.
The self-cleaning feature may not be able to clean a truly filthy oven as too much grease may cause it to smoke and catch fire.
How To Clean the Inside of an Oven
There are several hacks that you can use when you’re cleaning a regular or convection oven such as cleaning an oven with baking soda and vinegar, a commercial oven cleaner, or lemon juice.
With Commercial Oven Cleaner
Commercial oven cleaner is the easiest way to cut through grease and baked-on food quickly with a minimal amount of scrubbing. You may even be able to avoid having to touch oven stains.
- Time: 2 hours
- Difficulty: Intermediate
What You’ll Need
- Paper towels
- Newspapers (optional)
- Rubber gloves
- Safety goggles
- Commercial oven cleaner such as Easy-Off Fume Free Oven Cleaner Spray
- Large heavy-duty garbage bags
- Sponge
- Distilled white vinegar
1. Prepare to Clean
Empty your oven of all the racks. Lay paper towels or newspapers on the floor around the oven to catch any drips.
Read the instructions on the commercial oven cleaner to make sure you know how to use the cleaner properly.
Make sure the room is well-ventilated as well by opening windows and turning on your vent fans.
Finally put on protective gear such as rubber gloves and safety glasses. Many commercial cleaners use harsh chemicals that may irritate your skin or cause eye damage.
2. Spray Oven
Spray the oven cleaner all over your oven making sure that every surface is evenly coated, including the door. However, don’t spray any electric heating elements or gas vents.
3. Close the Oven Door
Close the oven door and wait 20-30 minutes to give the cleaner time to work.
4. Clean Oven Racks
Take the oven racks outside and spray both sides of the racks with the oven cleaner. Place them in a heavy-duty garbage bag. Seal it tight and leave the bag outside for 20-30 minutes.
5. Wipe Down Oven and Racks
Use a sponge to wipe down the oven and racks after the 20-30 minutes has passed. If food is still stuck to the oven or the racks, scrub the stuck food with a melamine eraser until it is removed.
Make sure that all the residue from the oven cleaner is removed by wiping down the sides of the oven with a paper towel dipped in a 1:1 solution of vinegar water.
6. Reassemble the Oven
Return the racks and other items to your oven.
7. Heat the Oven
Heat your oven to 300 degrees and wait 15-20 minutes before turning it off or using your oven to cook. This will ensure that no residue from the oven cleaner will get into any food you cook in the oven.
With Baking Soda and Vinegar
Baking soda and vinegar make an excellent DIY cleaner that you can use to clean your oven naturally.
- Time: 13 hours or overnight
- Difficulty: Intermediate
What You’ll Need
- Newspapers or paper towels
- Bathtub
- Baking soda
- Vinegar
- Water
- Small bowl
- Paintbrush
- Scraper tool
- Sponge
1. Prepare the Oven
Remove all the oven racks and anything else that may be stored in the oven. Place newspapers or paper towels on the floor to protect the floor from any drops.
2. Make a Cleaning Paste
Make a cleaning paste by putting ½ cup of baking soda and 3 tablespoons of water into a small bowl.
3. Spread Paste
Use a paintbrush to spread the paste all over the inside of the oven making sure that you avoid any electrical heating elements or gas vents. The paintbrush will help you get an even coating on the door and walls. Let the paste sit in your oven for 12 hours or overnight.
4. Clean the Oven Racks
Put the oven racks in the bathtub. Use a sturdy brush and hot soapy water to remove as much baked-on grime as you can.
Then spray the racks with vinegar followed by sprinkling dry baking soda on them. This will cause it to foam.
When the foaming stops, fill the tub with hot water until your oven racks are fully immersed in the water. Allow them to soak for 8-10 hours.
5. Wipe Oven Racks
Drain the water from the bathtub and wipe the racks with a sponge to remove the grime. Rinse the racks. Allow them to dry but don’t return them to the oven until the oven is clean.
6. Clean Oven
After the 12 hours is over, spray the baking soda paste with vinegar. Let it foam for a few minutes. Scrape any baked-on grime using the scraper tool.
Use a sponge to wipe up the paste and grime until the oven looks clean.
Then wipe the entire oven down a second time with a clean, damp sponge to make sure that all of the residues has been removed.
With Lemon
You can clean your oven naturally without baking soda by making a natural oven cleaner using lemon juice and cornstarch.
- Time: 1 hour
- Difficulty: Intermediate
What You’ll Need
- Lemon juice
- Cornstarch
- Dish soap
- Pot
- Paintbrush
- Sponge
1. Make a Cleaner
Put 1 cup of lemon juice, 1 tablespoon of cornstarch, and 1 teaspoon of dish soap into a pot. Heat the pot until the mixture begins to thicken. Remove from heat and allow it to cool.
2. Apply to Oven
Use a paintbrush to cover the oven evenly with the cooled mixture and wait 10-15 minutes.
3. Wipe Oven
Use a clean and damp sponge to remove the lemon mixture from your oven.
How to Clean Oven Doors
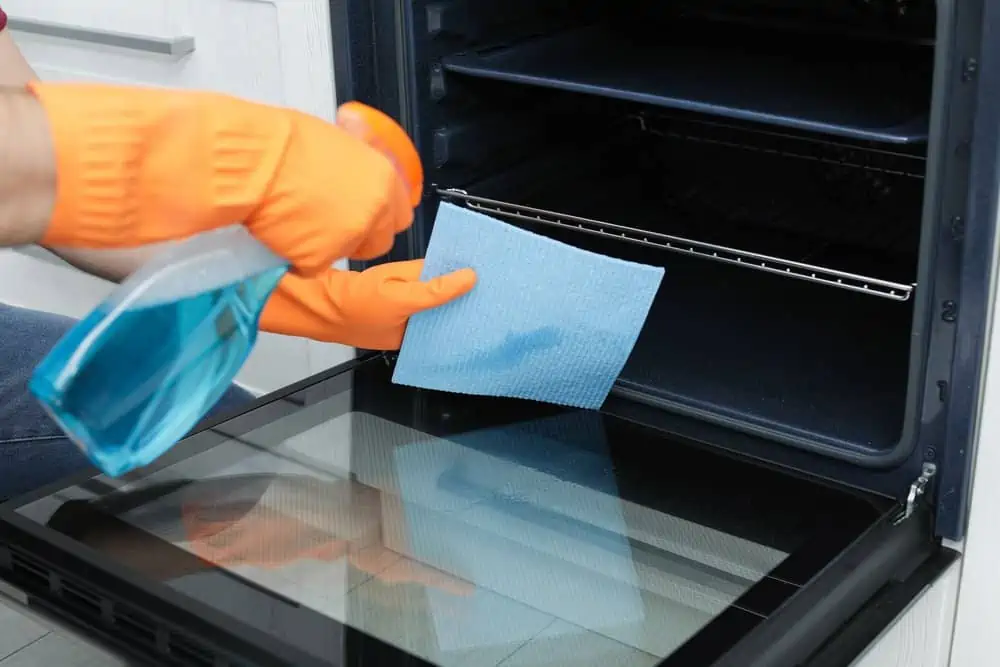
Oven doors quickly become grimy as well, so use a glass cleaner to scrub them.
- Time: 30 minutes
- Difficulty: Beginner
What You’ll Need
- Microfiber cloths
- Windex
- Dish soap
- Vinegar
- Baking soda
- Plastic scraper
1. Clean Outside Oven Door
Spray the outside of your oven door with a glass cleaner. Wipe the glass with a clean microfiber cloth using circular motions. Buff the glass until all the streaks have been removed.
2. Clean Inside Oven Door
Fill a bowl with water and add a small squirt of dish soap. Scrub the inside of your oven door with the mixture and a microfiber cloth.
If you see stains, spray your door with a large quantity of vinegar. Use a microfiber cloth to clean the door.
Tough stains can be removed by making a baking soda paste of 2-3 parts baking soda and 1 part water. Spread the paste all over the window and leave it for a few minutes. Scrub the window and wipe the paste away with a clean microfiber cloth.
Use a plastic scraper to remove any tough gunk. Clean the inside of the door with soapy water again and buff it dry with a clean microfiber cloth.
Quick Tip
A melamine sponge such as the Mr. Clean Eraser can be used to scrub your glass oven doors clean.
How to Clean Oven Knobs
Oven knobs also become greasy and grimy, but you can clean them without baking soda.
- Time: 20 minutes
- Difficulty: Beginner
What You’ll Need
- Vinegar
- Bowl large enough to hold oven knobs
- Spray bottle
- Sponge or microfiber cloth
1. Soak Knobs
Fill a bowl with 3-4 cups of vinegar. Remove the knobs and immerse them in the vinegar for 5 minutes.
2. Spray Stove
Mix 1 part vinegar and 1 part water in a spray bottle and spray the mixture on the stove. Wait 1 minute. Use a cloth to wipe away the grime.
3. Clean Knobs
Wash the oven knobs in soapy water, rinse, and air dry. Once dry, they can be returned to the oven.
How to Clean Tough Oven Stains
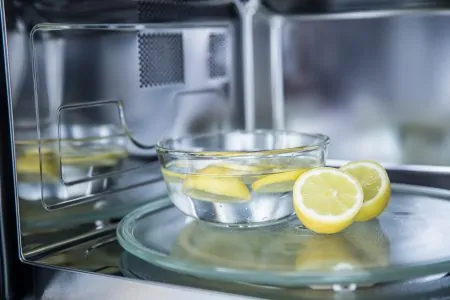
Put 1⁄3 cup of water into an ovenproof bowl and squeeze the juice of 2 lemons into the water. Bake the lemon water at 250 degrees Fahrenheit for 30 minutes. Scrape your oven after the oven cools down.
You can also dip half of a dishwasher tablet such as Ecover Automatic Dishwasher Soap Tablets into warm water before rubbing the tablet on the stubborn stain or burnt-on grease. Rinse well using a damp cloth.
Tips For Keeping an Oven Clean
Here are a few tips to help prevent a greasy buildup and to keep your oven clean.
- Wipe up spills immediately.
- Use an oven liner.
- Clean the oven regularly.
- Use roasting bags.
FAQs

How Do You Clean the Oven Quickly?
Clean your oven quickly by making a baking soda paste and spreading it all over the oven. Then use a spray bottle to spray vinegar on the paste. Let it bubble for 20 minutes.
Next, use a soft dishcloth to wipe up the residue. Then use a second clean and damp dishcloth to remove any remaining residue in your oven. Let your oven air dry or use a dry cloth to dry it.

How Do I Get Brown Stains Off My Glass Oven Door?
Brown stains are usually due to baked-on grease, so try scrubbing the stains with a scrubber sponge and your oven cleaner. However, if the stains are between the panels of the door, you will need to take your oven door apart to clean the glass. Consult the manufacturer’s instructions first.

How Long After Cleaning the Oven Can I Cook?
If you use a natural solution such as baking soda and vinegar or lemon juice, you can cook immediately after cleaning.
A commercial oven cleaner will require you to wait. You can also wipe the oven walls thoroughly with a cloth soaked in 1 part vinegar and 1 part water. Then preheat the oven to 300 degrees for 15-20 minutes before placing food in your oven.

What is the Best Homemade Oven Cleaner?
The best homemade oven cleaner includes baking soda, vinegar, hydrogen peroxide, salt, and dish soap. You can combine these ingredients in any quantity to make an effective oven cleaner.

How Do You Get Baked on Grease Off Oven Trays?
The best way to get baked on grease off oven trays is to pour half a cup of baking soda and vinegar into a sink of hot water. Pop the baking tray in and leave it to soak for 40 minutes. Finally, scrub the tray with a non-scratch scourer.

Is It Worth Getting an Oven Professionally Cleaned?
It is worth getting an oven professionally cleaned because ovens contain food waste, which breeds bacteria. If you want to stay on top of hygiene, professional cleaning restores the interior of your oven to look new.
What to Use to Clean an Oven
When you are cleaning an oven, you can use a commercial oven cleaner. Other options are to use lemon juice and cornstarch, or baking soda and vinegar. These options will allow you to clean a dirty oven easily without needing to use the self-cleaning feature.