If you use a mouse with your computer, then you know it can quickly become filthy with food particles, germs, and dead skin cells. This is not something that’s pleasant to touch.
The secret is to learn how to clean a computer mouse. This way you can maintain your mouse and stop putting your hands on filth when working on your computer.
Key Takeaways
- Clean your computer mouse regularly by wiping down the exterior with a microfiber cloth and isopropyl alcohol, and deep cleaning the interior with cotton swabs and tweezers.
- Never immerse your mouse in water, but carefully wipe it with a damp cloth and soapy water if necessary.
- Clean a wireless mouse by disconnecting it from power, removing the top, and cleaning the buttons, mouse wheel, and circuit board.
- Maintain your mouse by not eating while using it, washing your hands before use, and cleaning both the mouse and mouse pad regularly.
How Often Should You Clean Your Mouse?
How often a mouse needs to be cleaned depends on a couple of factors. The first is how often you use the mouse. The more often you use it, the more often it will need to be cleaned.
The second factor is if you eat while using your computer. Eating at your computer will leave quite a bit of grime, grease, and dirt on your mouse, so it will need to be cleaned more often.
In general, you should lightly wipe down your mouse every week with a disinfectant wipe. Then, give it a deep clean every 4-6 weeks.
Is It Safe to Wash a Mouse?
Do not immerse your computer mouse in water. This will damage the components so it won’t work.
However, you can use water and dish soap to carefully wipe your mouse clean. Do this by dipping a microfiber cloth into the soapy water and wringing it out so it’s not dripping wet. Then wipe your mouse gently with the damp cloth.
Use a dry microfiber cloth to dry your mouse after your mouse is cleaned.
How to Clean a Wireless Mouse
There are three major steps to cleaning a wireless mouse. The first step is to clean the exterior. Secondly, you take the mouse apart to clean the buttons. And finally, you will clean the ball before you reassemble your mouse.
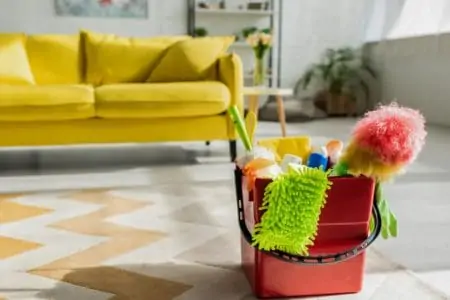
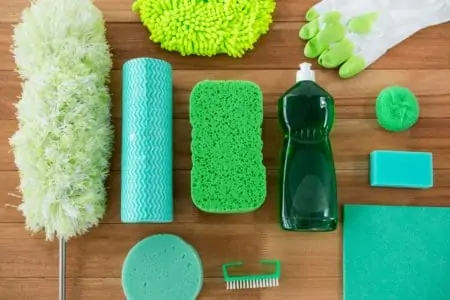
What You’ll Need
- Cotton swab
- Microfiber cloths
- Isopropyl alcohol or disinfectant wipes
- White or silicone grease (if you have a mouse ball)
- Compressed air
- Screwdriver
- Tweezers
- Toothpicks
Cleaning the Exterior
The first step is to clean the exterior of your mouse.
1. Disconnect Your Mouse
Before you begin cleaning your mouse, you will need to ensure that it’s disconnected from all power supplies so you don’t receive an accidental shock. Do this by turning your mouse off and removing the battery.
2. Remove Dust
Use compressed air to blow any dust out of crevices and cracks and wipe the exterior of the mouse with a dry cloth. This will remove loose dust particles from your mouse so you don’t make mud when you clean it.
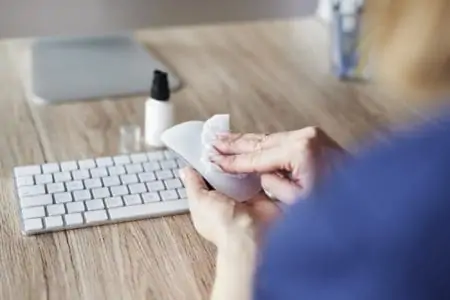
3. Wipe Down The Exterior
Never apply the cleaner directly to the mouse as too much liquid will damage it. Instead, spray or dip the cloth or cotton swabs in the isopropyl alcohol.
Wipe the outside of your mouse down with isopropyl alcohol lightly applied to a cloth or use a disinfectant wipe. The cotton swabs and toothpicks can be used to reach grime that’s in crevices and hard-to-reach spots.
Make sure that you also clean the optical sensor by gently brushing it with a slightly damp cotton swab. Be careful that you don’t damage it.
Let your mouse sit for a few minutes to allow the alcohol to dry.
Cleaning the Buttons
After you have cleaned the exterior and given your mouse a few minutes to dry, it’s time to clean the buttons.
1. Remove the Top of Your Mouse
Take a look at your mouse. Your computer mouse will either have a top that pops off or you will need to use the screwdriver to unscrew the screws. Check your mouse’s manual if you’re not certain how to remove the top of your mouse.
2. Wipe the Inside
Use a clean cotton swab or microfiber cloth. Dampen the swab or cloth with isopropyl alcohol.
Gently wipe down the inside of the buttons to remove as much of the dead skin cells, dirt, hair, and food particles as you can.
You can use the tweezers to carefully remove larger particles from the inside of your mouse.
class=”main”3. Clean the Mouse Wheel and Circuit Board
Look for dirt, food, and other particles on the mouse wheel. Use a clean cotton swab or microfiber cloth to clean it.
Do not use anything damp or wet to clean the circuit board. Instead, carefully use tweezers to remove any dirt you see.
Cleaning a Mouse Ball
If your mouse has a ball that’s become gummy or grimy, you can remove it from your mouse to clean it.
1. Remove the Plate
Look at the bottom of your mouse. You will see a plate that holds the ball in place. You can usually remove it by twisting it in the direction of the arrow.
2. Clean Inside the Cup
Remove the mouse ball. Inside the mouse, you’ll see a cupped area where the ball is normally kept. Carefully clean this area with cotton swabs and isopropyl alcohol. Remember to make sure that the cotton swabs are only slightly damp as too much moisture will damage your mouse.
Use tweezers to remove any hair and large particles. Also, make sure that you clean the wheels you see inside the mouse as well.
3. Clean the Mouse Ball
Use a clean cloth and isopropyl alcohol to clean the mouse ball if it appears to be grimy. Do this by applying some alcohol to the cloth. Then wipe the ball clean with the cloth.
4. Apply Grease
Take a look inside your mouse. If you have a mouse ball, you will see rollers inside the mouse. Look at the area where the rollers meet the plastic casing.
Apply some white or silicone grease, the same type used to lubricate garage hinges, to this area. This will make a snug fit which will help to prevent dust from getting inside your mouse.
5. Reassemble Your Mouse
Give your mouse 10 minutes or so to dry before you begin reassembling it as even a small amount of moisture could damage your mouse or computer.
When your mouse is dry, put it back together. Replace the batteries and turn your mouse on.
How to Clean a Mouse Pad
When you clean your mouse, you will also need to clean your mouse pad as it collects dust and grime. You also leave sweat from your skin on the pad.
When your mouse runs over the pad, the dust and grime are transferred to your mouse, so it’s best to clean both at the same time.
If you have a hard mouse pad made from fiberglass, plastic, or aluminum, then all you need to do is clean it with a damp cloth. Allow it to air dry before you use it.
A soft mouse pad has a rubber or foam padding surrounded by fabric. It will need to be washed properly.
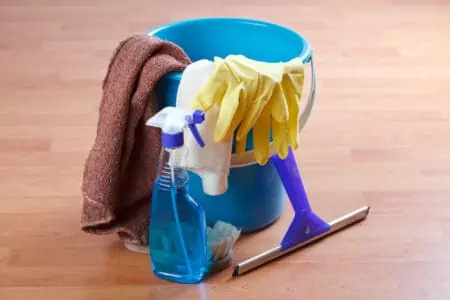
What You’ll Need
- Sink
- Warm water
- Dish soap
- Sponge, cloth, or soft-bristled brush
1. Fill Your Sink
Fill your sink with warm water and add a squirt of dish soap.
2. Soak Your Mouse Pad
Place your mouse pad in the sink and allow it to soak for a few minutes.
3. Scrub the Pad
Use a sponge, cloth, or soft-bristled brush to scrub your mouse pad. Work to remove all stains, grease, and food particles.
4. Rinse Your Mouse Pad
When you’ve removed the gunk from your mouse pad, rinse it thoroughly under warm water.
5. Air-dry the Mouse Pad
Allow your mouse pad to air-dry for 24-36 hours before using it.
Extra Tips For Maintaining a Wireless Mouse
Don’t Eat While Using Your Mouse
It’s best not to eat at the computer while you’re using your mouse. This will prevent you from smearing your mouse with dirt, grime, and grease.
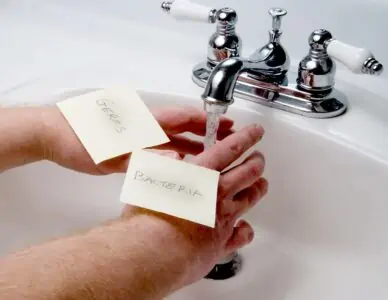
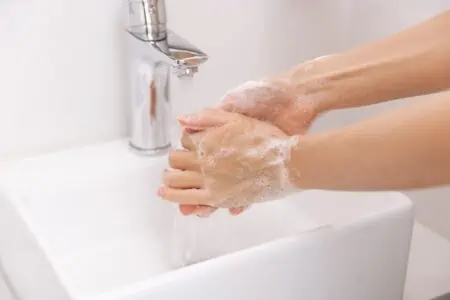
Wash Your Hands
Wash your hands before using your mouse. This will also keep any dirt or grime on your hands from transferring to your mouse.
Clean Your Mouse Regularly
While you don’t need to do a deep clean of your mouse every week, it is a good idea to wipe it down with a disinfectant wipe. You can also spray some isopropyl alcohol on a microfiber cloth to wipe your mouse down.
Plan on deep cleaning your mouse every 4-6 weeks to keep it running smoothly.
Clean Your Mouse Pad
Make sure that you clean your mouse pad regularly. Any dirt on the pad will transfer to your mouse.
FAQs

Why is My Mouse So Dirty?
Any dirt on your hands will transfer to the mouse when you touch the mouse to use it. Also, if your desk or mouse pad has dirt or dust on them, that will also transfer to your mouse as the mouse moves across your desk or pad. Between your hands and your mouse pad, your mouse will quickly gather dirt.

Can I Use Sanitizer to Clean My Mouse?
Yes, you can use an alcohol-based sanitizer to clean your mouse. Just don’t spray it directly onto your mouse. Spray it on a microfibre cloth and use the cloth to clean it.

What Can You Use Instead of Rubbing Alcohol?
If you don’t have rubbing alcohol available, you can use alcohol wipes, alcohol-based sanitizer, or a mild dish detergent with water to clean your mouse. Do not use anything with ammonia. It can damage your mouse.

Can I Throw My Mouse Pad In the Washer and Dryer?
Yes, you can throw your mouse pad in the washer if you use cold water, as hot water may damage your mouse pad. Do not throw your mouse pad in the dryer though. Air-dry it for 24-36 hours before using it again.

How Do You Disassemble a Mouse?
The easiest way to disassemble a mouse is to remove the upper and lower case, and then remove the screws that hold the mouse wheel in position.

How Do You Fix a Sticky Mouse?
Fixing a sticky mouse is simple if you use dish soap and a clean cloth. Rub the underside of the mouse with the detergent and then dry it with a paper towel.

Can I Put My Mouse Pad In the Washer?
You can put a mouse pad in the washer, provided you use a mild detergent that doesn’t contain bleach. It is also better to use cold water because hot water can damage the rubberized surface of the mat.
In Summary
The first step is to clean the exterior using a microfiber wipe and isopropyl alcohol. Then remove the top of your mouse. Use a cotton swab dampened with isopropyl alcohol and tweezers to remove any dirt and dust inside your mouse. When you’ve finished cleaning your mouse, allow it to air dry before you reassemble it.