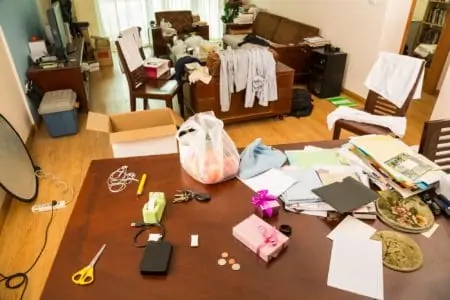
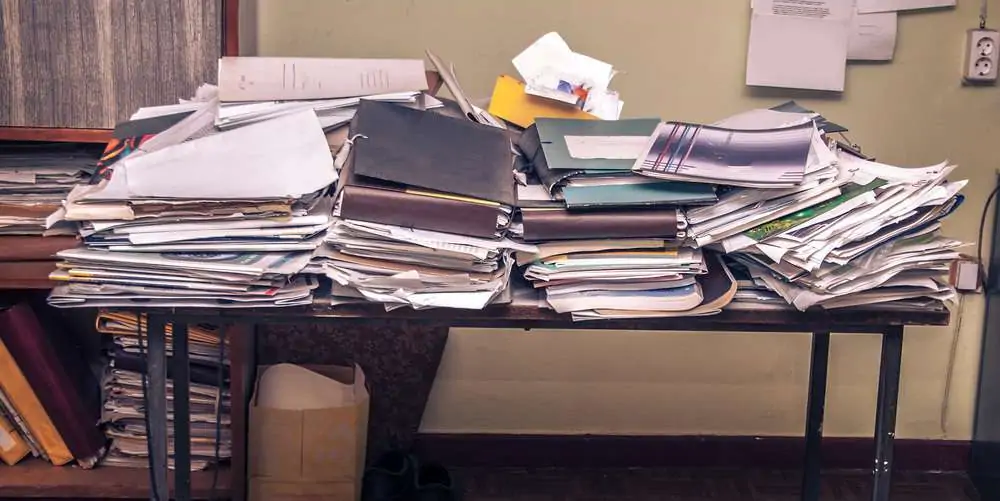
Having a large pile of documents with no system of organizing them can be very frustrating. Bills get lost and then you end up paying a late fee. You can’t find your child’s school calendar to tell when the next vacation day is coming up.
Keeping paper documents organized can be a struggle, but a messy pile of documents makes life hard. So today we’re discussing how you can create a filing system for your home that actually works. One that’s easy to organize and keep organized so you can quickly and easily find the documents you need.
Key Takeaways
- A good filing system should be organized, user-friendly, adaptable, safe from fires and floods, and space-efficient.
- Gather and categorize documents into action, archive, household, recycle, and shred piles for easier organization.
- Label and color-code files within categories to make them easy to find and access when needed.
- Choose the best storage solution for your files, such as plastic file containers, cardboard bankers boxes, storage benches, or filing cabinets.
What Is A Good Filing System?
The goal is to have a good and efficient filing system to use. It needs to be organized so that it’s easy to find what you need, and should also be super user-friendly and easy to maintain so that you actually use it.
A good filing system is also adaptable so it can be customized to fit the changing needs of your family. This means you’ll need the ability to add or subtract files without changing your entire system.
Another point to consider as you set up your filing system is whether your papers are safe should there be a flood or fire. Finally, consider if your filing system uses space efficiently as you don’t want a large filing cabinet in a small apartment.
In short, a good filing system is:
- Organized
- User-friendly
- Adaptable
- Safe from fires and floods
- Uses space efficiently
How To Organize Your Files
Organizing your files isn’t a difficult task, although it can be time-consuming. Plan to spend an afternoon sorting through your papers, setting up your filing system, and organizing your paperwork.
- Time: 3-4 hours
- Difficulty: Beginner
What You’ll Need
- Recycle bin
- Shredder
- Pens and labels or a label maker
- Hanging File Folders
- File Folder
- Storage space for the files such as filing cabinets or filing bins
- Fireproof box (optional)
- Binder (optional)
- Inbox tray (optional)
1. Gather All Of Your Documents
The first step is to gather all of the documents from the different areas in your house. The last thing you want to do is to spend time racing from one room to another trying to find marriage certificates, birth certificates, or bank documents. So gather everything in one spot from the beginning so that you can see all the paperwork you need to deal with.
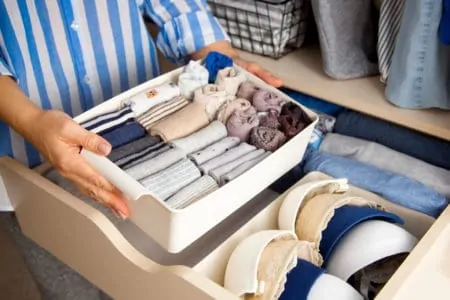
2. Separate Your Documents Into 5 Categories

Separate your documents into 5 distinct categories: action, archive, household, recycle, and shred. The easiest way to organize your documents is to find five containers to put the documents into. Barring that, clear off your table so you can create 5 distinct piles.
You’ll start by sorting the different types of documents into each pile or container so that you can work with one type of document at a time.
Action
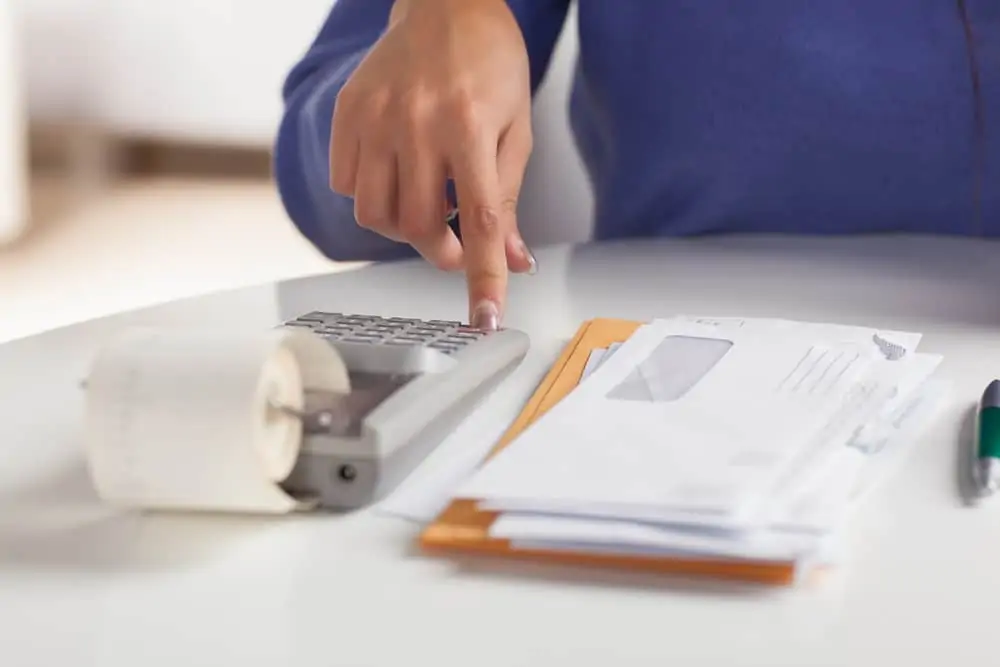
Action documents are documents you need to act on. Bills, invitations, and appointment reminders are good examples of action documents. Once they’re acted on, you no longer need them.
Archive
Archive documents are papers that you need to keep but don’t need to access very often. These are documents such as previous years’ tax documents, medical records, deeds, contracts, and so on.
Household
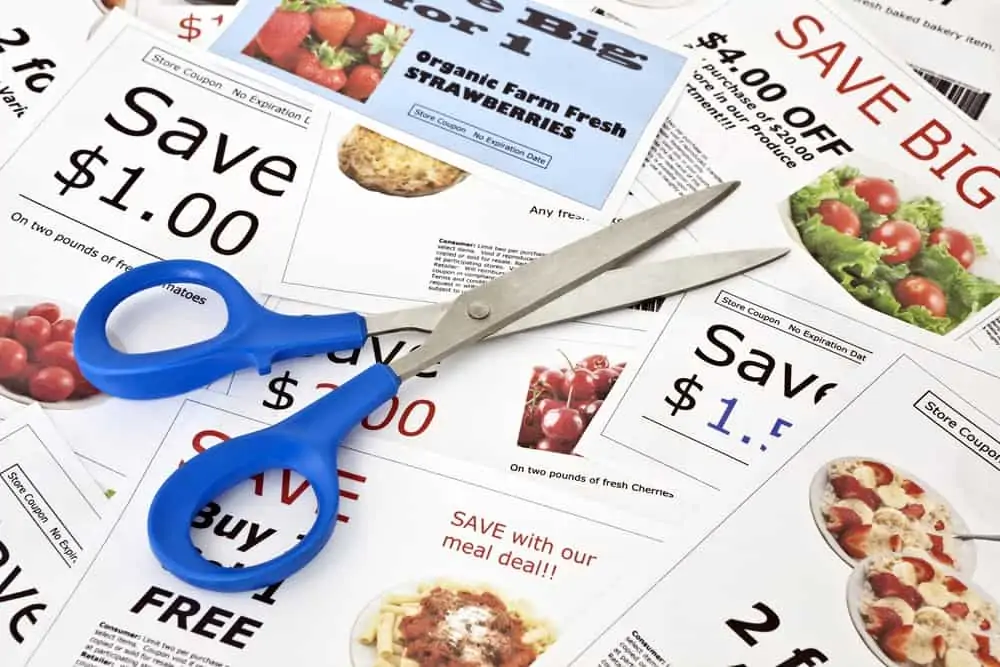
Household documents are the documents that keep the house running. These include your coupons, recipes, user manuals, documents for this year’s taxes, and school calendars.
The difference between archive documents and household documents is how often you need to access the information. If you only need to access the documents once or twice a year, put the papers in the archive pile. If you need to reference the documents several times a month, place the papers in the household pile.
Recycle
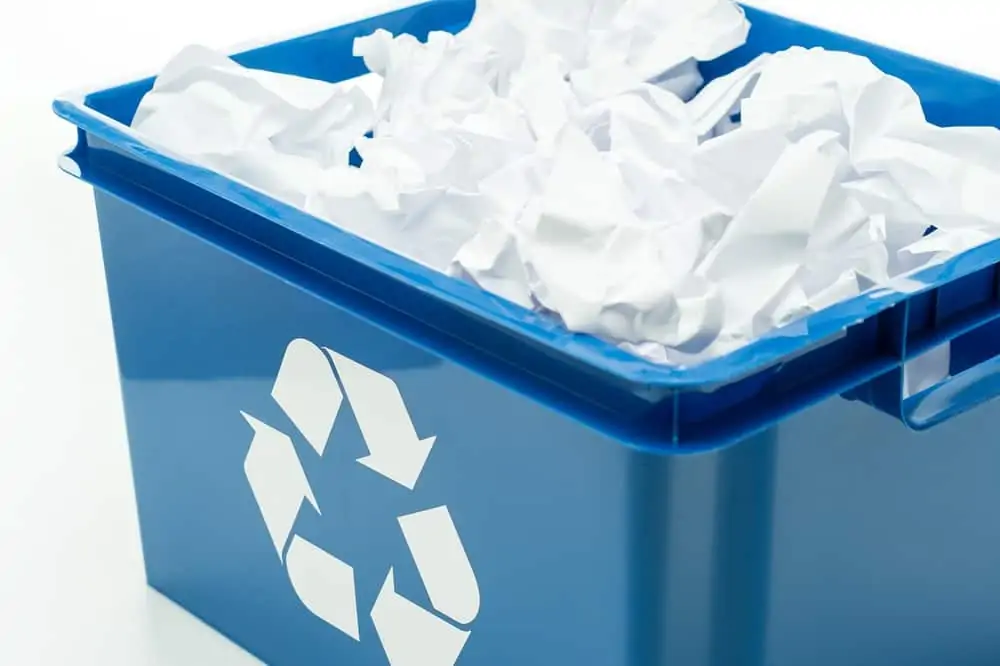
Every household receives a certain amount of paper that you can toss into the recycle bin. Some examples of documents you can recycle are junk mail, old homework, used envelopes, and newspapers.
Shred
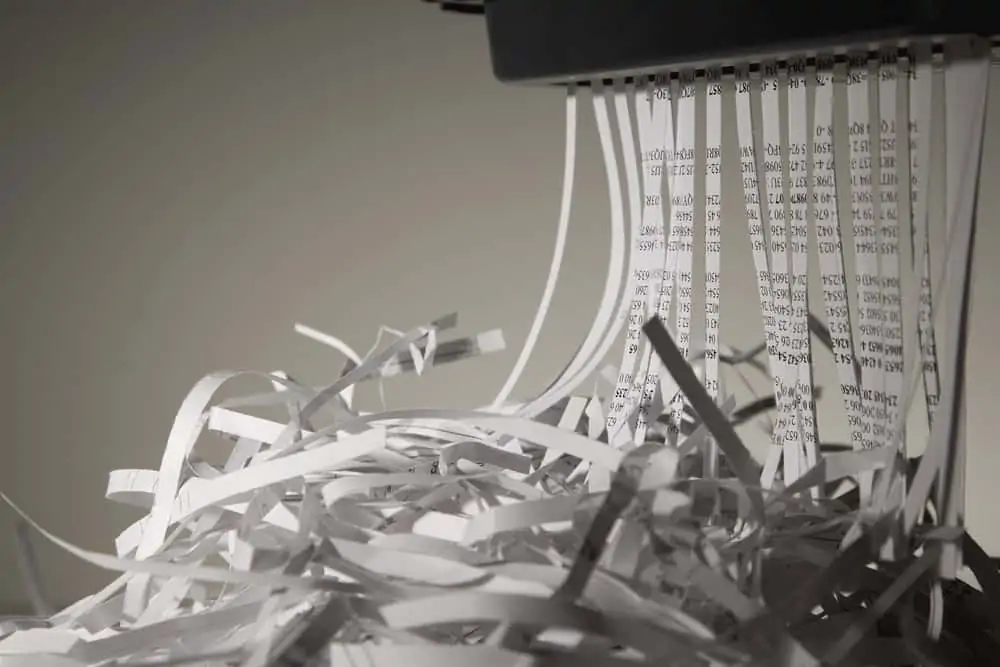
You will need to shred documents that you no longer need to keep but that contain personal information. These include credit card offers, old bank statements, and bills.
3. Discard Documents You Don’t Need
Once you’ve sorted through all the documents in your house, the first step is to discard the documents you don’t need. Shred all the documents that include personal information and recycle it with the rest.
4. Organize the Archive File
Now it’s time to start organizing your archive file. You’ll be organizing these documents based on what type of documents they are so that you can easily find them when you need them. Sort your archive file documents into piles according to type.
Quick Tip
Since you don’t need to access the archive file more than once or twice a year, keep these documents at the back of your filing system. This way the space in the front will be saved for documents and papers you need to reference often.
Financial Records
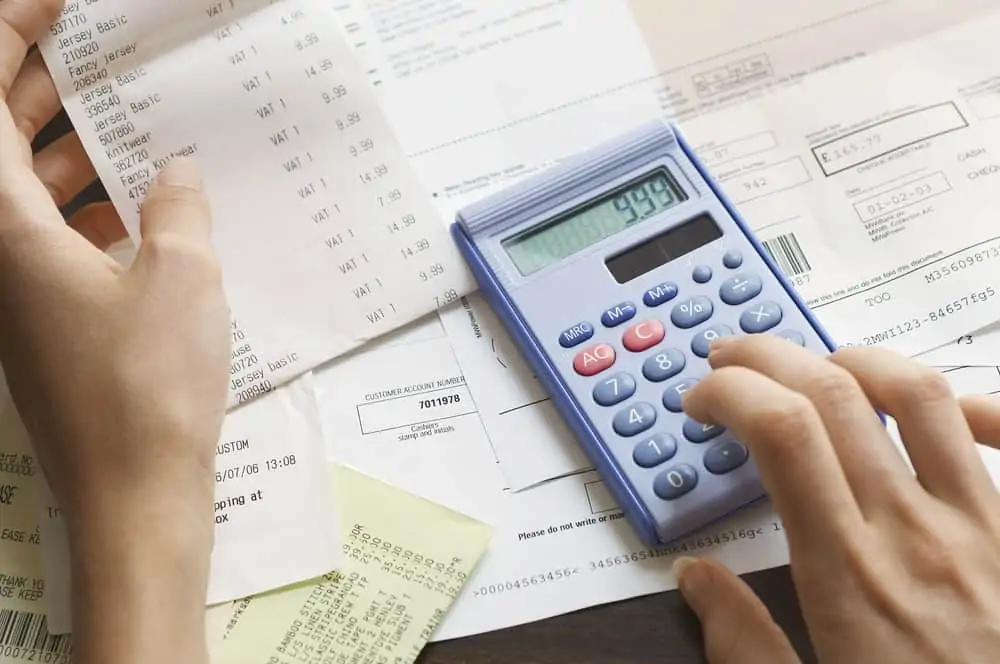
The first pile will be financial records. These will include documents such as bank accounts, taxes, pay stubs, credit card information, and rent.
Sort your financial records into the different groups you would like to organize them in. This way you can find the documents you need easily. Put documents like bank accounts into one pile, taxes into another, pay stubs into a third. Consider using a different file folder for each bank or credit card account so you won’t need to sort through unnecessary documents to find the papers you need.
Household Documents to Be Archived
Place the household documents you wish to archive in a separate pile. Include all your insurance information such as renter’s insurance, house, and car insurance here as well. Also put titles, membership services, warranties, and user manuals in this category.
As you go through your household documents, label individual file folders with the type of information in each folder. Again, the organization needs to make sense to you, so that you can easily find the information later.
Vital Records
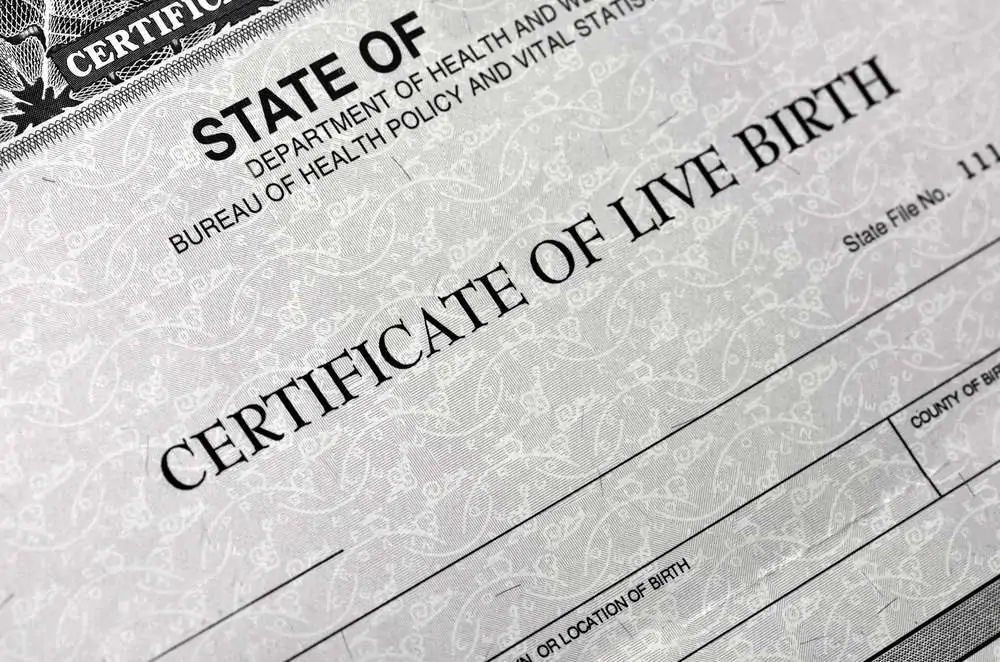
Vital documents are documents such as your birth and marriage certificates, driver’s license, social security card, and divorce papers. You can sort the vital records by type of information or you may prefer to have a file folder for each person in your household.
Personal Information
Personal information includes your medical information, health documents, and pet records. These personal files also need to be sorted. You may want to have some general file folders labeled for medical, health, and pets.
However, it might be easier to organize the personal information by person rather than by type so that you can access all the necessary records for a person in one go.
Education Records
The education records include information such as transcripts, degrees, diplomas, report cards, and certificates you may have earned through the years. Again, consider if you want to organize the information by document type or by person.
If you have a large household, it’s often easier to put everything related to one person in a single folder instead of mixing everyone’s documentation together.
It can also help to have a separate folder for each person per year.
Pro tip
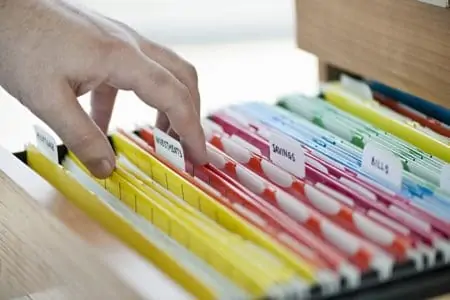
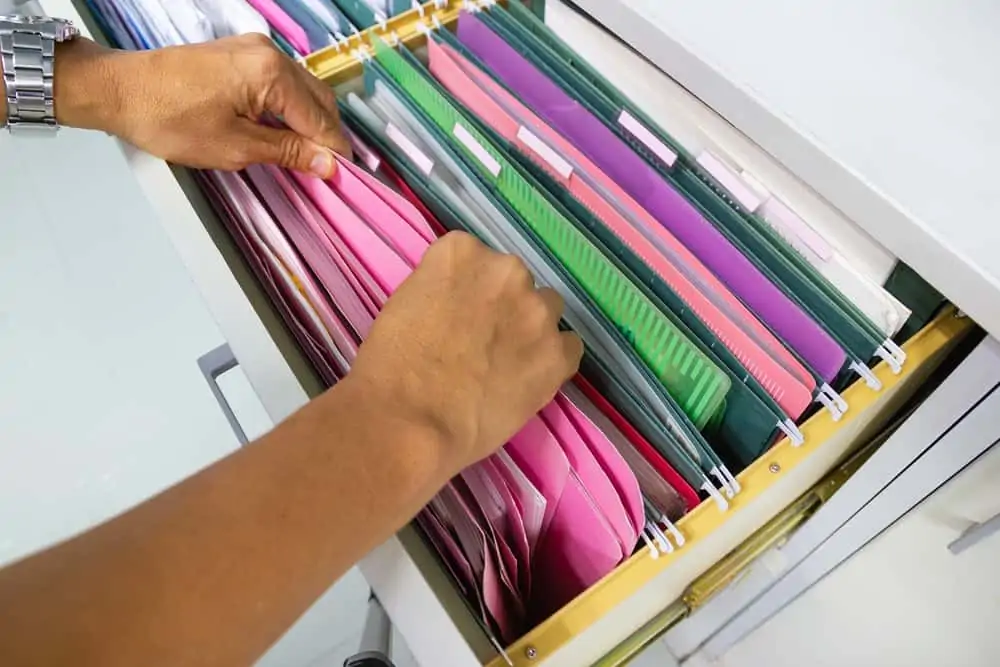
One tip on how to organize these files is to have a separate hanging file within each category. Every hanging file should have its own label for easy reference.
So, one hanging file will be labeled Financial Records, another Household Documents, and a third Vital Records.
Next, label individual file folders with the specific label you need for that folder. For instance, in the hanging file Financial Records, you’ll label one file folder Taxes, another Bank Info, a third Pay Stubs, and so on. Make sure that you label the file folder in the manner that makes the most sense to you since you’ll be needing to find the information in the future.
Do the same for the Household Documents, Vital Records, Personal Information, and Education Records. This way, when you need a child’s report card, you’ll know that you need to look in the Education Records hanging file to find the folder Report Cards.
The idea is that you label your files according to what works for you so that you can easily file new documents and also access and find your stored papers.
5. Arrange The Household File
The papers in this household file are papers you need to access often. So make sure that it’s easily accessible. This is why we recommend keeping this folder at the front of your storage container.
Another option is to keep these documents in a three-ring binder since you’ll be accessing them often. You can use divider tabs to organize the documents by type. Keep the binder in a handy place.
Labeling
Label a hanging file folder as Household File. Inside this file, you’ll keep individual file folders for recipes, school calendars, plane tickets, coupons, etc. If you have quite a few recipes, you may want to have a hanging file folder labeled as Recipes and then organize the recipes by types such as breakfast, dinner, beef, or chicken.
You can also have a hanging folder labeled as School Information. Within school information, label the files by child. This will allow you to find any documents you need for each child.
Before you start labeling your files, it’s worth spending some time thinking about what system makes the most sense to you. Do you want to look for information by activity or by family member?
There’s no right answer. It comes down to what’s easiest for you.
Color Coding
Consider color-coding your household file documents as well. These documents need to be accessed regularly, so color coding may make it faster for you to find the information you need when you need it.
However, color coding may add a layer of complexity to your system making it unwieldy for you. It’s a personal choice without a right answer so don’t feel as though you must color code your system to be organized.
6. Set Up The Action File
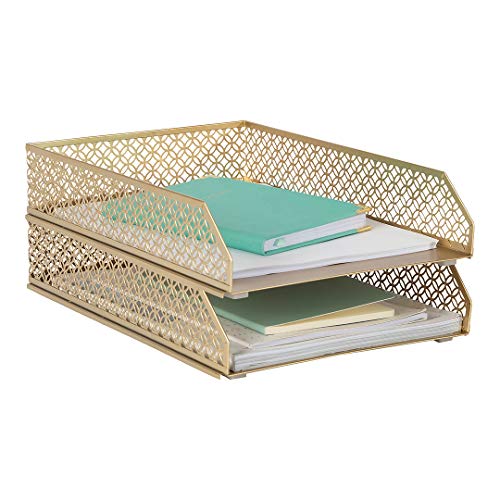
The action file is where you’ll keep all documents that need to be acted on quickly. This is where it’s handy to have an inbox on your desk. Put all the documents in the inbox as they come in.
Every week or two, you’ll need to schedule a time to work through the documents in the inbox.
Where To Store Your Files
Finding a good spot to store your files can be challenging. You may prefer to organize your files in a pretty basket on a shelf. You may also have a lot of papers to archive so a lateral filing cabinet will be your best option. Another option is to pick up a filing box. There are many different options available so choose the one that works best for you.
Plastic File Containers
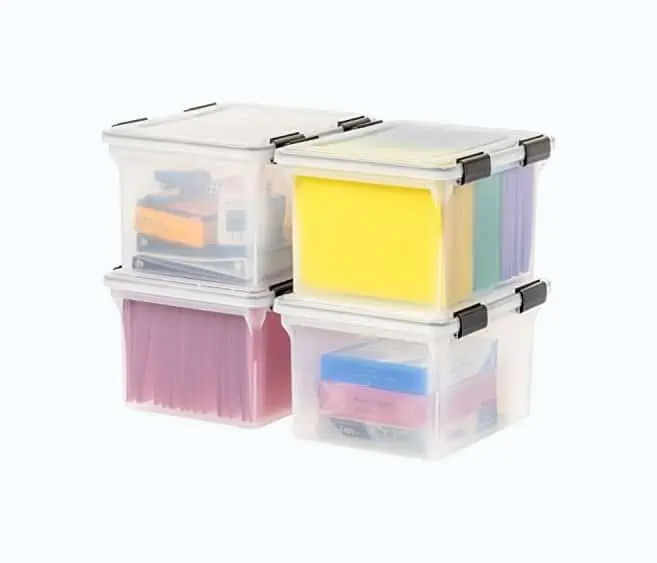
Plastic file containers are an excellent place to store the documents you need. You can also stack two on top of each other. Depending on the height of your desk and file containers, they may slide neatly under your desk.
Keep archive files in the bottom container and household files in the upper container. This will allow you to easily access the household files throughout the week.
Cardboard Bankers Boxes
Cardboard bankers boxes also work for storing file folders. These are cardboard boxes that will fit on shelves in your house. You can label each box with a different type of document so that you can easily find the information you need.
In this case, you won’t need the hanging file folders unless you wish to use them since each cardboard banker’s box will hold a different type of document.
Storage Bench
Another option is to use a storage bench to store and organize your household documents. The storage bench has multiple purposes, looks beautiful and is a practical solution for filing your documents without taking up precious space.
It’s a great solution for a small house or apartment.
DIY Filing Basket
If you don’t have many files, a filing basket may be the best solution for you. It will look neat and organized on your shelf. Plus it’ll hold all the documents you need to store. It’s also easy to put together (1).
Lateral Filing Cabinet
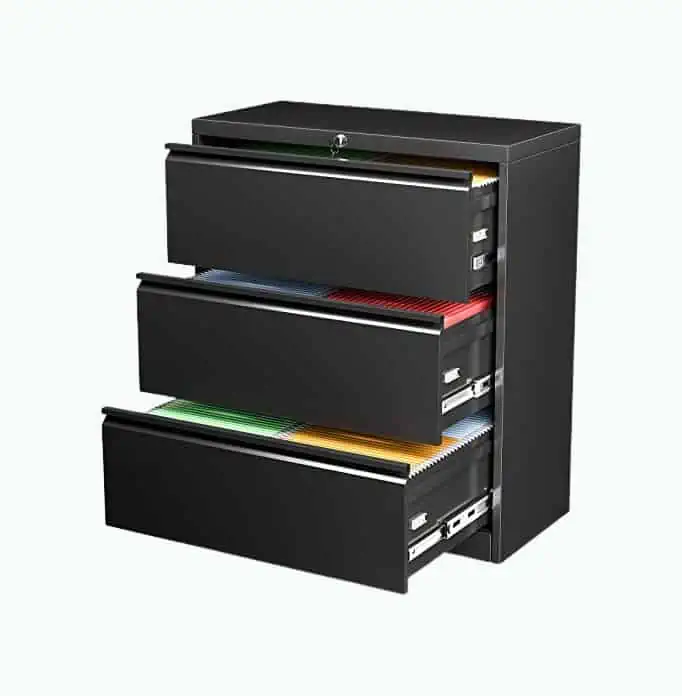
A lateral filing cabinet is one that’s filled from side to side instead of from front to back. It tends not to be as deep as a regular filing cabinet, but it’s wider. These are great if you have an empty space along a wall you’d like to fill.
FAQs

How Do You Create a Digital Filing System?
It’s easy to create a digital filing system. Simply right click the mouse with the cursor on the home page. It opens a box that lets you name and creates new folders. Once created, you can file it in separate folders in your documents.

How Does Marie Kondo Organize Papers?
Marie Kondo organizes papers by how often she uses them. She groups frequently used documents together and do the same for infrequently used papers.

What Important Documents Should I Keep?
The important documents you should keep includes birth certificates, ID papers, passports, social security cards, and green cards. You should also keep any financial documents like pension plans.

What are the Disadvantages of Alphabetical Filing?
There are several disadvantages of alphabetical filing. They include confusion with spelling, some letters taking up more space than others, and wasted time searching through files with a common name.

What Should I Put on My Desk At Home?
There are several things you should put on your desk at home, including a laptop, a notepad and pen, a desk organizer, a USB charger, and your favorite coffee mug.