Most Americans spend 90 percent of their day inside (1). Indoor air pollution can cause, in the short term, itchy eyes and nose, dizziness, and headaches. Over time, asthma and chronic respiratory conditions can develop (2).
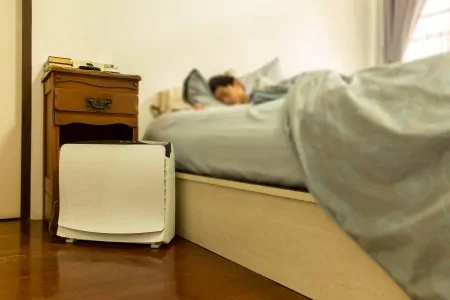
Air purifiers are efficient devices that remove most impurities from indoor environments. They’re easy to use but come at a price point exceeding many budgets. When looking closer at an air purifier, the concept is simple, and you can easily recreate it at home.
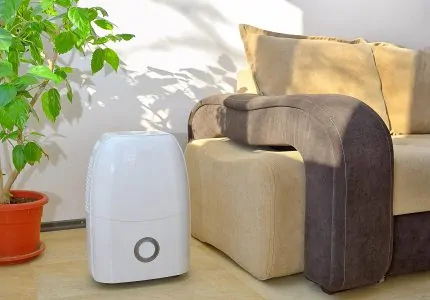
The outcome may not look as sleek and professional as one off the shelf. The efficiency, however, might impress you. We’ve selected our three favorite DIY air purifiers for you to try.
Key Takeaways
- DIY air purifiers can help improve indoor air quality and reduce respiratory issues.
- The plastic container air filter is a budget-friendly option that uses a fan and a filter inside a perforated bucket.
- The wooden air purifier replaces wooden panels in furniture with filters, creating an air-cleaning box.
- The HEPA DIY air purifier attaches a HEPA filter to a fan, trapping up to 99.9% of air particles larger than 0.01 microns.
1. Plastic Container Air Filter
The plastic bucket air purifier is a budget-friendly option. The tools you need are inexpensive and readily available in any DIY store.
You can use basic dust or high-end smoke and fine particle filters. Choose the kind that best meets your needs depending on which debris or molecules you’re planning on blocking.
What You’ll Need
- Round two-gallon plastic container with its cover.
- Small portable fan.
- Sandpaper.
- Drill.
- A filter.
Step-By-Step
- Measure: Check the fan’s head diameter or draw around the head on the bucket’s lid.
- Cut the plastic cover: Make a round hole inside the lid using a cutter. The fan’s head should perfectly fit the hole.
- Perforate: Drill one- to two-inch diameter holes all over the bucket. Make vertical rows of four orifices each.
- Sand: Clean up the freshly made openings by sanding down around the holes.
- Cut the filter: Cut the filter fabric to fit the bucket’s height. The length should equal the container’s circumference.
- Install the filter: Set it up inside the bucket, following the perimeter.
- Make an opening: Make a small opening at the top of the container to let the fan’s wire through.
- Cover: Secure the lid with the fan and close the bucket.
- Power your purifier: Plug the fan into an energy power such as a small battery, plug, or even solar panels.
2. The Wooden Air Purifier
If you’re trying to stay away from plastic, use wood instead. Remember that to make this DIY wooden air purifier, you’ll need to be somewhat handy.
What You’ll Need
- Old wooden furniture, such as a bedside table.
- Filters.
- Screws.
- Drill.
- Knife or saw.
- Air vent.
- Motorized fan.
Step-By-Step
- Remove side panels: Take a piece of old wooden furniture, similar to a bedside table. Remove three of the four side panels. The bottom and all corner poles will remain.
- Position the filters: Replace three wooden panels with screens of the same size. Screw the filters to the wood.
- Install the air vent: Cut a small opening on the remaining wooden panel, and install a small air vent. This will be the air exit point.
- Drill a small hole: In the wooden panel or within the filter’s fabric, create a small gap for the fan’s wire to run through.
- Set up the motorized fan: The fan can be placed inside the box you’ve created. Alternatively, cut a hole in the wooden cover and screw the fan to the opening.
This DIY air purifier can be as simple or fancy as you are handy. Some create enclaves to slide the filters, making them easier to replace when needed.
3. HEPA DIY Air Purifier
If you suffer from allergies or asthma, making this type of air purifier should help significantly. HEPA filters trap up to 99.9 percent of air particles larger than 0.01 microns (3).
Although HEPA filters are more expensive than regular screens, making one at home should feel lighter on your wallet. Besides, this type of air purifier is one of the easiest to make, taking just a few minutes.
What You’ll Need
- Fan with an even back.
- Four zip ties.
- HEPA filter matching the fan’s dimensions.
- Screwdriver.
- Tape (optional).
Step-By-Step
- Puncture the filter: Using a screwdriver or other tool, make four holes in the fabric — not the frame — towards each corner.
- Position the screen: Place the filter on the back of your fan. You’ll notice an arrow on the side of the filter frame. It shows the direction in which the air should flow. Install the screen with the symbol pointing at the fan.
- Fix the zip ties: Put the four ties through the holes you’ve made. Attach them to the fan to secure the filter. If needed, use tape as well.
If you’re using a standard circular fan, the filter might be blocking the knobs. Set the desired speed before securing the filter. You’ll then have to plug and unplug the fan before and after every use.
Why Place the Filter Behind?
Although we’ve seen people positioning the filter in front of the fan, it isn’t the best way. Behind the fan, the screen can trap the particles before they reach the fan’s blades. As a result, the dirt remains exclusively on the outer side of the filter, making your purifier easier to clean.
When positioned in front, dust might keep traveling between the blades and the filter. Then when it is time for a deep clean, the fan’s blade will have accumulated a lot of debris and dirt.
We only recommend securing the screen at the front if your fan doesn’t come with a flat backside.
Are DIY Purifiers Efficient?
Tests done on DIY purifiers are quite limited. A few trials, however, have shown promising results. Not only can they limit the number of harmful air particles, but they can also do so within less than 30 minutes.
FAQs

What Can You Boil to Purify Air?
You can boil herbs and cloves to purify the air. These methods have been used to clean air in homes for centuries. If you are boiling herbs, you need to know which ones you can safely use.

Do Candles Purify Air?
Some candles purify the air and are especially effective against smoke because they neutralize impurities. You would need beeswax candles because paraffin-based candles increase the pollutants in the atmosphere.

Do Salt Lamps Purify Air?
Salt lamps do purify air because the salt crystals use their hygroscopic qualities to attract moisture in the atmosphere and trap it in the lamp.

Does Beeswax Actually Purify the Air?
Beeswax is one of the only natural waxes to purify the air. Paraffin-based candles release pollutants into the atmosphere when they burn, increasing allergens and pathogens.

What is the Best Indoor Plant to Clean the Air?
The best indoor plant to clean air is the Chinese Evergreen. It likes humidity and dark spaces to thrive. and is believed to remove formaldehyde and benzene from the atmosphere.
Airing Out
DIY air purifiers can be as simple or as complicated as you can handle. Wooden models typically require more handicraft skills but, when completed, stand out from other types.
A HEPA filter attached to a fan shouldn’t take longer than five minutes to make. And a purifier made out of a plastic container may require some drilling but should be accessible to most.
To prevent fires, do not leave your air purifier functioning overnight or unattended.